Add Flowers to a Windowsill
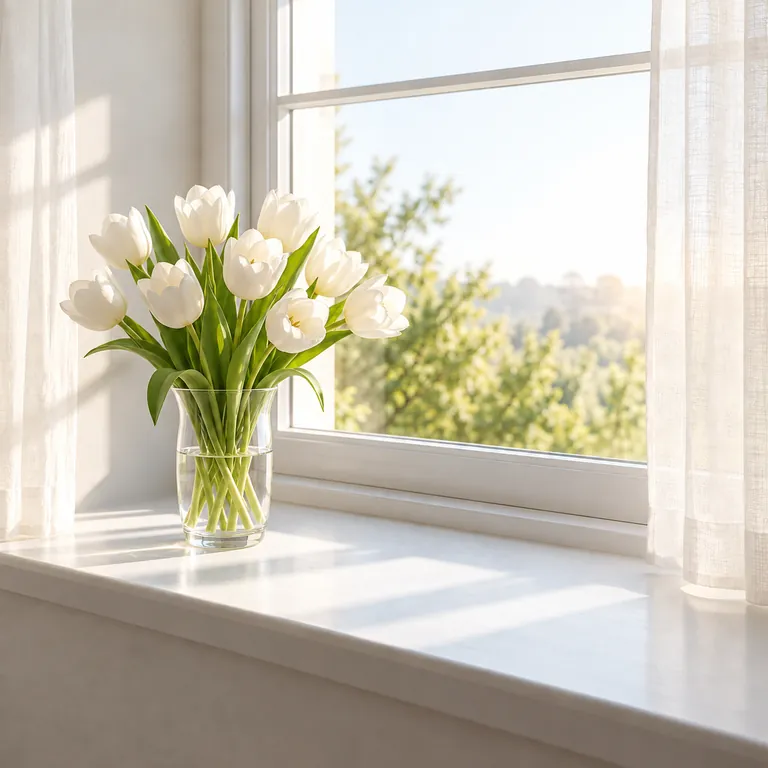
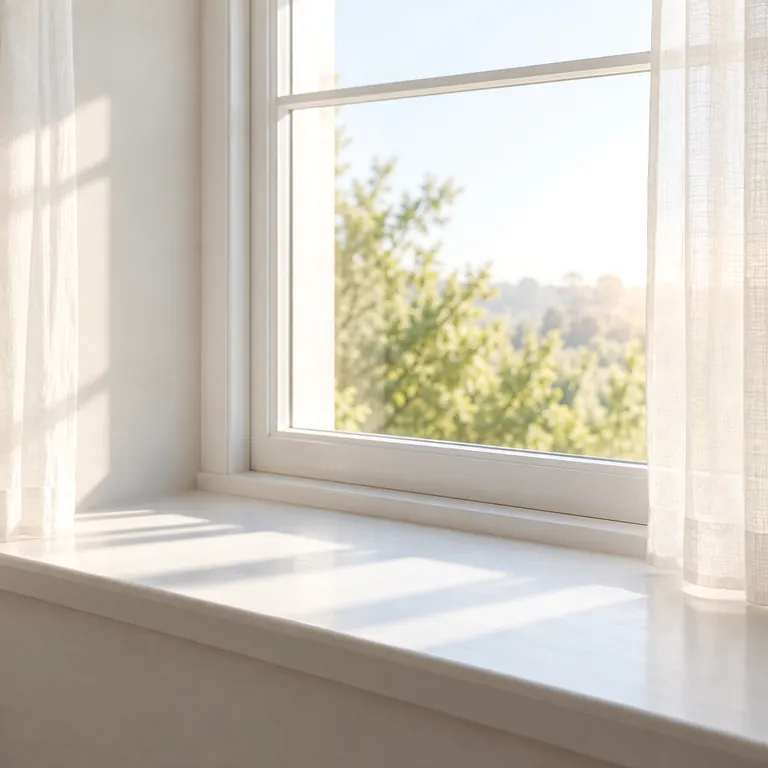
An empty sill becomes a still life. Brushing a tall area where the vase should stand gives the model room for stems and a soft shadow.
Paint over the part of your photo you want to change and write what should appear there: flowers on a windowsill, a sunset sky, a person on an empty bench, a new color for a jacket. The AI inpainting model fills only the brushed area and blends it into the light, shadows and perspective around it.
Fill ideas
Fine-tune
Reference example. It is not a result generated from your upload.
Generative fill is inpainting with a text instruction. You mark a region of a photo, describe what belongs there, and an AI model paints new pixels into that region only, using the rest of the picture as context. The surrounding light, shadows and perspective decide how the new content is drawn, so a vase on a sunny windowsill gets a sunny highlight and a person on a bench sits at the right scale.
That makes it an AI replace tool and a way to add things to photos at the same time. Brush a grey sky and ask for a sunset, brush an empty corner and ask for an armchair, or brush a red jacket and ask for green. Switch Fill with to Matching background and leave the box empty to remove and replace something with the scene behind it instead.
Everything outside your brush strokes is kept as it was. For pure erasing, Object Remover has extra presets; to grow the picture past its edges, use Image Expander. This image inpainting tool is free to try, and the Generate button shows the cost before you start.
Each pair was made by brushing one area and typing one short description.
An empty sill becomes a still life. Brushing a tall area where the vase should stand gives the model room for stems and a soft shadow.
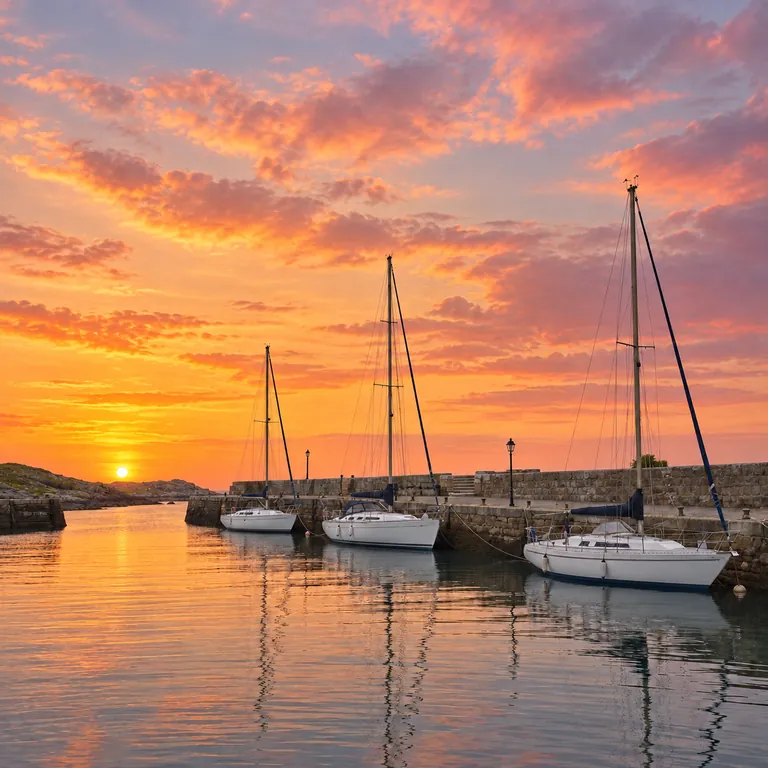
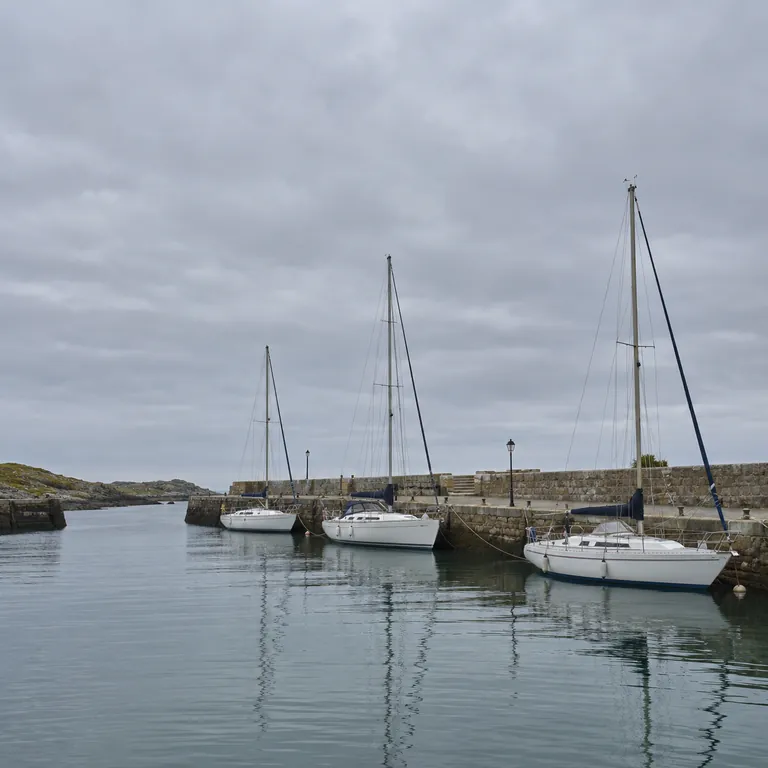
Mark only the sky, down to the rooftops, and describe the new weather. The harbor below keeps its colors while the water picks up warmer light.
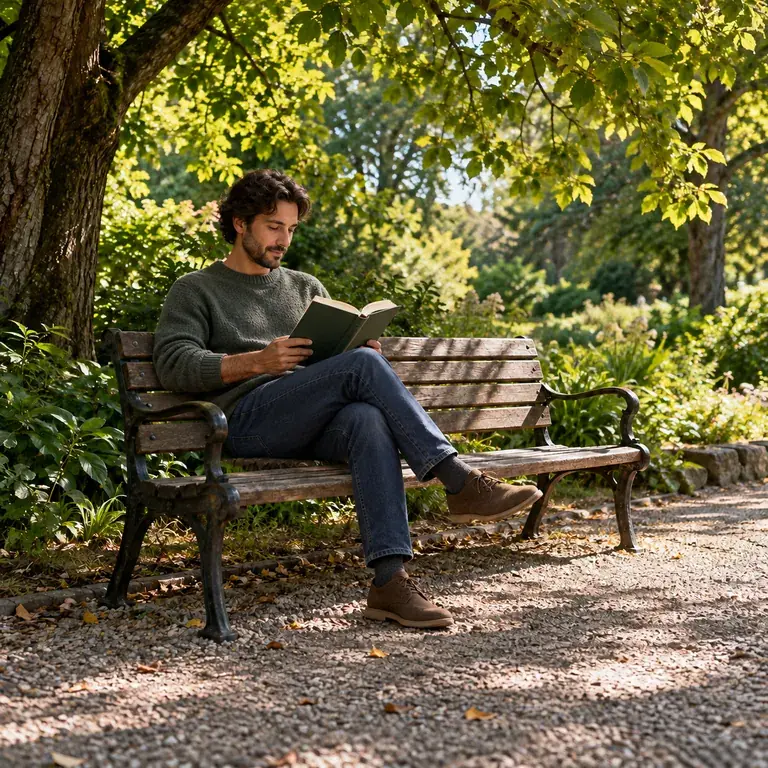
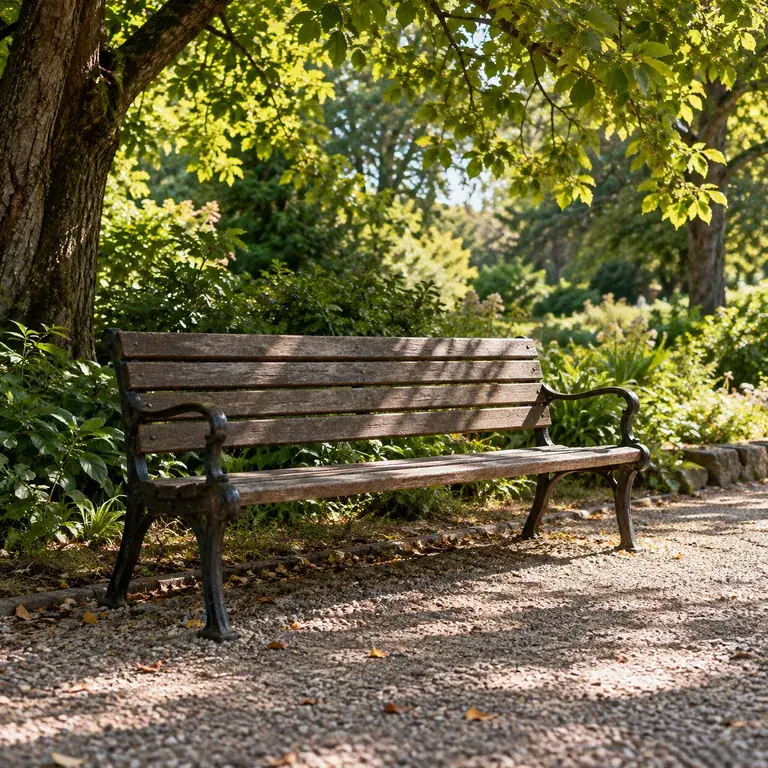
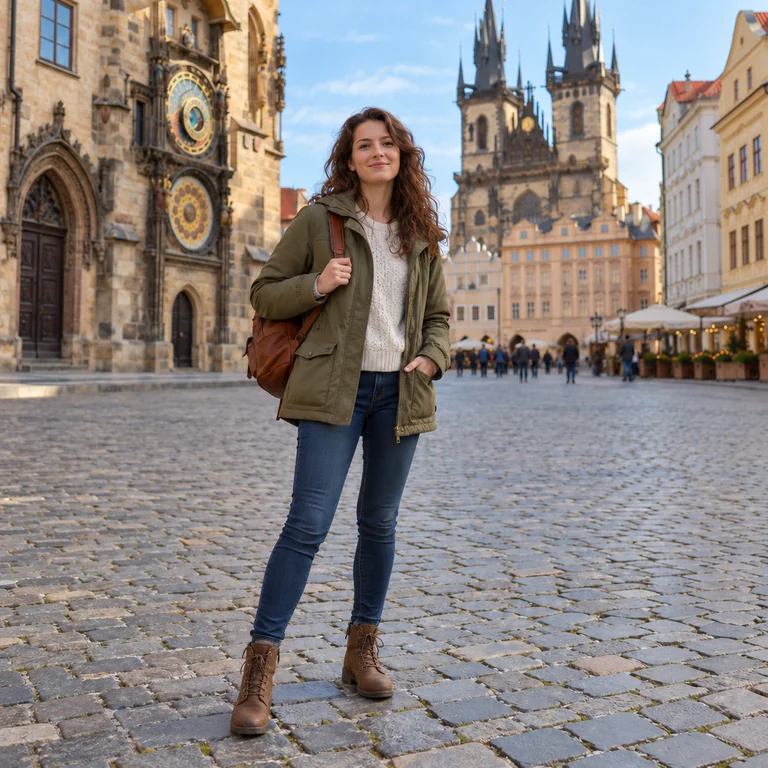
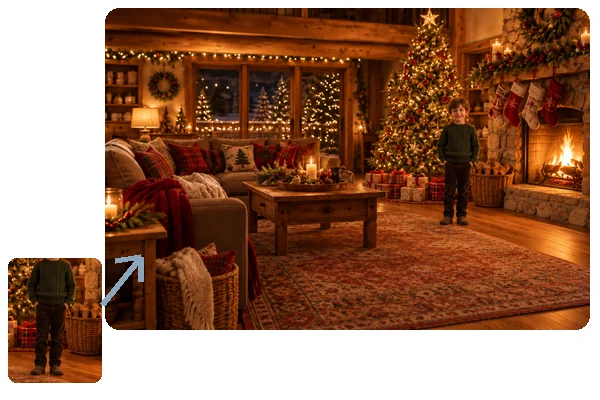
For an empty seat that needs life, brush the bench and describe a fictional adult. The model matches the afternoon light and the camera angle.
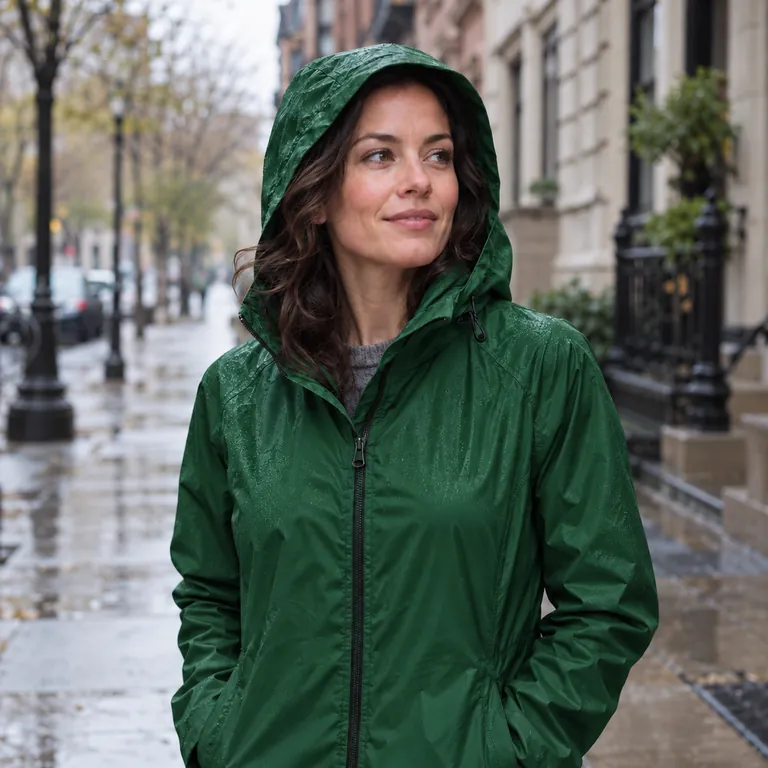
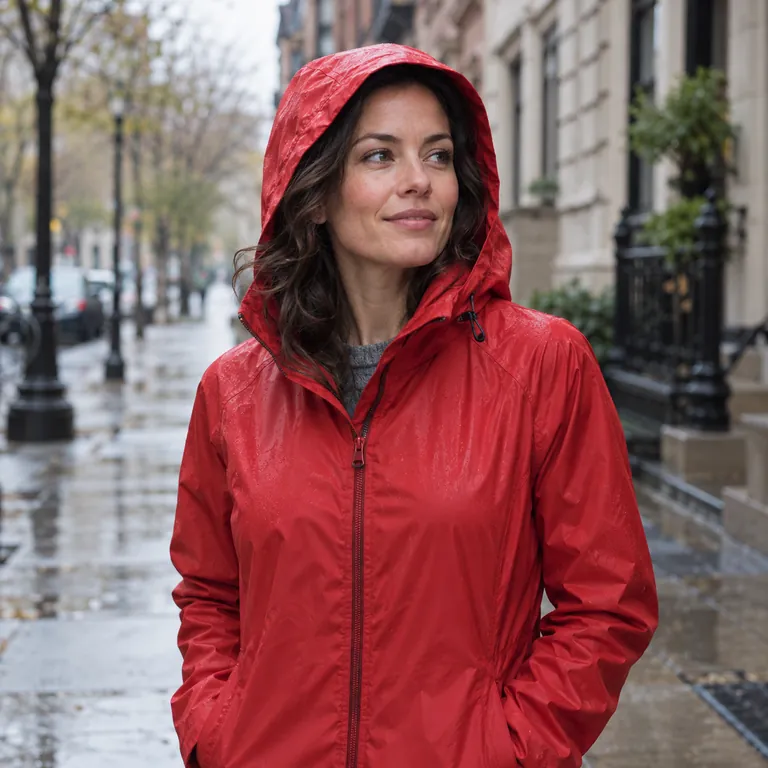
Brush just the jacket and ask for a new color. Folds, seams and fabric texture stay, while the face and background are left untouched.
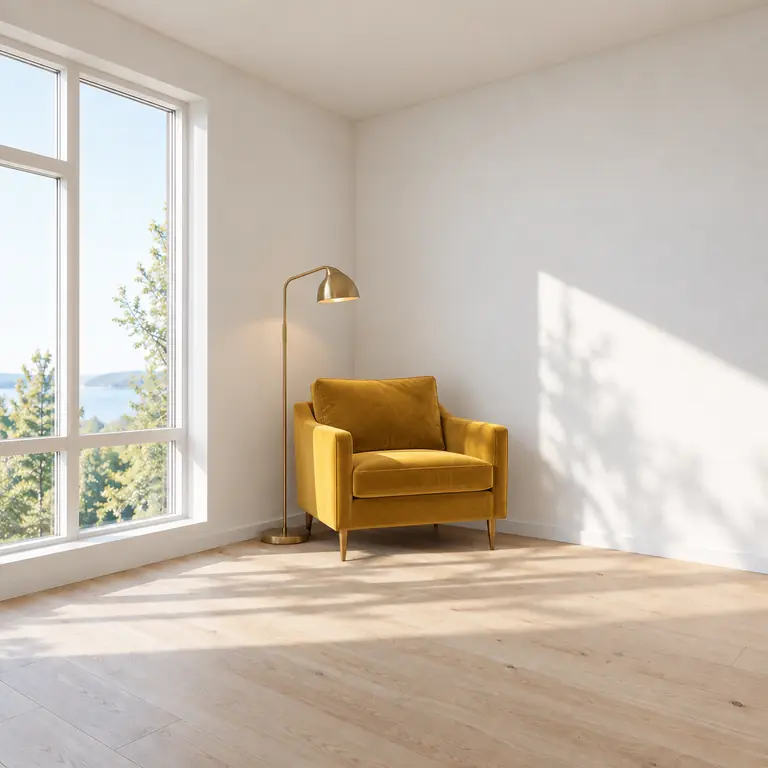
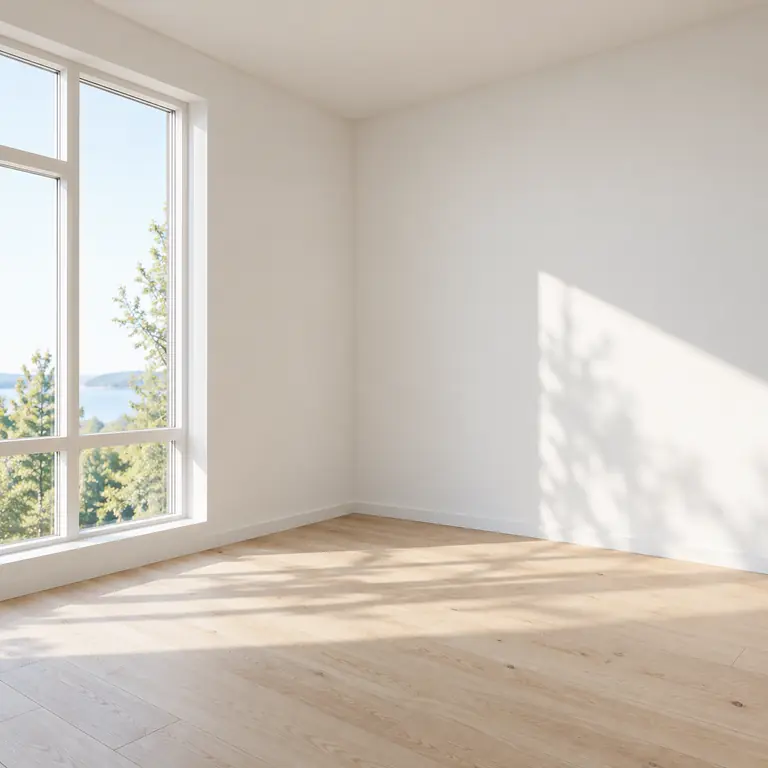
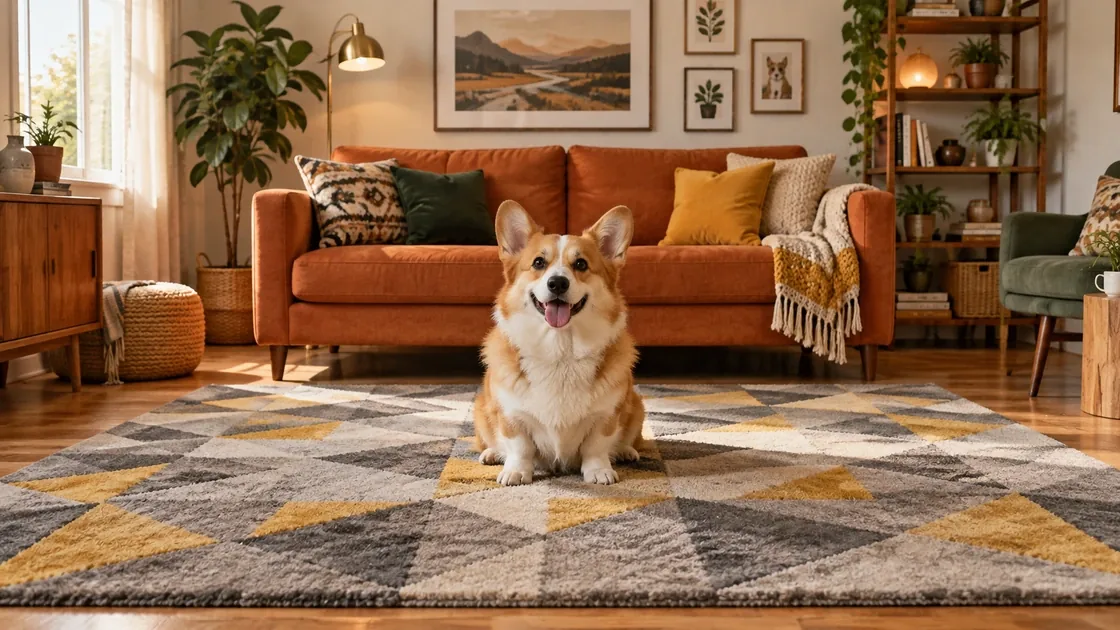
Plan a room by painting furniture into a listing or moving-day photo. Describe the piece and its material for a more convincing result.
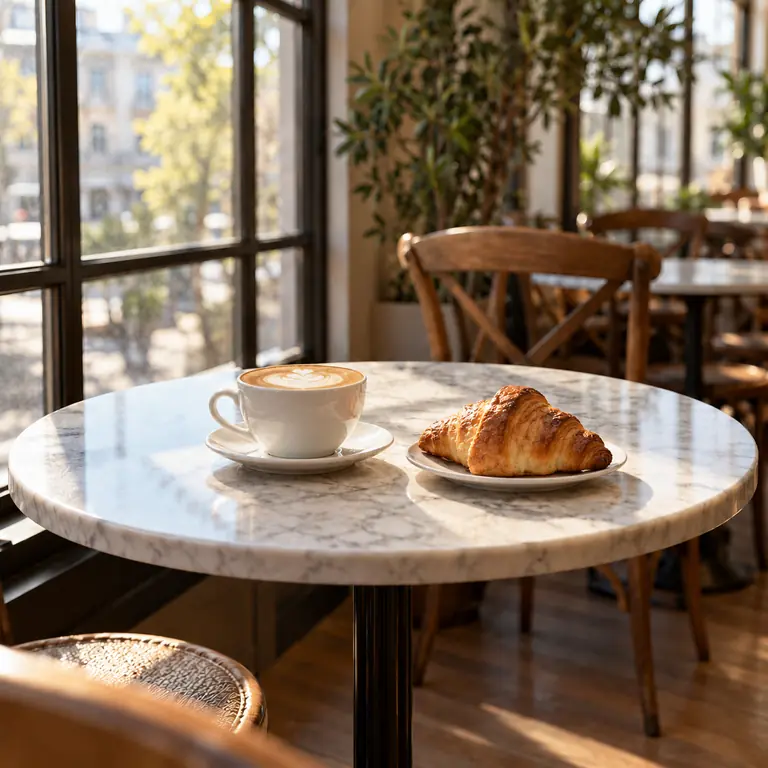
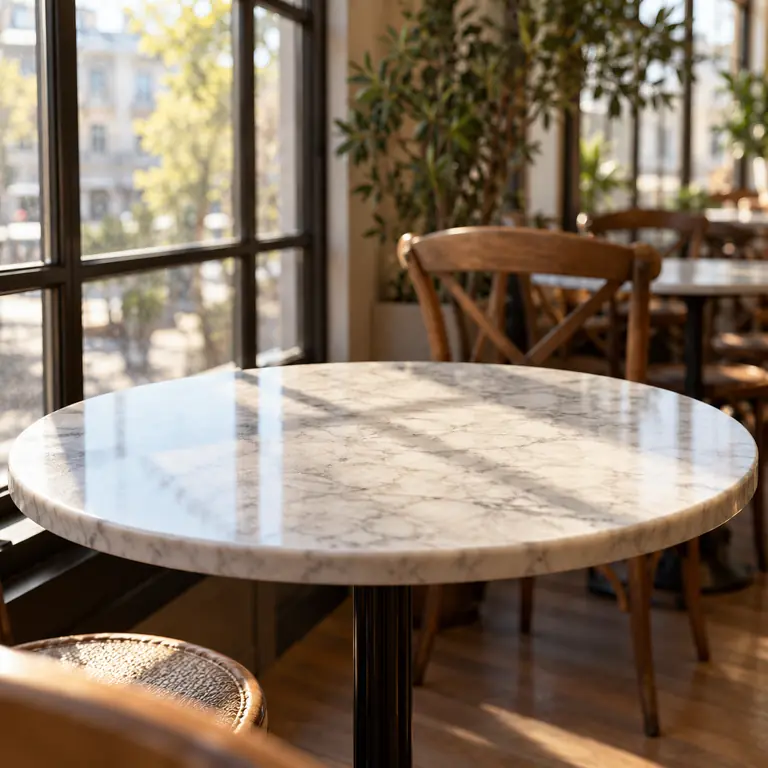
A bare tabletop gets coffee and a pastry. Keep the mask on the table surface so the chairs and window behind stay sharp.
Use a JPG, PNG or WebP up to 20 MB. Sharp, evenly lit photos give the fill the most detail to match.
Paint over the region to change, a little past its edges, or drag a box for straight-edged areas. Include shadows that should change too.
Type a short, concrete description with size, material and color, or pick one of the eight fill ideas. Choose Matching background to fill without adding anything.
Check the edge of the mask, shadows and scale. If something is off, adjust the brush or the words and generate again.
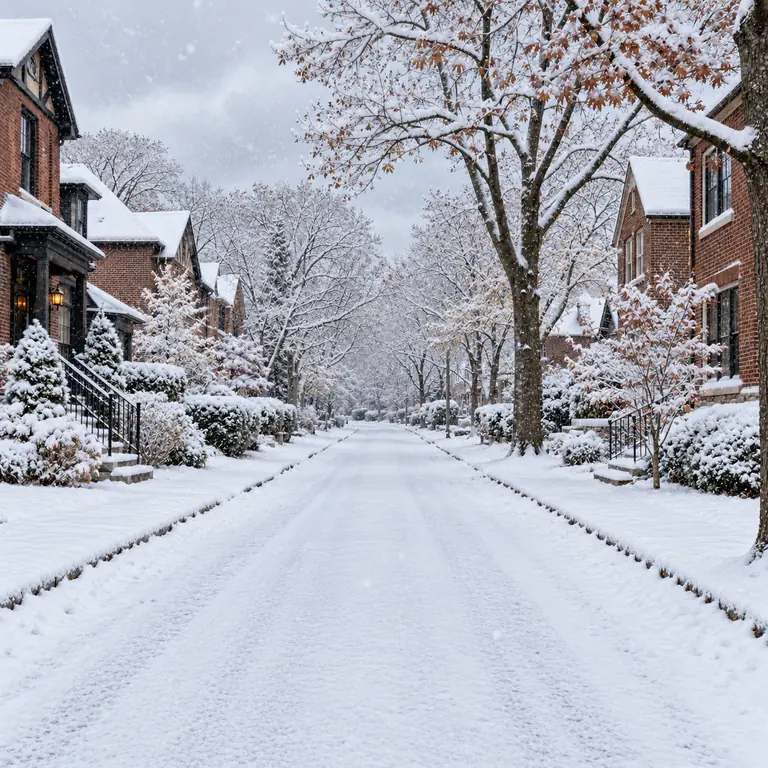
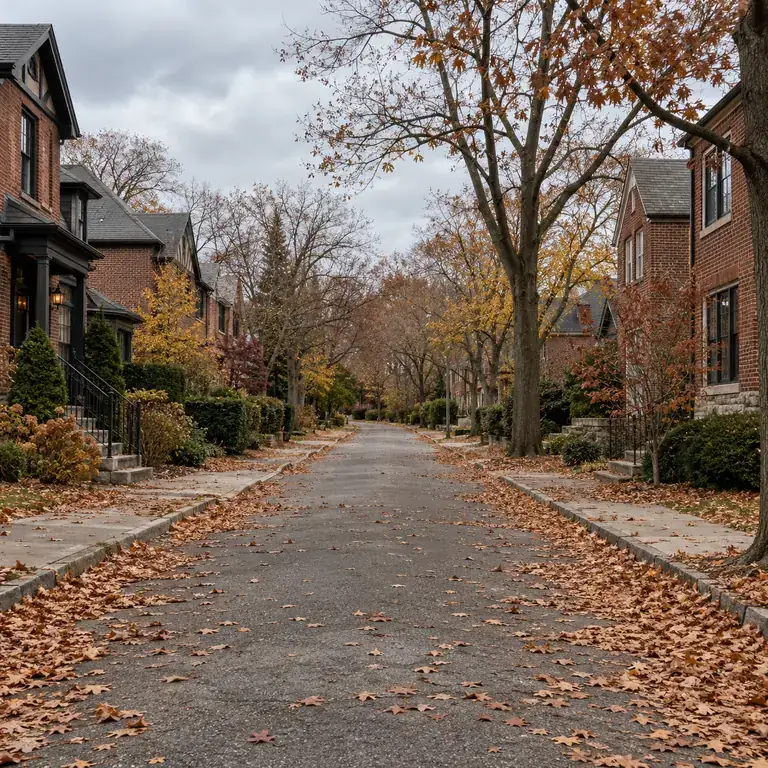
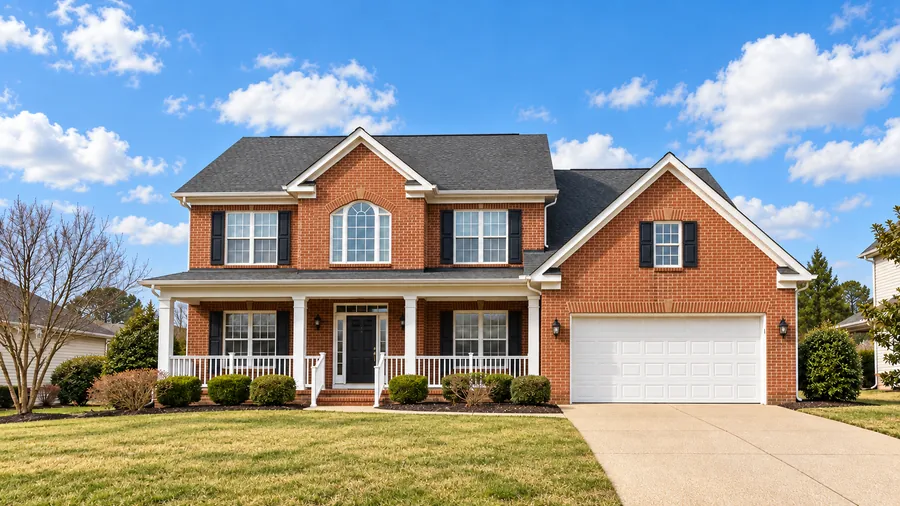
Brush the ground, rooftops and trees to add snow, or the sky to change the time of day. Because only the marked area is generated, buildings, people and signs outside it stay exactly as they were photographed.
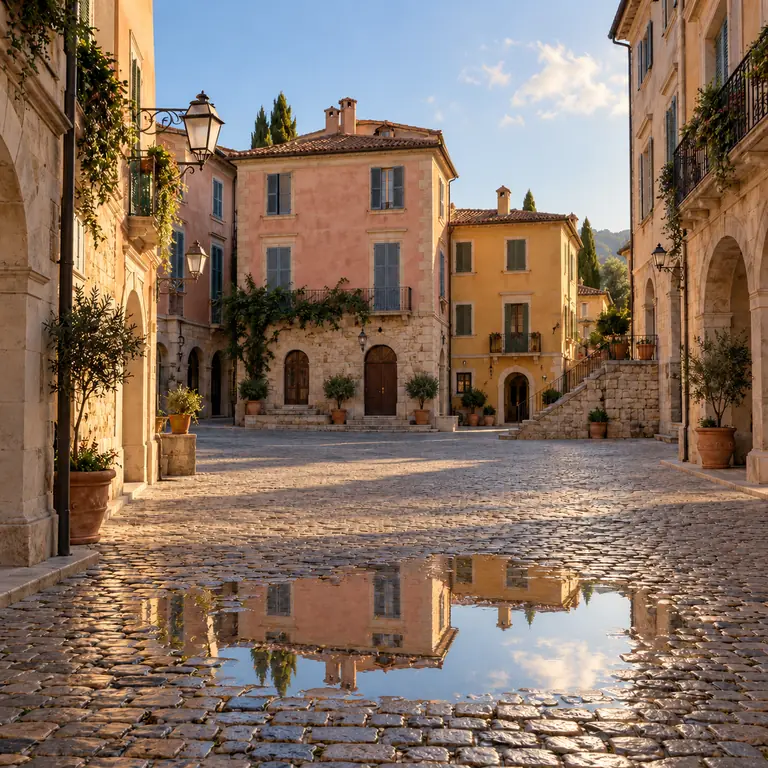
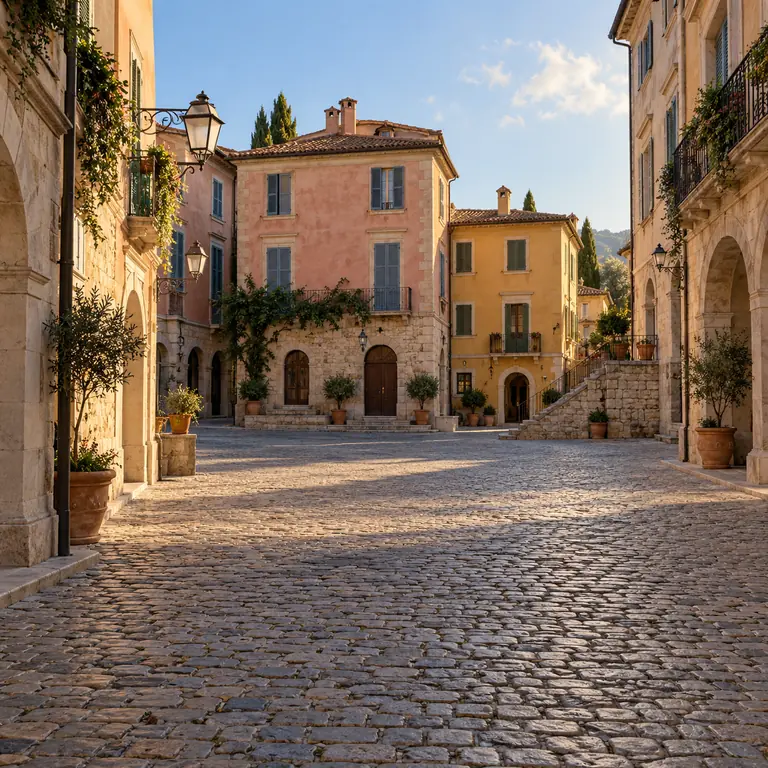
The model reads the surroundings before it paints, so a puddle mirrors the real façades above it and a new lamp casts light the right way. Ask for the effect, not the technique: "a rain puddle reflecting the street".
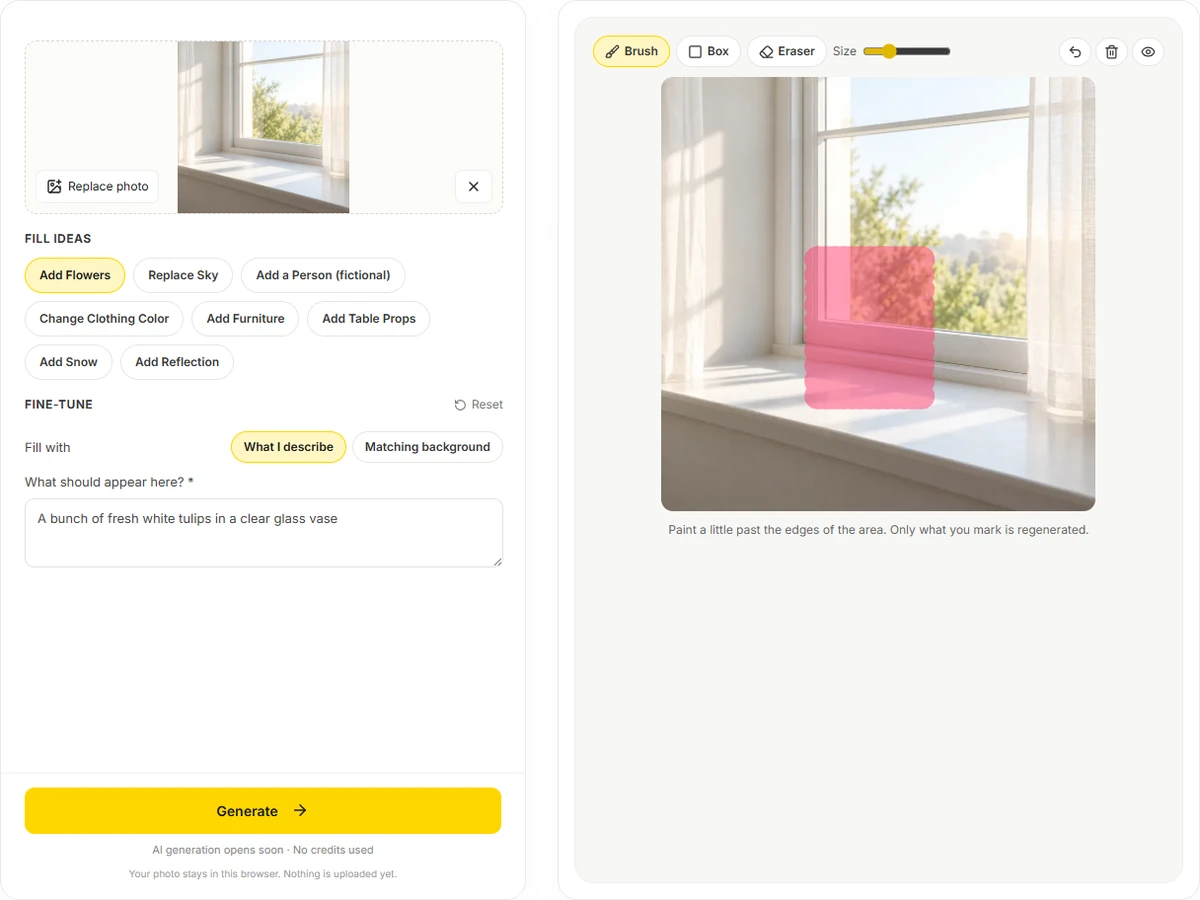
Use the brush for organic shapes like plants, clothing and sky, and the box for tabletops, windows and signs. Erase a stroke that went too far, hide the marks to check the photo, then generate.
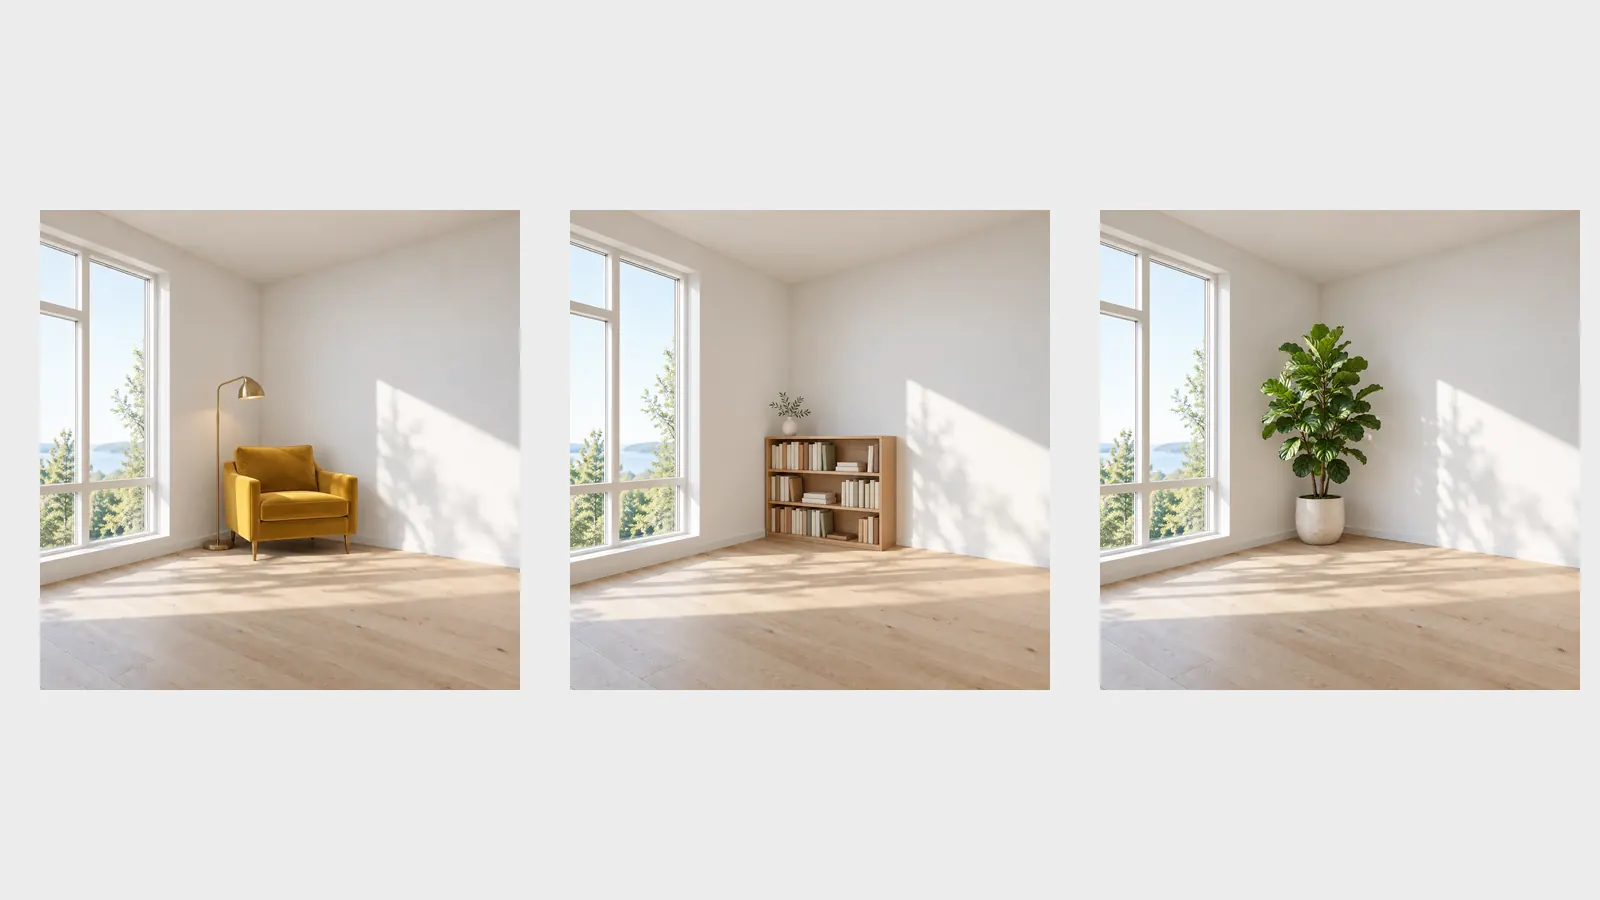
Keep the same brushed area and change only the description to compare options: an armchair, a bookshelf or a plant for the same corner. Each run is a new interpretation, so generate a few times before choosing.
"A small terracotta pot of basil" works better than "put a plant here". Name size, material and color.
A vase needs room above the sill and a little to the side for its shadow. Brushing too tight squeezes the result.
Ask for things that make sense in the scene's light. A sunlit object in a dim room will look pasted on.
Fill the sky first, download, then add the person. Several unrelated changes in one mask lower the quality of each.
To keep someone recognizable, brush around them, not over them. Recolor clothing without touching the face or hands.
Do not use filled photos as evidence, in listings that misrepresent a property or product, or to show real people doing things they did not do.
Change the whole picture with one instruction, such as a new style, season or mood, without drawing a mask.
Open the toolSwap everything behind the subject for a new scene in one step, no brushing needed.
Open the toolClear passersby and photobombers, including a mode that finds background crowds for you.
Open the toolEnlarge the finished picture to 2x or 4x for printing or a sharper close-up.
Open the toolIt is AI inpainting guided by text: you select part of an image, describe what should be there, and the model generates new content for that area that blends with the rest of the photo. Here you can inpaint online in the browser, with no software to install.
Yes, it is free to try with the credits you get when you sign up. Each fill uses credits, and the Generate button shows the cost before you run it.
Inpainting changes an area inside the photo, which is what this page does. Outpainting adds new picture beyond the original edges; for that, use Image Expander.
Yes. Brush where the object should go and describe it, for example "a striped beach umbrella in the sand". Mask enough space for the object and its shadow.
Brush over the thing you want gone and describe its replacement, such as "a wooden bench instead of the bin". To remove it without adding anything, choose Matching background and leave the description empty.
The model is told to keep everything outside the mask unchanged. Pixels right at the mask edge may shift slightly as they are blended, so keep important details a little outside your brush strokes.
You can add a fictional adult, for example someone reading on a bench. Do not try to insert a real, identifiable person or make it look like someone was somewhere they were not.
One short, concrete description: the object, its size, color and material, and anything about light, like "a small brass lamp, switched on". Leave out instructions about the rest of the photo.
Only photos you took or have permission to edit. Do not use it to alter other people's work, to remove credits or to create misleading pictures of real people, places or events.
Usually the mask is too tight, the description fights the scene's light, or several changes were requested at once. Widen the brush, describe the light, and change one thing per run.
Brush an area, describe what belongs there and compare the result with the original. Generative fill is free to try.