
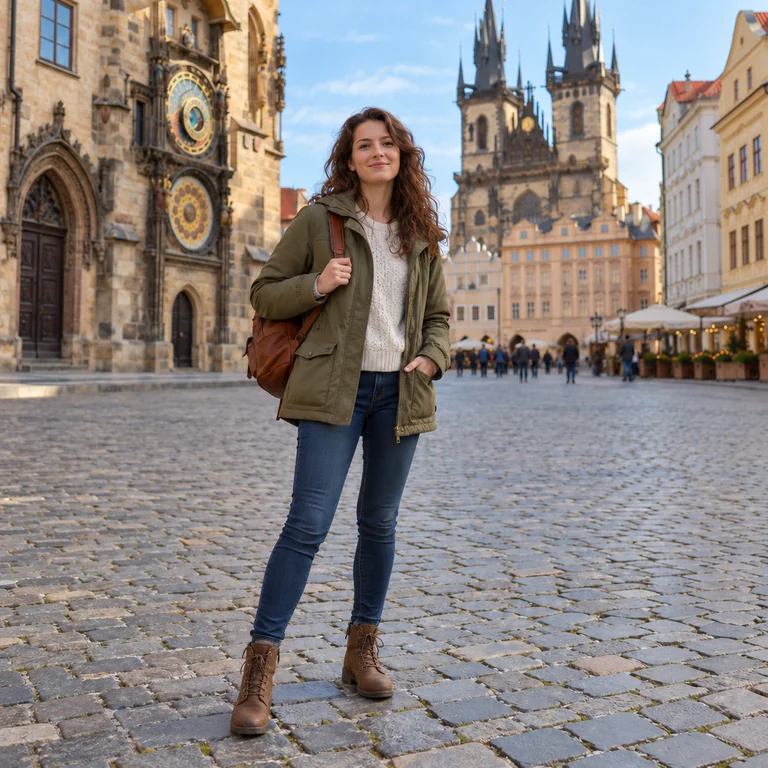
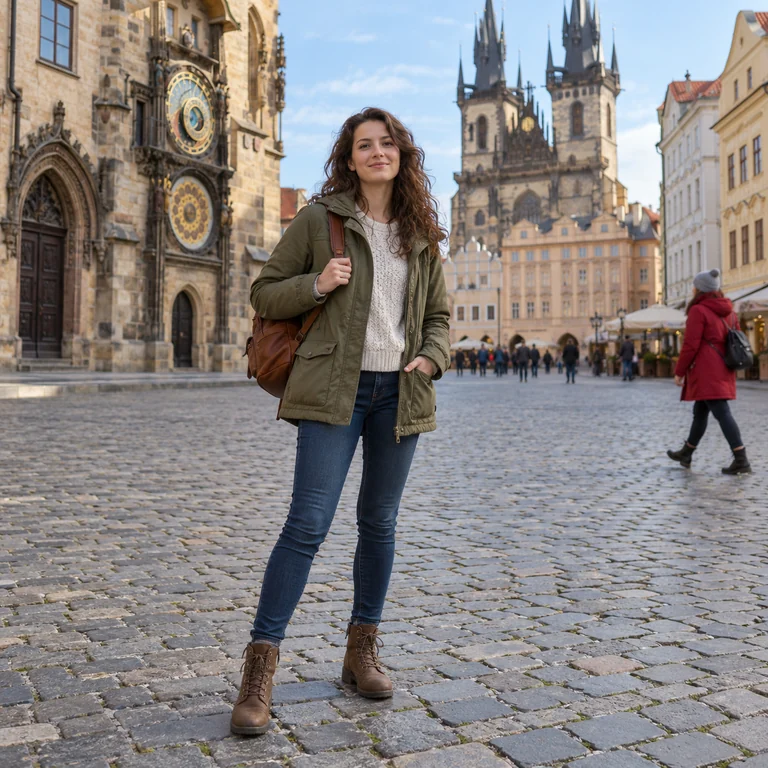
Passerby in a Red Coat
A walker crosses the square behind a traveler. Brushing over the passerby leaves cobblestones and café awnings in their place, while the traveler stays outside the mask.
Brush over clutter, wires, stickers or a stray passerby, and the image eraser fills the space with matching background. Only the area you mark is edited, so the framing and light of your photo stay put.
Common distractions
Fine-tune
Reference example. It is not a result generated from your upload.
Mark something you don’t want in a photo and the image eraser removes it, filling the space with what plausibly belongs there: paving under a bin, sky behind a cable, a plain cover under a sticker. The model is told to leave everything outside your selection alone, so the photo keeps its framing and light.
Unlike the manual eraser in a desktop editor, which wipes pixels down to transparency, this AI eraser tool rebuilds the background. Use it to clean up photos for listings, travel albums and social posts, or to heal image flaws such as dust spots and stains. It is the wrong choice for cutouts: for a transparent result, use Make Image Transparent.
This page is the hub for removal tools. Use it for any object, then switch to a focused page when the job is specific, such as people in the background, text, watermarks, glare or emoji. Those pages are set up for their particular kind of distraction.
A walker crosses the square behind a traveler. Brushing over the passerby leaves cobblestones and café awnings in their place, while the traveler stays outside the mask.


Thin overhead wires cross a clear blue sky. Brush along each wire’s full length, including where it leaves the frame, and the sky is filled in evenly.
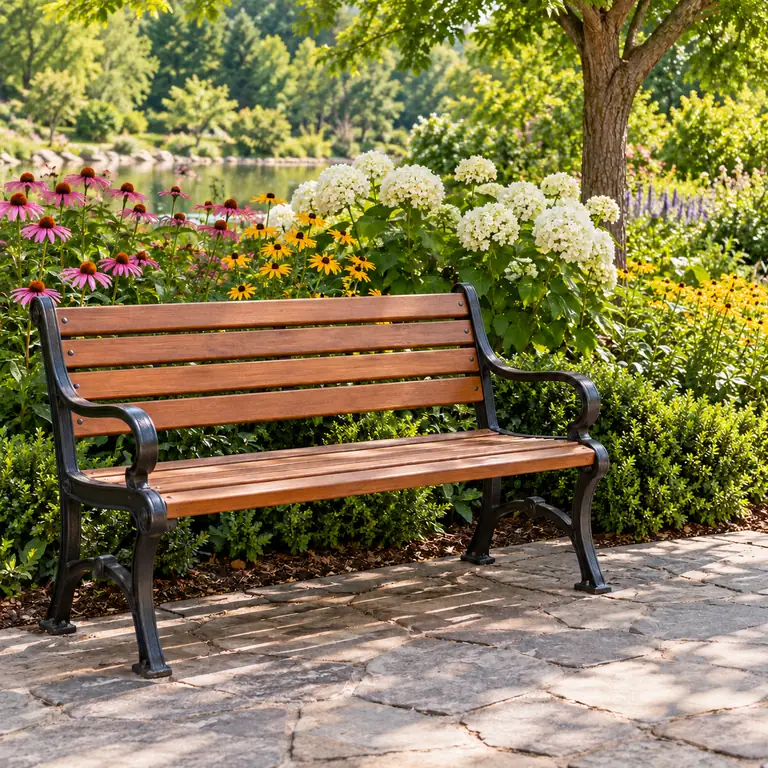
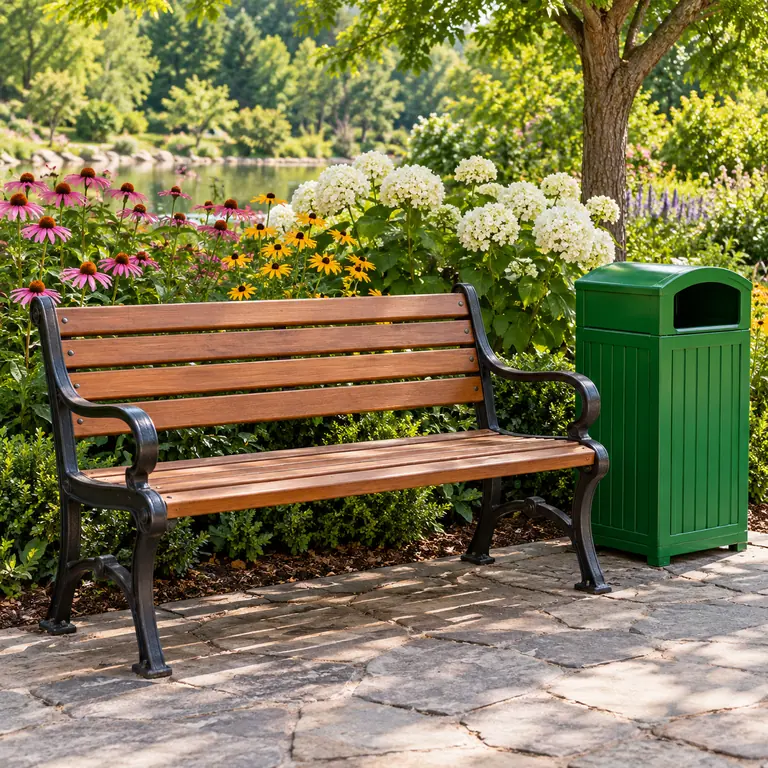
A bin stands beside a bench and a flower border. The eraser fills paving and flowers in its place; check that the paving pattern lines up.


Paper balls are scattered across a wooden desk. Mark each piece and its shadow, and the wood grain and lamp light continue across the cleared area.
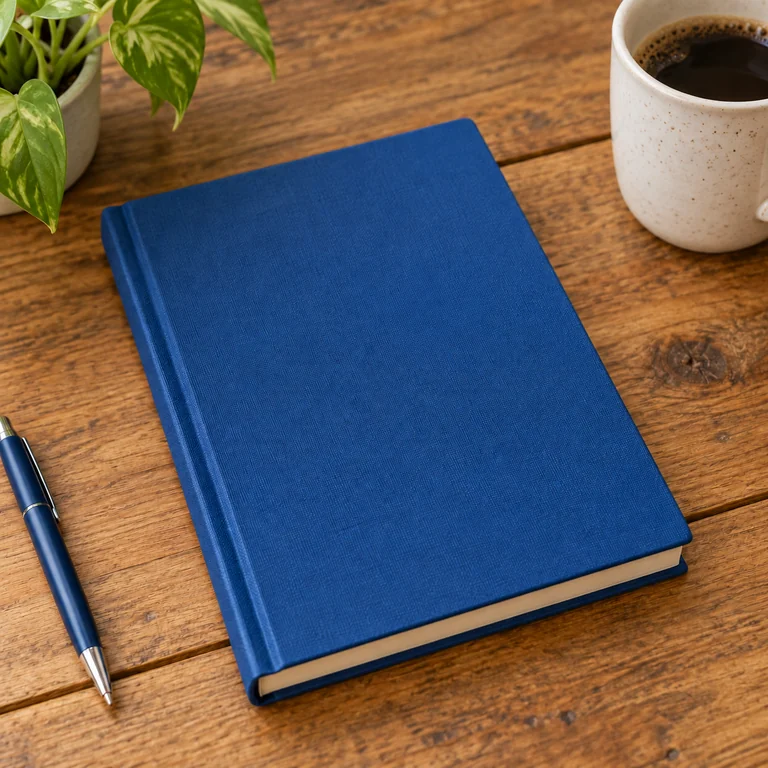
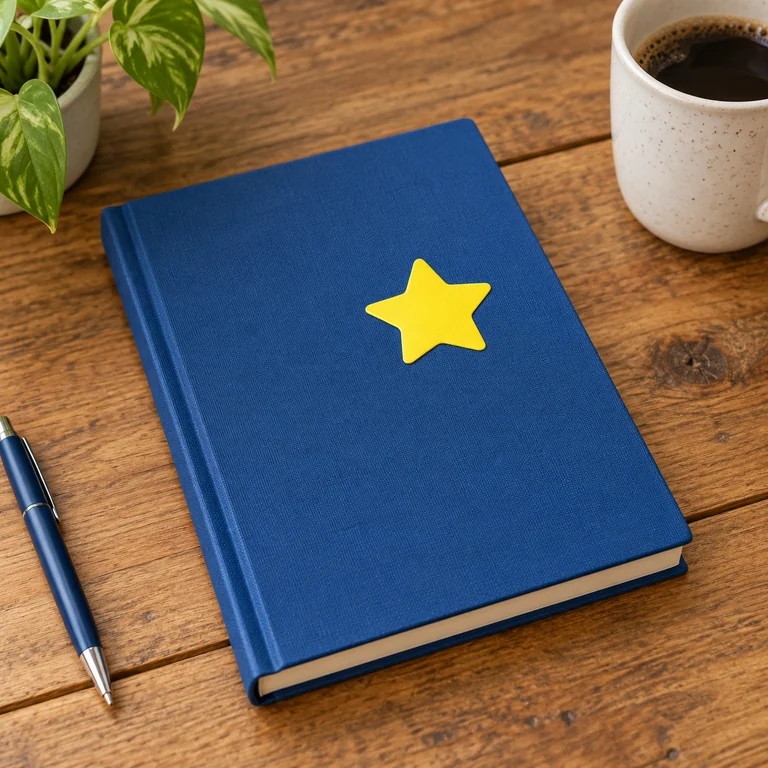
A yellow sticker sits on a blue cloth cover. The picture cleaner restores the plain cover texture, so the notebook looks unmarked.


A ‘Summer Day’ caption sits over rocks at a coastal lookout. Box the lettering and the rocks are rebuilt; for text-heavy images, Remove Text from Picture is more focused.
Use a JPG, PNG or WebP up to 20 MB in which the object is clearly visible. Keep the original file for comparison.
Paint over the object with the brush, or drag a box around straight-edged items such as signs. Include its shadow and any reflection you want gone.
Type what should be removed, for example ‘the green bin and its shadow’, when the mask covers more than one thing. The Common distractions presets fill in a note for you.
Zoom into edges, repeated patterns and perspective lines. If something looks off, adjust the mask and run it again.
The eraser tool changes only what you mark. Paint slightly past the object’s edge so no outline is left, and keep faces, hands and the main subject outside the mask. Switch to the mask eraser to take back any stroke that went too far.
Out-of-focus objects have soft halos that are easy to miss. Mark the full blur around a wire or a background sign, not just its center, so the picture eraser does not leave a faint ghost behind.
Paving, tiles, fences and wallpaper show mistakes quickly. After the AI image cleanup, check that lines meet and that the pattern does not repeat like a stamp. Split a large area into two passes for clean images on busy surfaces.
This photo eraser web app fills the area you mark with new background. For a color eraser, use Remove a Color from an Image; to make a background see-through, use Make Image Transparent; for people, Remove Person from Photo also has a background-people mode.
Even light and clear texture give the fill something real to match. Heavy noise or blur makes the erased area harder to blend in.
An object usually leaves a shadow on the ground or a reflection in glass. Mark those too, or the scene keeps a shadow with nothing casting it.
When erasing near a person, keep the mask a little away from hair and hands so they are not reshaped.
Remove one object per pass when a scene is crowded. The photo cleaner fills smaller masks more convincingly than one huge selection.
Dust on a lens, a stain on a wall or a small scratch can be brushed out like any object. For skin blemishes, AI Photo Retouch keeps skin texture more natural.
Keep the original, and do not use erased images as evidence or to misrepresent an event, a product’s condition or a property listing.
 Remove Person from PhotoRemove person from photo online free to try: brush over unwanted people or let AI clear background crowds and keep your main subject. Save an edited copy.
 Remove Text from PictureRemove text from picture files with AI: erase captions, titles, date stamps, price tags, sign lettering and manga text, and rebuild the background. Free to try.
 Watermark RemoverWatermark remover for your own photos: mark the text, logo, date stamp or signature and the AI erases it and rebuilds what is underneath. Free to try online.
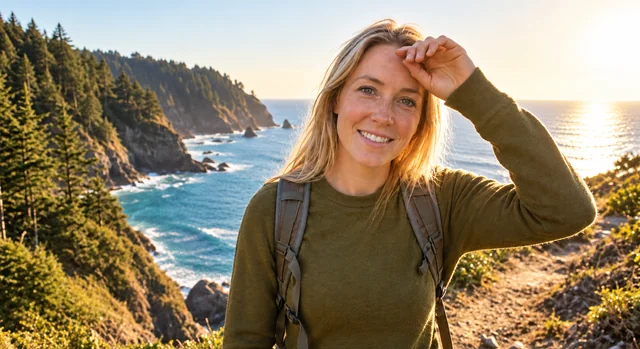 Remove Glare from PhotoHow to remove glare from photo shots? Upload one and the AI glare remover clears sun glare, flash reflection, and window reflections while keeping the detail.
 Remove Emoji from PhotoRemove emoji from photo shots in one pass: the AI emoji remover erases emojis and stickers from pictures and fills the covered area with matching background.
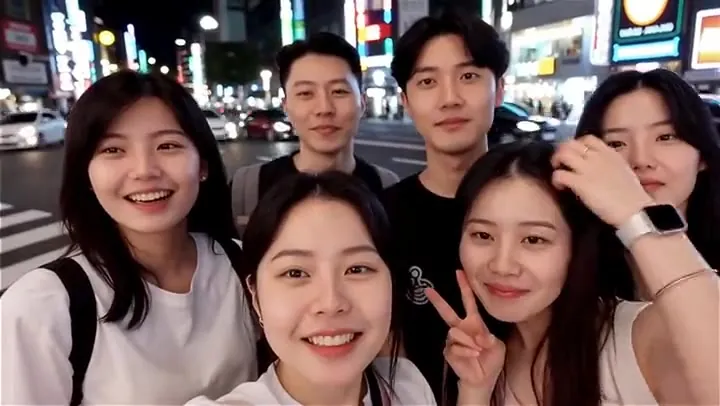 Remove Object from VideoRemove object from video with an AI video eraser. Describe the person, logo, or item to erase, and the AI fills in the background on every frame as the clip plays.
Describe a bigger change in words, like replacing the sky or changing a wall color.
Read the guideGenerate a fresh background or scene from a text prompt when a photo is beyond repair.
Read the guideBrush an area and describe what should appear there instead: flowers, a new sky, furniture or a fresh color.
Open the toolGrow the cleaned-up photo past its edges when the subject sits too close to the border.
Open the toolUpload the photo, brush or box the object together with its shadow, and add a short note if the selection could be read two ways. Press Generate, then zoom in to check edges and patterns before you download the cleanup photo.
Yes, the AI image eraser tool is free to try. Each edit uses account credits, and the Generate button shows the cost before you run it.
Only upload photos you own or have permission to edit. Do not erase logos, credits or watermarks from other people’s work, and respect the people and property shown in the picture.
Only the masked area is meant to change; the instructions tell the model to leave everything outside it as it was. Detail right next to the mask edge can still shift slightly, so keep important features a little outside the selection and compare with the original.
Use the brush for irregular shapes such as wires, plants and loose clutter. Use the box for straight-edged items like signs, stickers and text blocks. Both draw on the same mask, so you can combine them, undo a stroke or clear the mask and start again.
Name the object and anything tied to it, like ‘the trash bin and its shadow’. The note is optional and helps when the mask covers several things or the object is hard to see. Leave unrelated changes for AI Photo Editor.
Look at the mask edge, shadows, repeated patterns and straight lines such as railings or the horizon. A convincing cleanup picture can still contain invented details, so compare it with the original before sharing.
For small spots on objects, walls or a dirty lens, yes: brush over them like any other distraction. For skin, AI Photo Retouch is the better choice because it is built to keep skin texture natural.
No. The image eraser fills the area with new background. If you need a transparent eraser that leaves an empty, see-through area, use Make Image Transparent instead.
This object remover handles any object you mark. For people, Remove Person from Photo can also clear background crowds without a mask. For captions and signs, use Remove Text from Picture; for marks on your own images, use Watermark Remover.
Upload a photo, mark what does not belong and compare the cleaned version with the original. The AI image eraser is free to try.