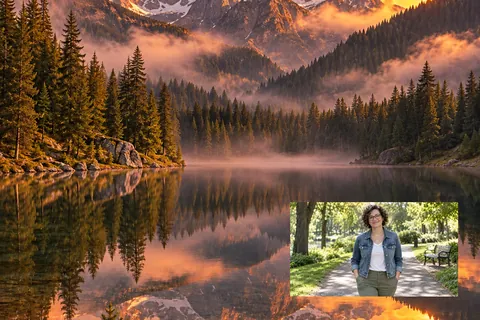
Picture in Picture
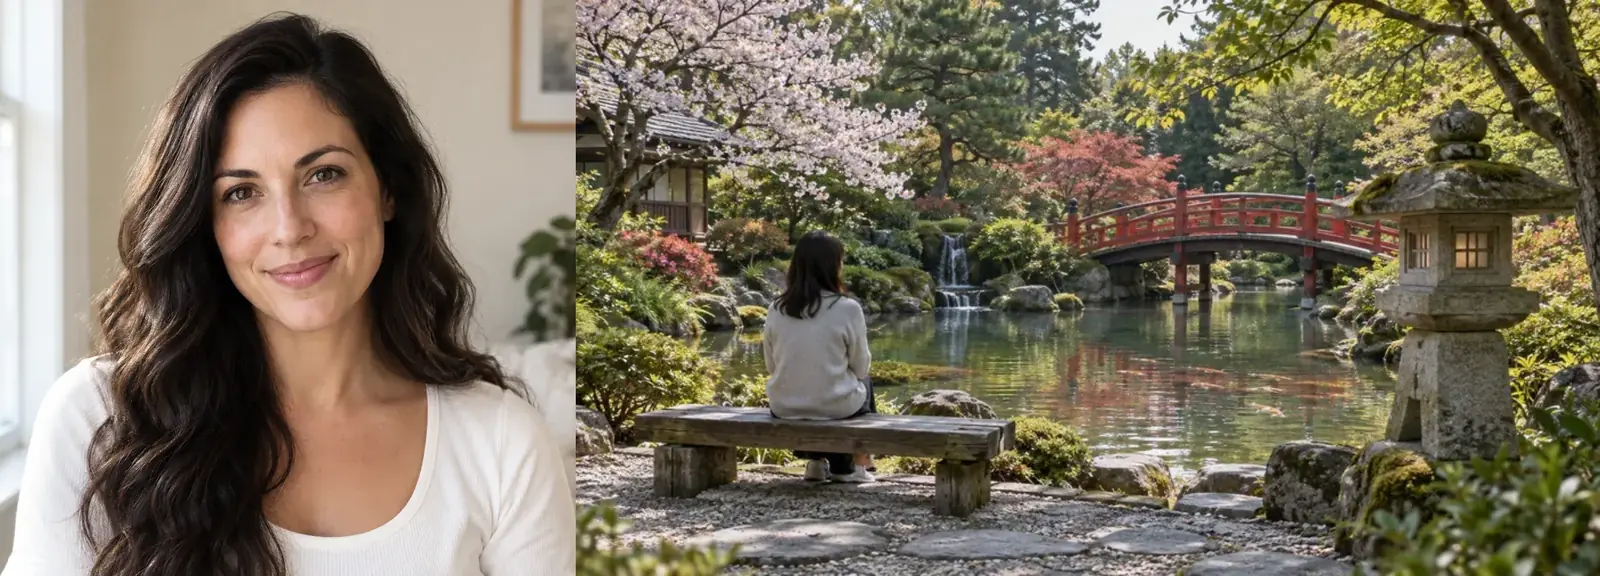
A small photo in the corner of a bigger one: the classic photo in photo effect.
Put one photo on top of another for a picture in picture, or add a logo, watermark, PNG frame, film grain, or sunset light leak. Drag the overlay into place, resize it, set the opacity, and download. A free image overlay online, with no sign-up and nothing uploaded.
Overlay styles
Fine-tune
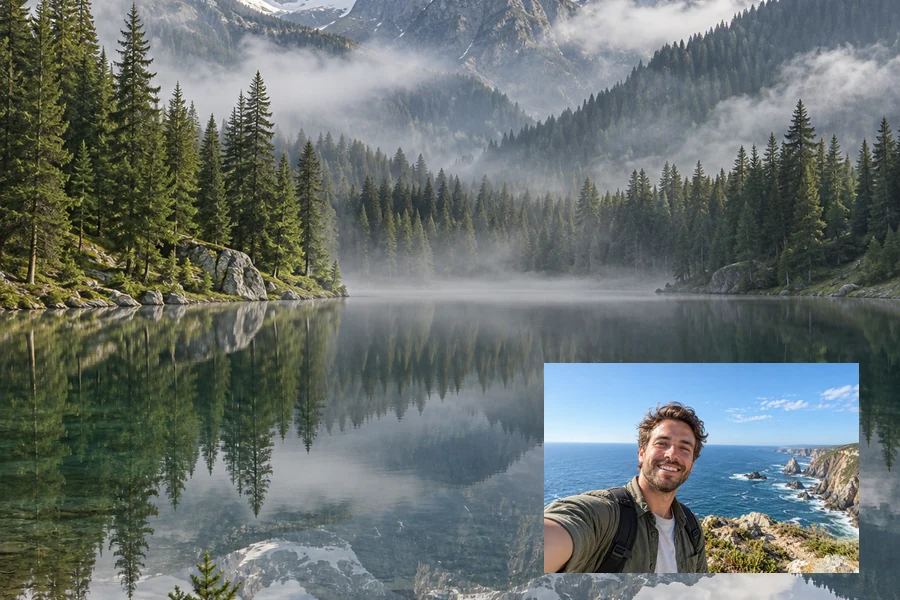
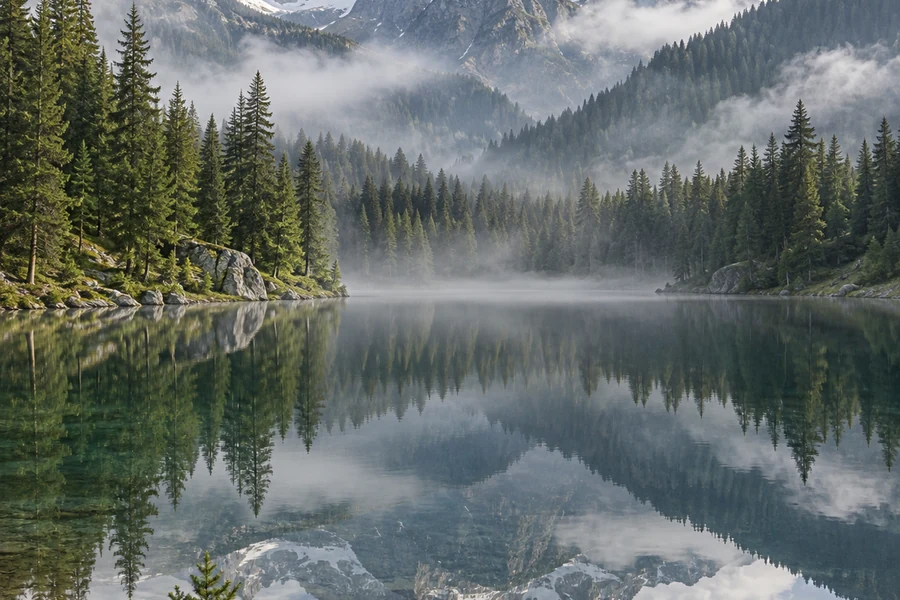
Reference example. It is not a result generated from your upload.
An image overlay is one picture placed on top of another. The bottom photo is the base; the overlay can be a second photo (picture in picture), a logo or watermark, a transparent PNG such as a frame, a Santa hat overlay, or a glasses overlay, or a full-size texture like film grain, canvas, or a sunset light leak. People overlay images to brand a post, frame a memory, or give a flat photo a film look, and it is the simplest answer to how to add a picture to a picture or how to add a photo on another photo: no layers panel, no Photoshop.
Overlaying is not quite the same as blending. An overlay keeps its shape and sits where you drag it, like an inset or a sticker, and you decide how big and how see-through it is. When you want two photos to melt into each other with a gradient fade or one of 16 blend modes, the Image Blender is the better fit. This image overlayer runs in your browser: superimpose pics online, add picture to picture, add photo to photo, or drop an overlay on a pic, with no upload, no sign-up, and a result that keeps the full size of your base photo.
Every card is a real pic overlay made with this photo overlay tool. Pick one to load its settings, then add your own pictures.
A small photo in the corner of a bigger one: the classic photo in photo effect.
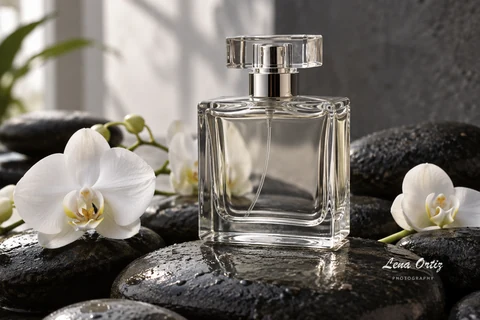
A signature or logo PNG in the corner at 85% opacity.
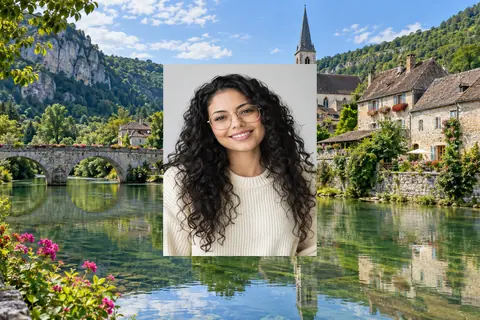
One photo centered on top of another, like a print laid on a backdrop.
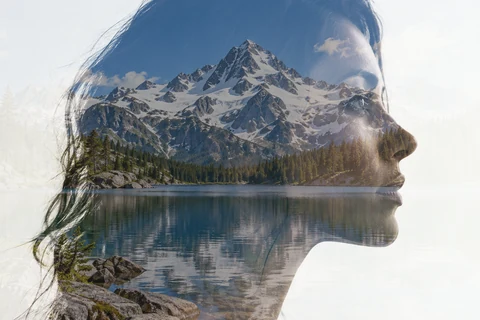
Screen at 60% lets a landscape show through a portrait.

Overlay canvas on image files for a painted, printed-on-canvas look.

Fine grain in Overlay mode at 30% for an analog film feel.
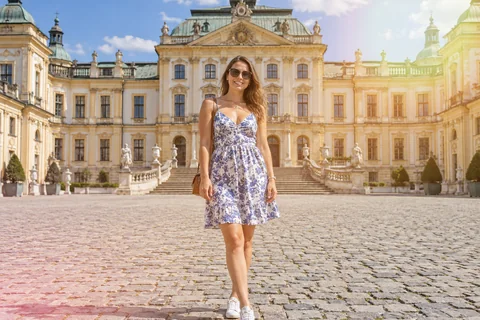
A warm sunset overlay in Screen mode adds golden-hour glow.
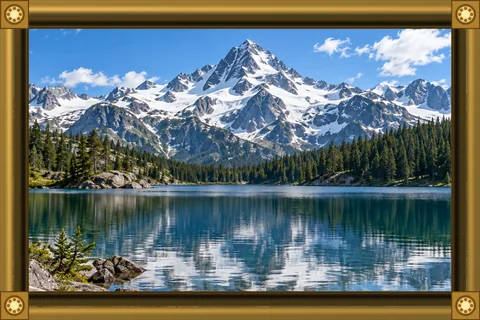
A transparent PNG frame laid over the whole photo.
How to put a photo on another photo, or a logo, PNG, or texture, in three steps on a computer, iPhone, or Android.
Add picture 1, the background. It sets the size and shape of the result and never leaves your device.
Add picture 2: a photo, logo, PNG, or texture. Choose Picture in picture (how to insert a picture into another picture), Logo / watermark, Double exposure, Film grain, or another style, or set the overlay mode yourself.
Drag the live preview to place the overlay, change Overlay size and opacity, then save a JPG, PNG, or WebP at full size.
Edit pic on pic in your browser: a picture in picture online editor that also does logos, frames, textures, and double exposures, all from two uploads.
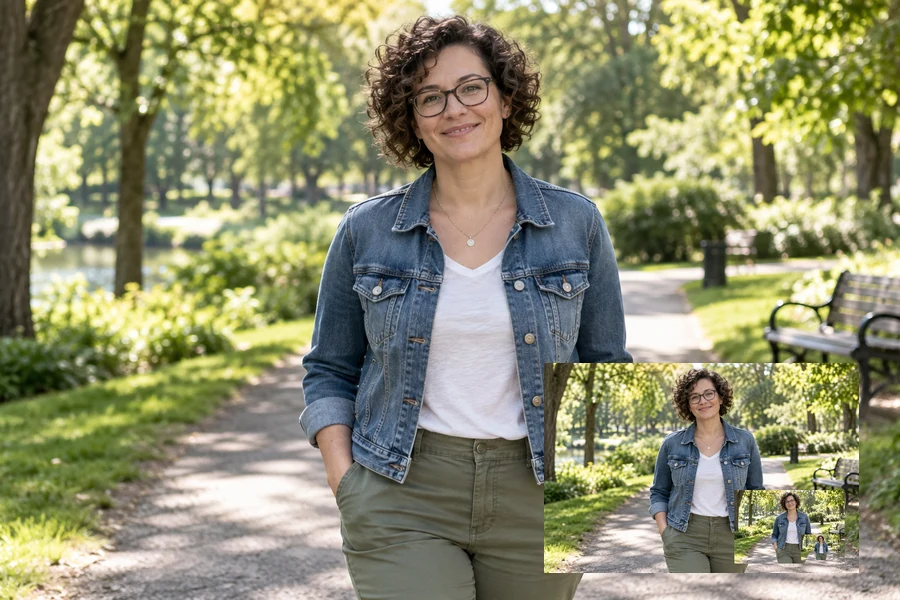
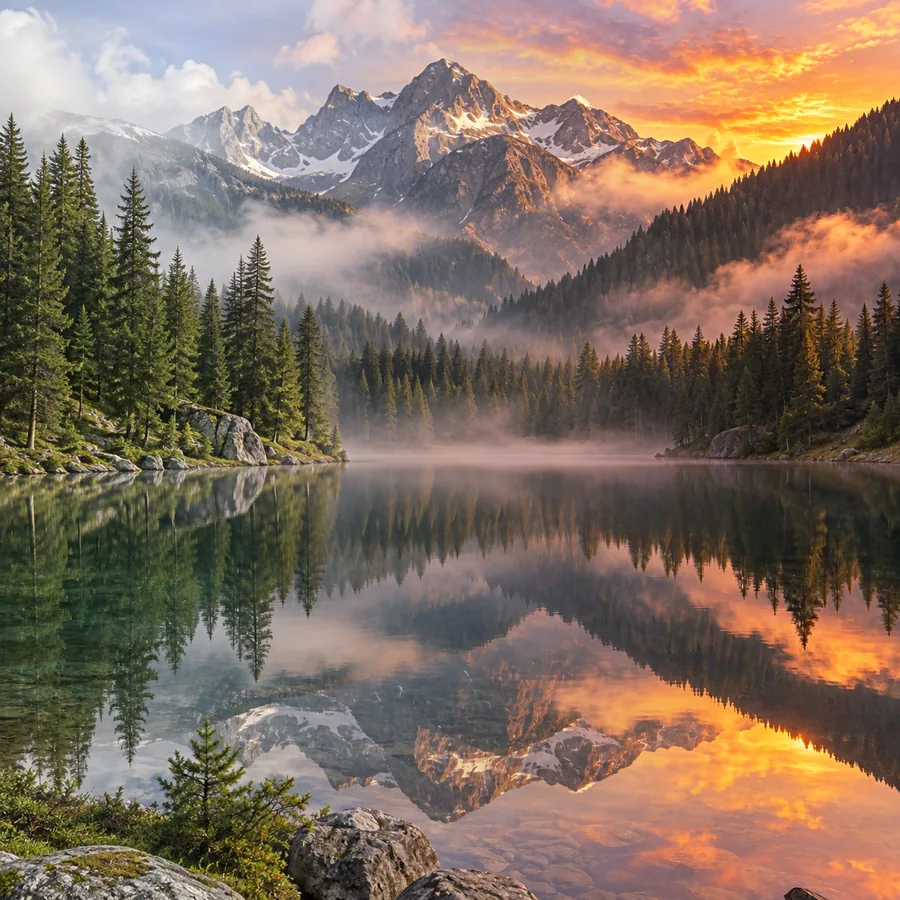
Add pic in pic layouts: choose Fit inside and lower Overlay size to tuck a smaller picture into picture 1’s corner, or keep it large and centered to put one photo on top of another. Drag the preview to move it; a dashed outline shows where it sits. That is how to add a picture inside a picture, and if you reuse the result as picture 2 you get a picture inside a picture inside a picture, like this park walk.
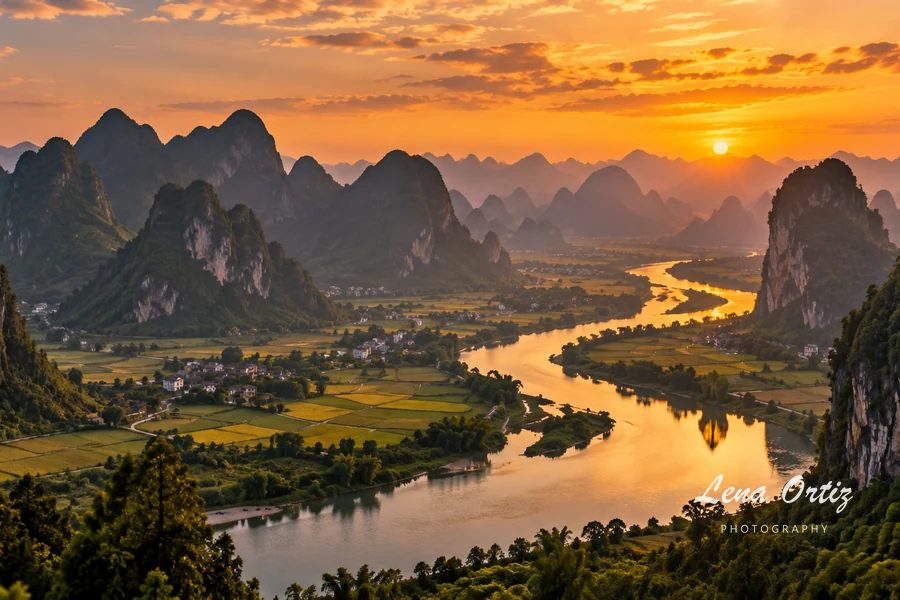
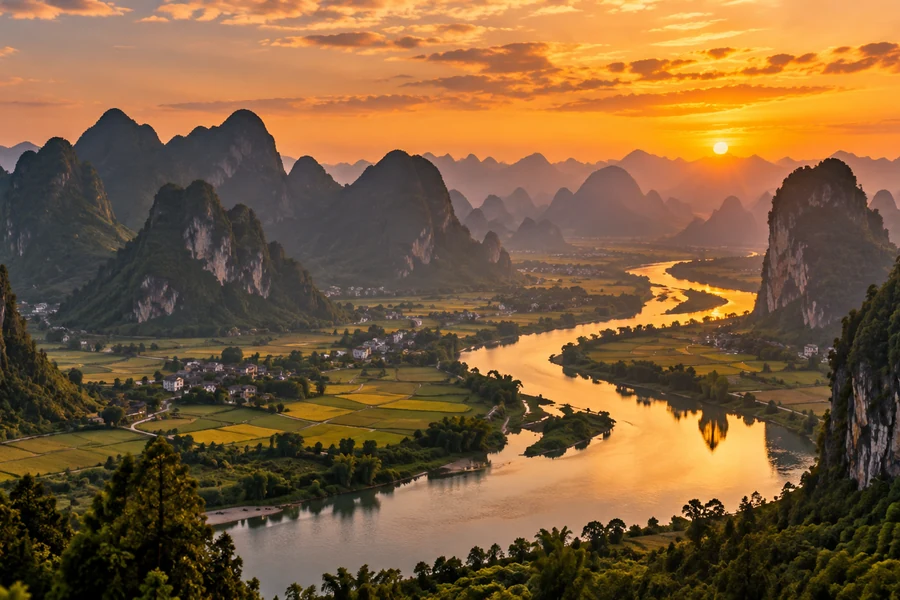
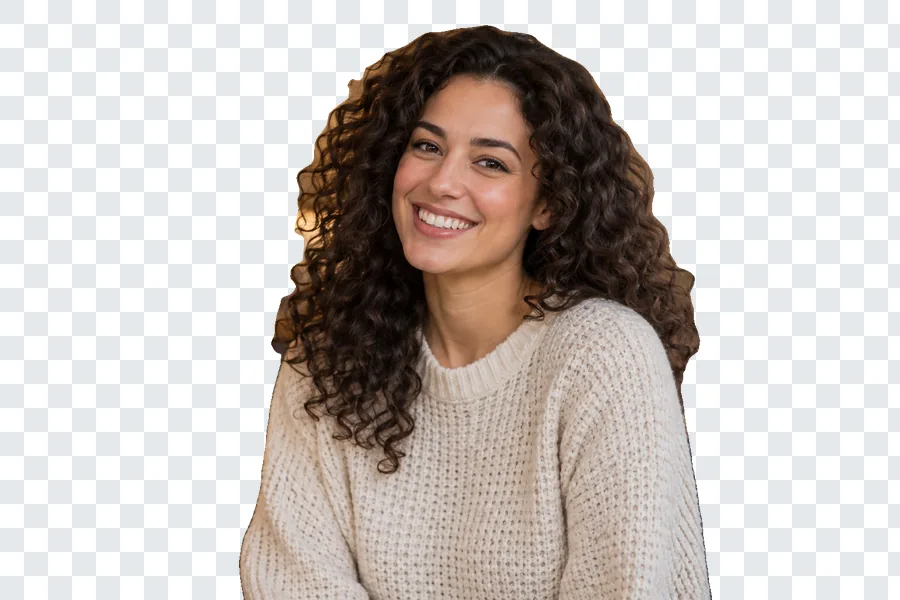
Upload a transparent PNG logo or signature as picture 2 and click Logo / watermark: it lands in the bottom-right corner at 20% size and 85% opacity. Drag it to any corner, make it bigger, or fade it further. Brand product photos, sign your photography, or add image to photo posts for a shop or café in a couple of clicks.
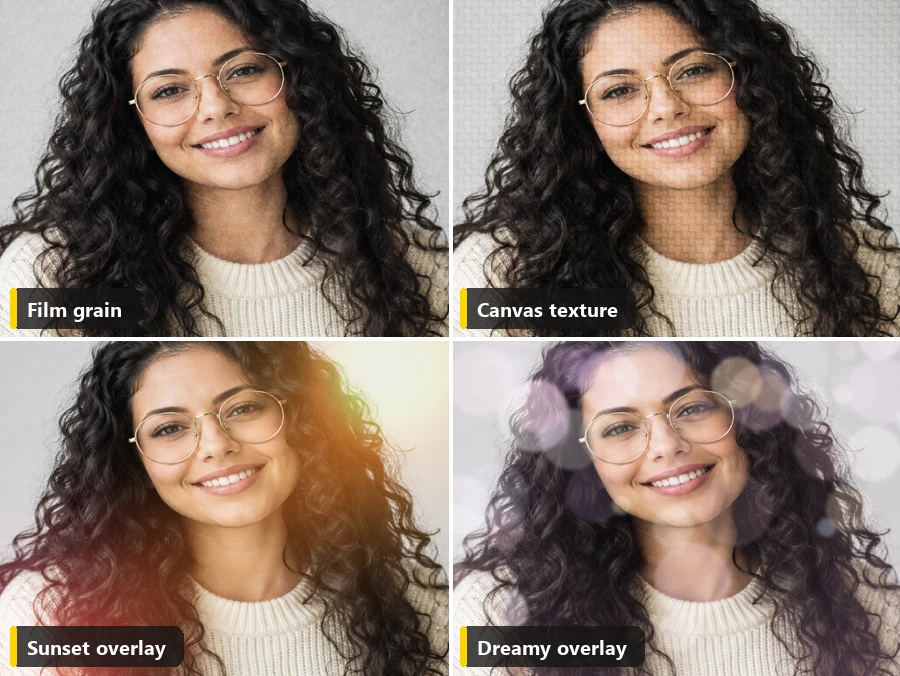
Full-size overlays change the look of the whole photograph. A grain overlay in Overlay mode adds film texture, the same job a Photoshop grain overlay layer does; a canvas texture makes a photo look painted; a sunset overlay or light leak in Screen mode adds warm glow; and pastel bokeh makes a dreamy photo overlay. Any photograph overlay works, from dust and paper to fog and fireworks.
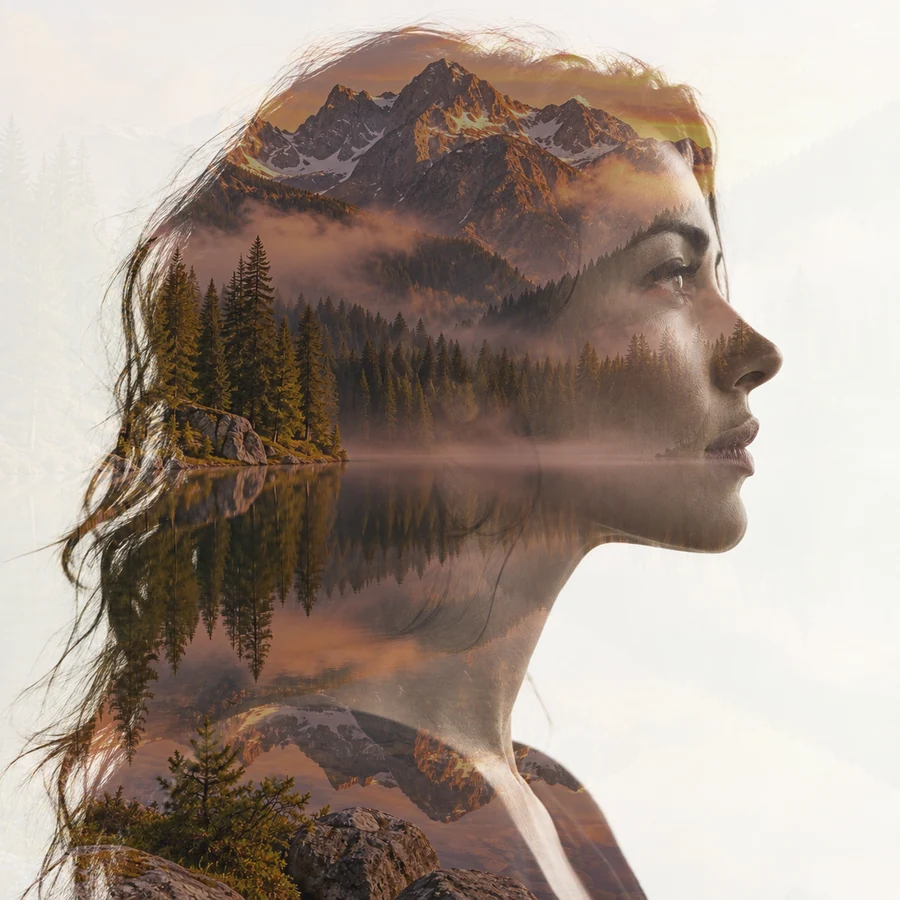
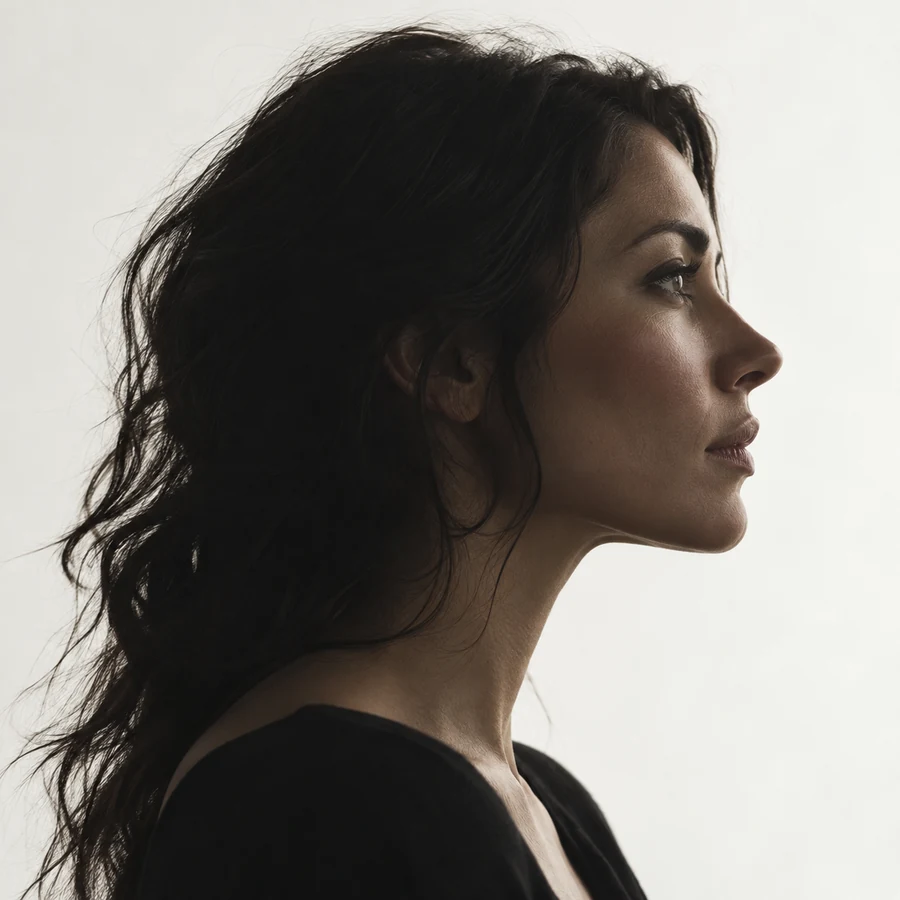
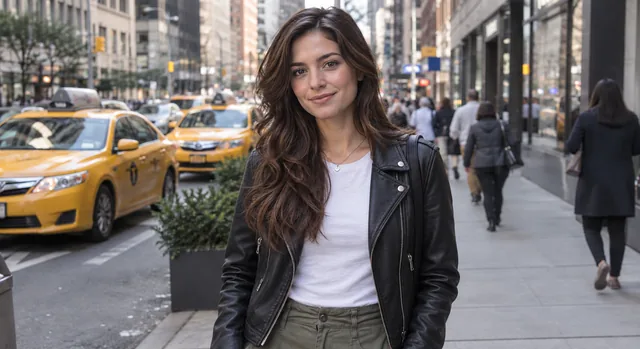
Click Double exposure and picture 2 covers the whole frame in Screen mode at 60%, so a landscape shows through the darker parts of a portrait while a light background stays clean. A profile against a plain, light wall works best; raise the opacity for a stronger effect or add the Black & white finish.
How to overlay photos well: pick the mode that matches what picture 2 is.
| Overlay mode | What it does | Best for |
|---|---|---|
| Normal | Shows picture 2 as it is; opacity makes it see-through | Picture in picture, photo on photo, logos, PNG frames, and stickers |
| Multiply | Keeps the darks of both pictures; white disappears | Paper, ink, and black-on-white logos or line art |
| Screen | Keeps the lights of both pictures; black disappears | Light leaks, sunset overlays, bokeh, fireworks, double exposure |
| Overlay | Adds contrast and texture; 50% gray disappears | Film grain, canvas, and other texture overlays |
| Soft light | A gentler Overlay that tints without harsh contrast | Subtle textures, color washes, and haze |
| Lighten | Keeps the lighter of the two pixels | Double exposures on dark backgrounds, stars, and snow |
| Darken | Keeps the darker of the two pixels | Dark textures and silhouettes on light photos |
Black in Screen, white in Multiply, and 50% gray in Overlay leave the base photo unchanged, which is why light-leak files are on black and grain files are gray. Need all 16 modes? Use the Image Blender.
Ideas for a photo overlay: put photo on photo, add pictures to posts, and layer images for cards and listings.
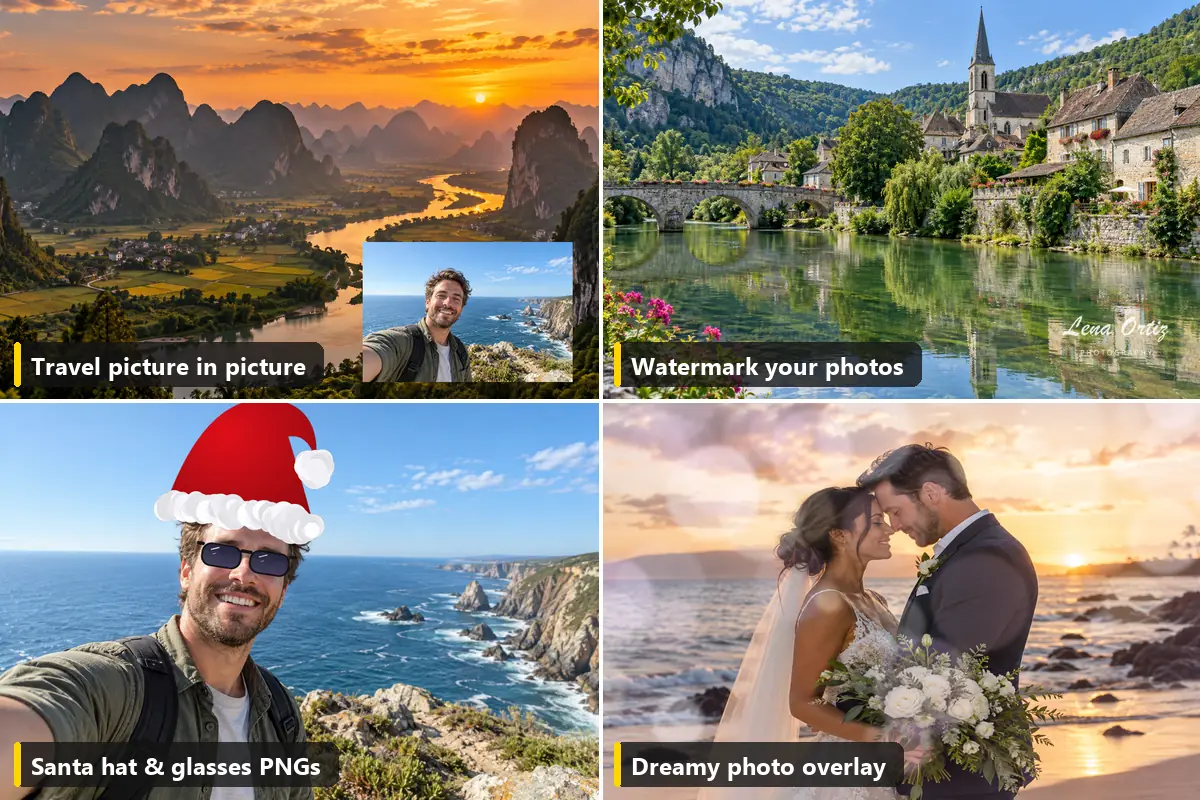
Put a selfie in the corner of a landscape or screenshot for vlog thumbnails, reaction posts, and stories.
Brand product photos, menus, and listings, or sign your photography before you share it.
Add a Santa hat overlay, a glasses overlay, confetti, or a frame PNG to selfies and greeting cards.
Lay grain, dust, paper, or light leaks over digital photos for an analog feel.
Double exposures and overlapping pictures for covers, flyers, and event posters.
Insert photo on photo: the before shot in a corner of the after shot for renovations, makeovers, and edits.
How to layer pictures, and how to put a picture on top of another picture, so the result looks intentional.
Logos, frames, and stickers look best as PNGs with a transparent background. Photo with a busy background? Cut the subject out with the Background Remover first, then overlay it.
Gray textures: Overlay. Light effects on black: Screen. Paper or ink on white: Multiply. Then lower the opacity until it looks natural.
Looking for a grain overlay Photoshop users add as a layer? Use any film-grain image as picture 2 with Overlay at 20–40%. It is the same idea as a Photoshop layer or the Image Apply Image command, without the menus.
The result keeps the size of picture 1 (up to 8000 px), so use your largest base photo. Picture 2 is scaled to fit, so it can be any size.
Blend, cut out, decorate, or clean up: each job has its own tool.
Melt two photos together with 16 blend modes and a gradient fade.
Blend imagesLet AI place a person or object into another photo as one new scene.
Combine with AIDecorate a picture with ready-made stickers you can drag and resize.
Add stickersCut out a person, product, or logo to make a transparent PNG overlay.
Remove a backgroundPut emoji over faces or anywhere in a picture.
Add emojiFill big letters with a photo for titles, posters, and covers.
Make text artNeed an overlay remover? Clean a stamped watermark, logo, or text off a photo with AI.
Remove a watermarkPut pictures side by side, stacked, or in a grid instead of on top of each other.
Combine imagesLayering, opacity, PNGs, quality, and privacy.
Upload the background as picture 1 and the picture to add as picture 2, pick Photo on photo or Picture in picture, then drag the preview to move it and set Overlay size and opacity. Download as JPG, PNG, or WebP. That is how to put a picture on another picture without installing an app.
Here is how to overlay pictures: picture 1 is the bottom layer and picture 2 the top layer. Choose how the top layer mixes in (Normal, Screen, Multiply, Overlay, and more), how big it is, and how see-through. Layer order swaps which one is on top. For three or more layers, such as a pic on top of pic 3D stacking look, download the result and use it as picture 1 again.
Yes. This overlay image online tool is free, with no sign-up and no watermark, and it works in your browser, so your photos are never uploaded. Only use pictures you own or have permission to use.
Yes. Transparent parts of picture 2 stay clear, so logos, frames, a Santa hat overlay, or a glasses overlay sit cleanly on the photo. Use Normal mode and Fit inside, then size and drag it into place. Download as PNG or WebP for the crispest edges.
Move the Overlay opacity slider: 100% is solid, 50% is half see-through, and 0% hides it. Logos usually look best at 70–90%, and grain or texture overlays at 20–50%.
An overlay keeps picture 2’s shape and puts it where you drag it, like an inset or a sticker. Blending mixes two full photos into one, often with a gradient fade. This page handles simple blends too, but the Image Blender has all 16 blend modes and more fade controls.
Yes. Upload the photo, add your logo as picture 2 (a transparent PNG works best), and click Logo / watermark. It goes to the bottom-right corner at 20% size and 85% opacity; drag it to another corner or change its size.
Yes. The overlay editor runs in mobile browsers on iPhone and Android: tap to add both pictures, drag the preview with a finger, and download. There is nothing to install and no photo app to overlay photos.
No. The result keeps the full size of picture 1, up to 8000 px on the longest side. Save as PNG for the sharpest result or JPG for a smaller file. A tiny overlay enlarged a lot will look soft, so start from a big logo or photo.
Not with this tool; it adds overlays. To take a watermark, logo, or text off a finished photo, try the AI Watermark Remover, which works as an overlay remover for stamped images.
Add a base photo and an overlay, pick a style, drag and resize it, and download. Free and private, in your browser.