Medium blur for portraits
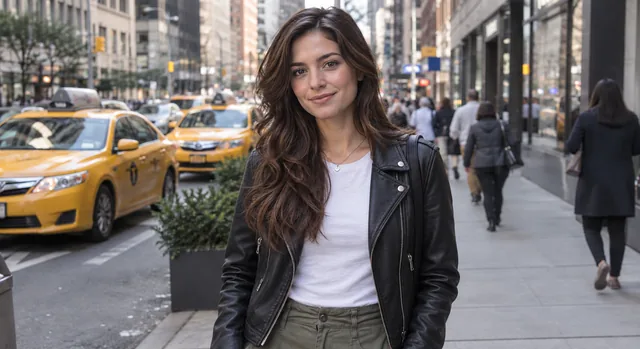
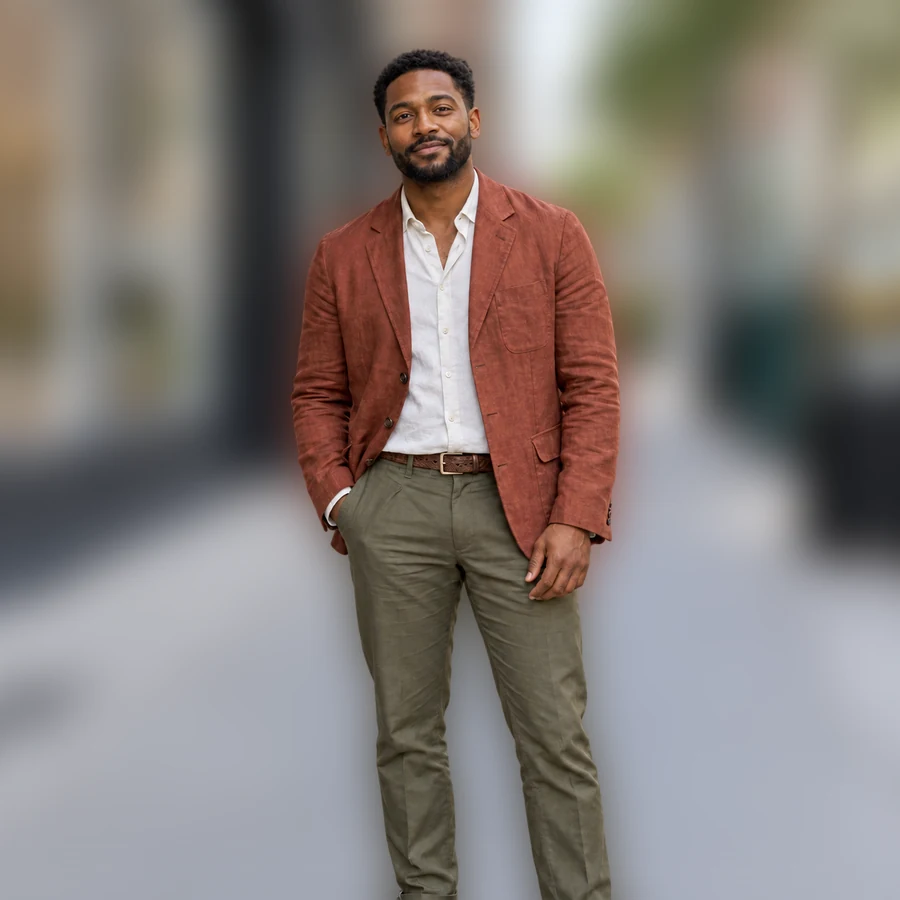
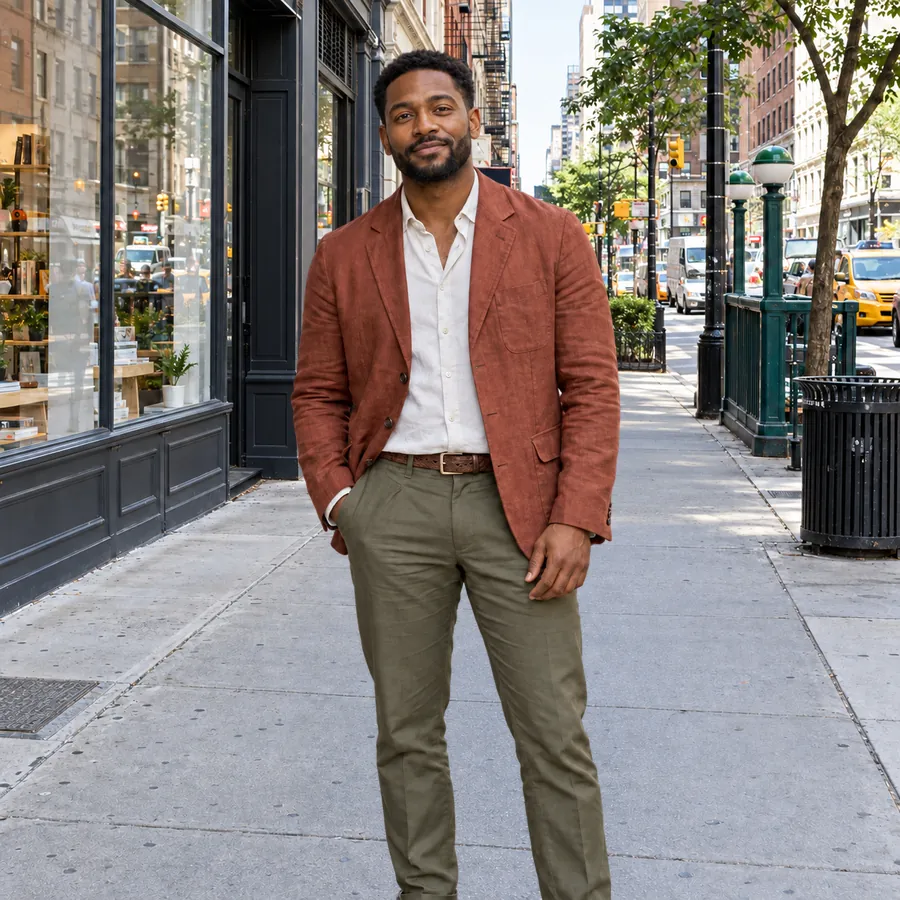
Blur strength 24, a notch past Portrait Bokeh’s starting 20, turns the shop windows and street furniture into soft shapes while his hair, jacket and hands stay crisp. A good default for profile pictures.
Upload a portrait, pet or product photo. AI separates the subject, then you blur image background detail, darken distractions and compare before and after live.
1Upload & remove background
Free to try. After removal, all adjustments below are free in your browser.
2Adjust
Free · live previewReference example. It is not a result generated from your upload.
Wondering how to blur the background of a photo you already took? Here background blur is a two-part edit: AI separates the person, pet or product once; after that the blur image background editor works on the original scene under the cutout, so you can try light, medium and strong bg blur as often as you like with no new generation.
It is a blur background website, not an install: there is no app to fade background clutter to download. This AI blur background workflow also lets you add Darken background to calm bright windows, drag the comparison slider over hair and shoulders, and download a PNG or JPG at the original size.
Blur strength 24, a notch past Portrait Bokeh’s starting 20, turns the shop windows and street furniture into soft shapes while his hair, jacket and hands stay crisp. A good default for profile pictures.
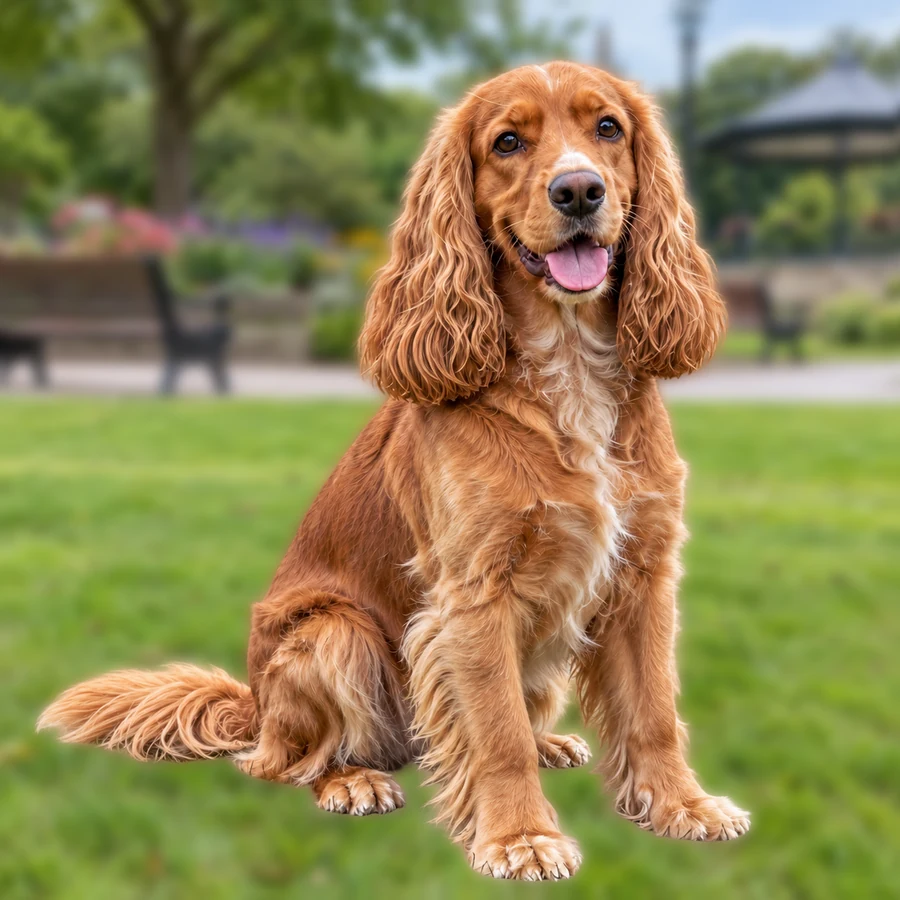
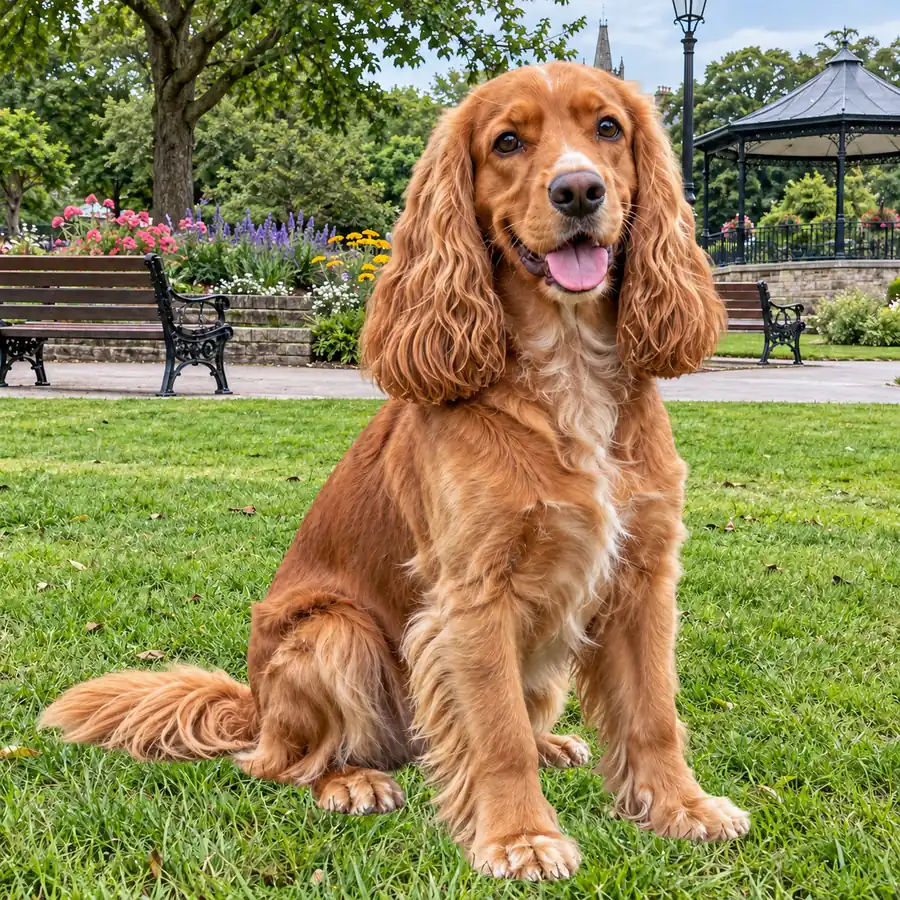
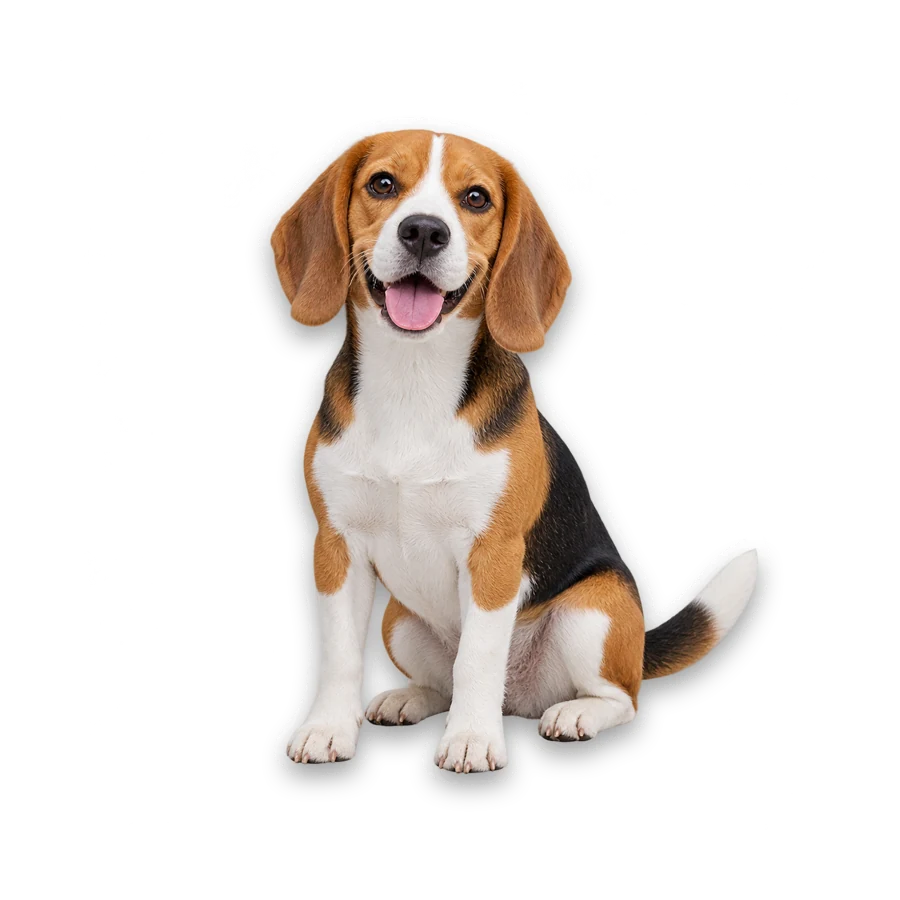
Blur strength 7 softens the benches and flowerbeds but leaves the park readable, so the spaniel stands out without losing the setting. Use it for pets, travel and event photos.
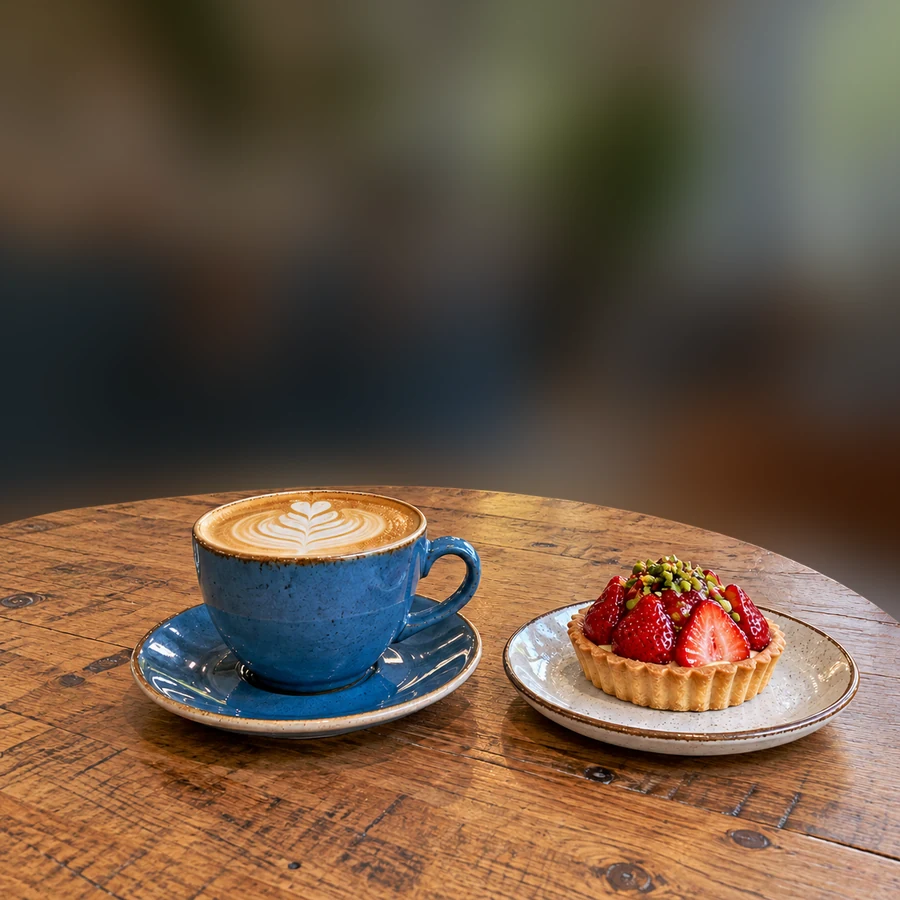
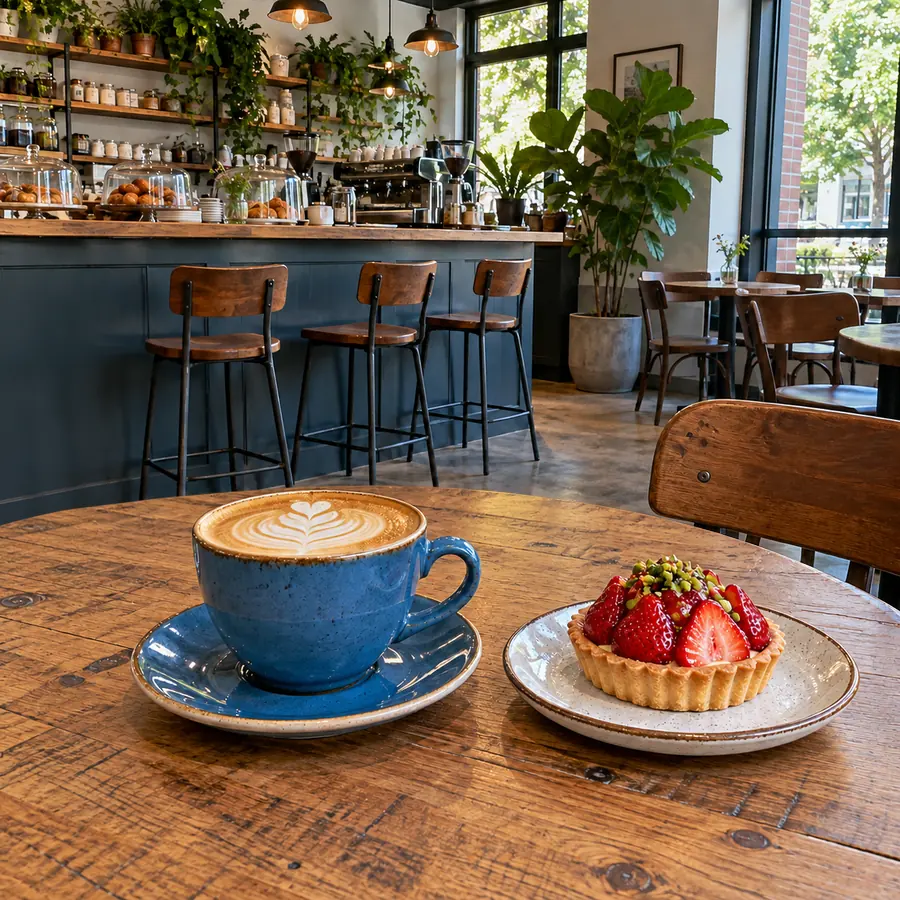
Strong Blur at 35 plus 25% Darken background pushes the café counter back and lifts the coffee cup and tart forward, close to a styled product shot.
Choose a JPG, PNG or WebP up to 5 MB. Photos where the subject stands clearly in front of the background separate best.
Press Remove Background. The AI cuts out the subject and keeps the original scene underneath, ready to be blurred.
Pick Portrait Bokeh, Soft Blur, Strong Blur or Blur + Darken, then fine-tune Blur strength (0 to 40) and Darken background (0 to 70).
Slide the before and after divider across the edges of the subject, then download the blur background image as a PNG or JPG.
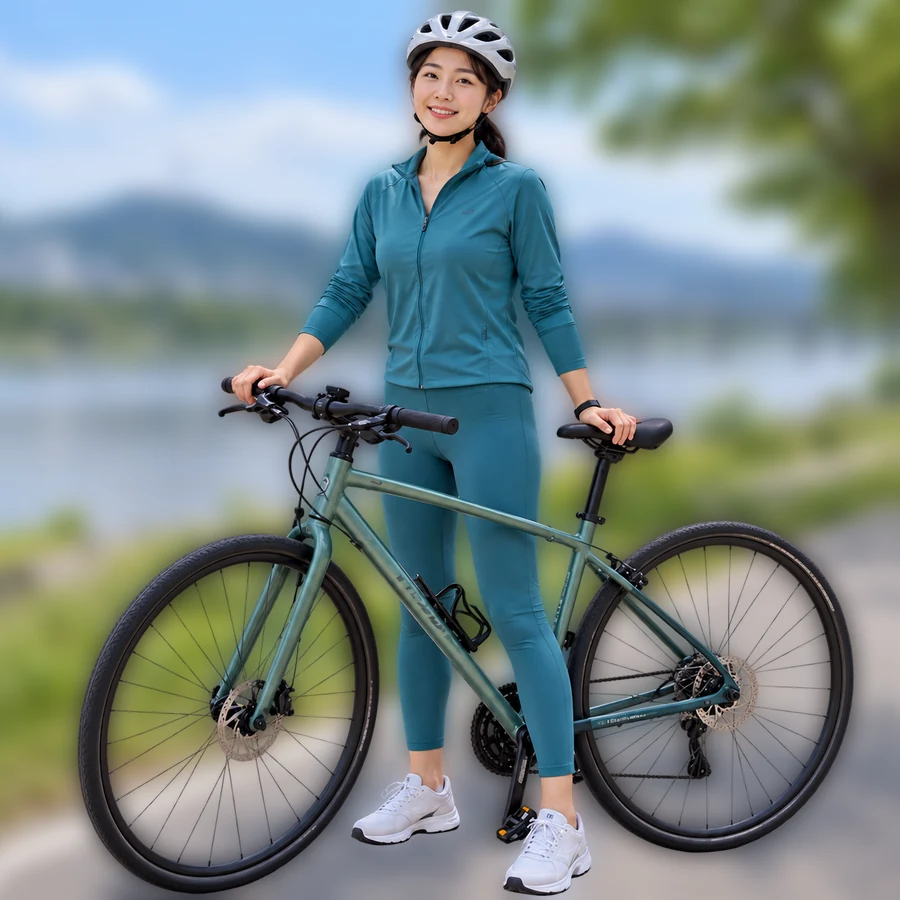
AI finds the subject once; your browser then draws the blur on the scene behind it. Drag Blur strength and watch the preview change with no extra generation, the way a blur background app would, but online.
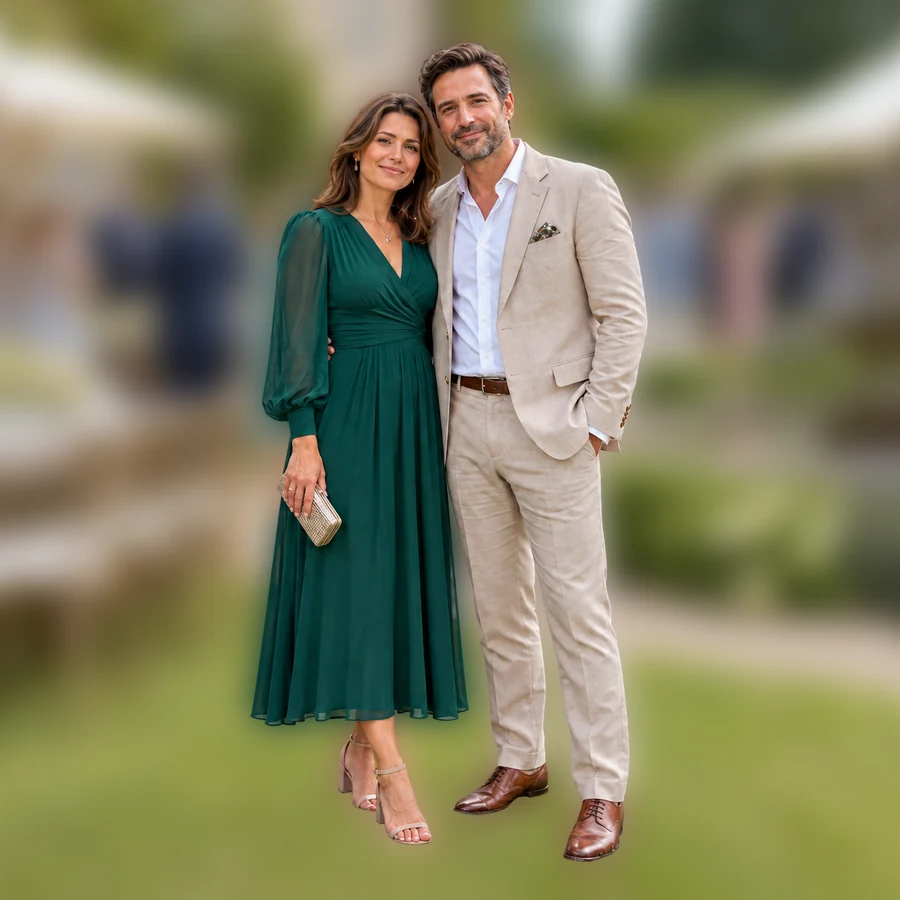
Use a light blur such as Soft Blur so the garden lights, tables and guests stay recognizable but stop competing with the couple. It is a gentle way to blur photo bg details when the location matters.
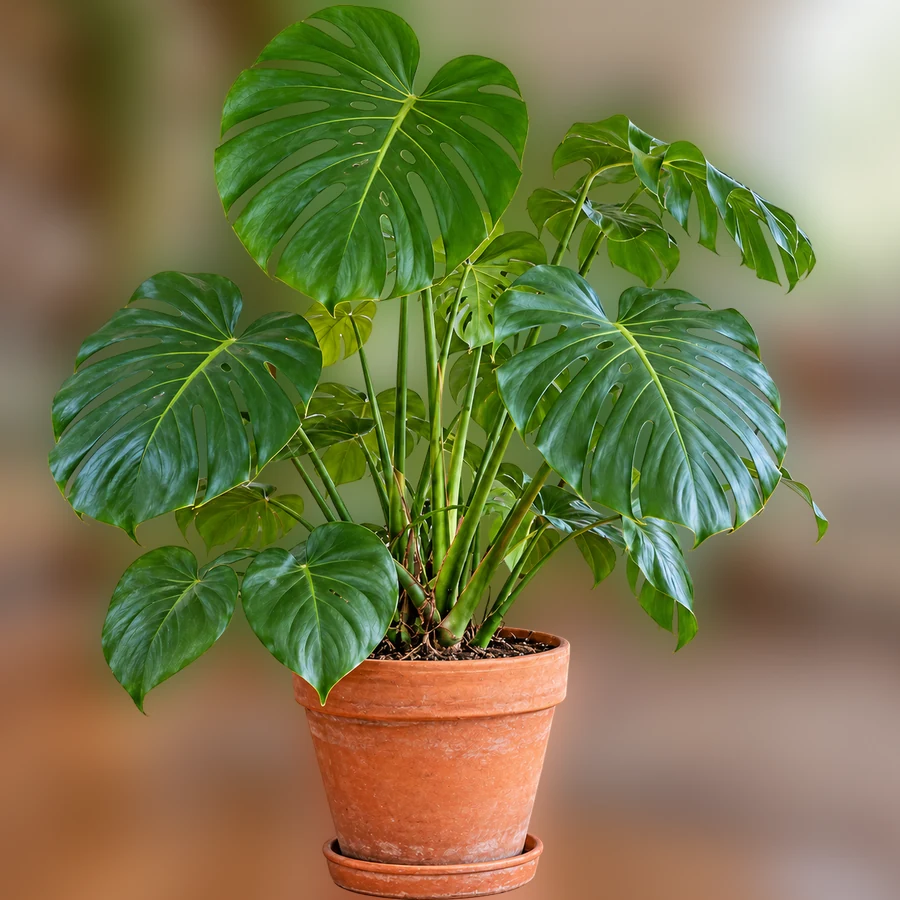
Phone portrait mode only works while you shoot. For an existing picture, upload it here, cut out the subject, then add strong blur and darken the scene to blur image bg clutter like a studio portrait.
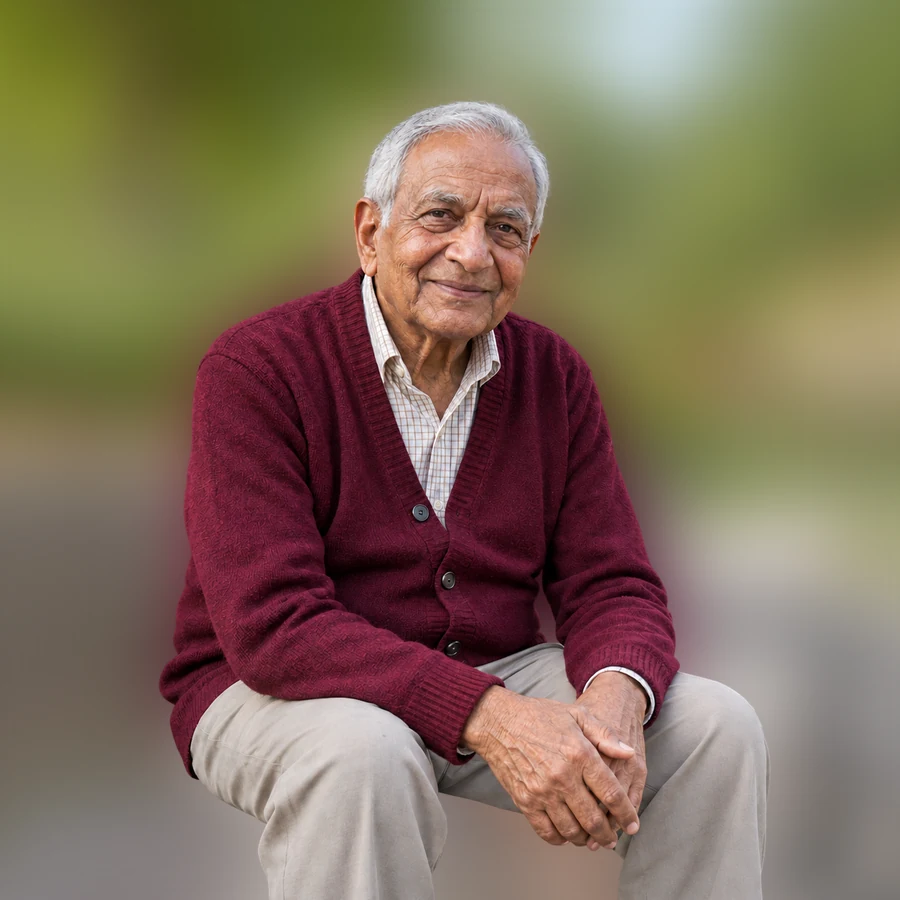
Next time, leave space between the subject and the wall, step closer, and use portrait mode or the widest aperture your camera offers. Optical blur from the camera plus this slider gives you the most control.
A wall right behind someone would only be slightly soft in a real photo. Use lighter blur for close backgrounds and stronger blur for distant scenes.
Switch Canvas to 1:1 or 4:5 for a profile or feed post. The extra space is filled with the same blurred scene, and the sharp subject stays exactly over its own background.
If a window or lamp still pulls attention, add 15 to 30% darkening rather than more blur.
A touch of edge feather blends hair and fur into the blurred scene; keep it at 0 for hard-edged products.
Drop the background entirely and keep the subject on a transparent PNG.
Read the guideMake a plain or white backdrop transparent for logos and graphics.
Read the guideReplace the blurred room with an AI-made beach, office or studio scene.
Read the guideTurn the subject into a sticker with an outline and shadow.
Read the guidePut the subject on clean #FFFFFF white instead of a blurred scene.
Read the guideUpload the photo, press Remove Background so the AI can separate the subject, then raise Blur strength until the scene softens. The subject stays sharp because it sits on top of the blurred copy of your original.
That is exactly what this tool is for. The blur is added after the fact, so any existing picture works, including scans and screenshots, as long as the subject is clearly separated from the background.
The steps are the same as for portraits. For fur, add a little edge feather; for products with hard edges, keep feather at 0 and try Blur + Darken to make the item stand out.
No. Unlike a phone background blur app, this runs in any modern browser on desktop or mobile, so you can blur background online without installing anything. No apps to blur background are needed.
They are starting points: Portrait Bokeh sets blur 20, Soft Blur 7, Strong Blur 35, and Blur + Darken uses blur 24 with the scene darkened by 25%. Move the sliders afterwards to fine-tune any of them.
No. The whole background gets the same amount of blur, while a camera lens blurs distant objects more than near ones. For scenes with a nearby wall, a lighter blur usually looks more believable.
No, it edits still photos only. To blur your background during a video call, use the background settings inside your meeting app; this tool is for photos you have already taken.
Keep Blur strength low, around 5 to 10, and skip darkening. Shapes and colors stay recognizable, so viewers still see where the photo was taken while the subject comes forward.
Photos you took or have permission to edit. Blurring a background does not make it fine to share someone else’s picture, so ask the people shown before you post the result.
The AI subject cutout is Free to try. Blur strength, darkening, feathering and downloads afterwards are free in your browser; only a new Remove Background run starts another AI generation.
Upload a photo, cut out the subject once and slide the blur until the background stops competing with it.