Sharp Image of a Glazed Teapot
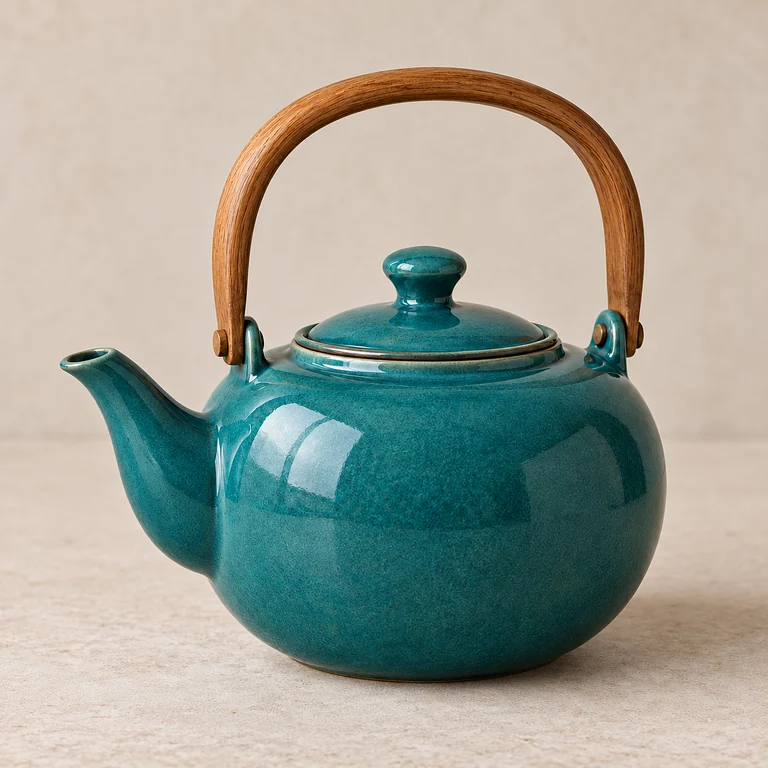
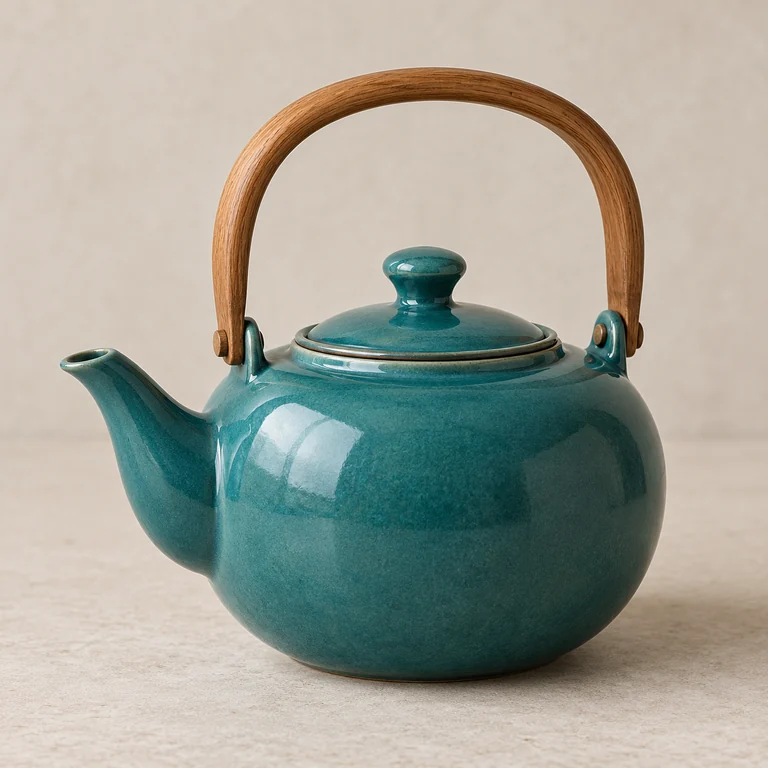
A product photo where the lid rim and wooden handle looked soft. Medium sharpening crisps the outline and the glaze highlights without halos on the plain backdrop.
Sharpen soft product photos, text, fur and landscapes with an AI photo sharpener. Choose Light, Medium or Strong, or sharpen and upscale 2× or 4× in one step. For heavy blur, use Unblur Image.
What are you sharpening?
Fine-tune
Reference example. It is not a result generated from your upload.
An image sharpener makes edges crisper and fine texture easier to see in a photo that is already mostly in focus: a product shot that looks a little soft, a screenshot that lost its crispness, fur or foliage that blends together. This AI image clarifier strengthens the detail that is already there instead of redrawing the picture, which makes it a practical AI image clarity enhancer for everyday photos.
Sharpening is not deblurring. If a photo shows motion streaks, camera shake or a missed focus point, use Unblur Image, which rebuilds detail lost to heavy blur. If you need a bigger file, choose Sharpen + Upscale 2× or 4× here; that mode works as a clarity upscaler, enlarging the image as it sharpens.
A product photo where the lid rim and wooden handle looked soft. Medium sharpening crisps the outline and the glaze highlights without halos on the plain backdrop.
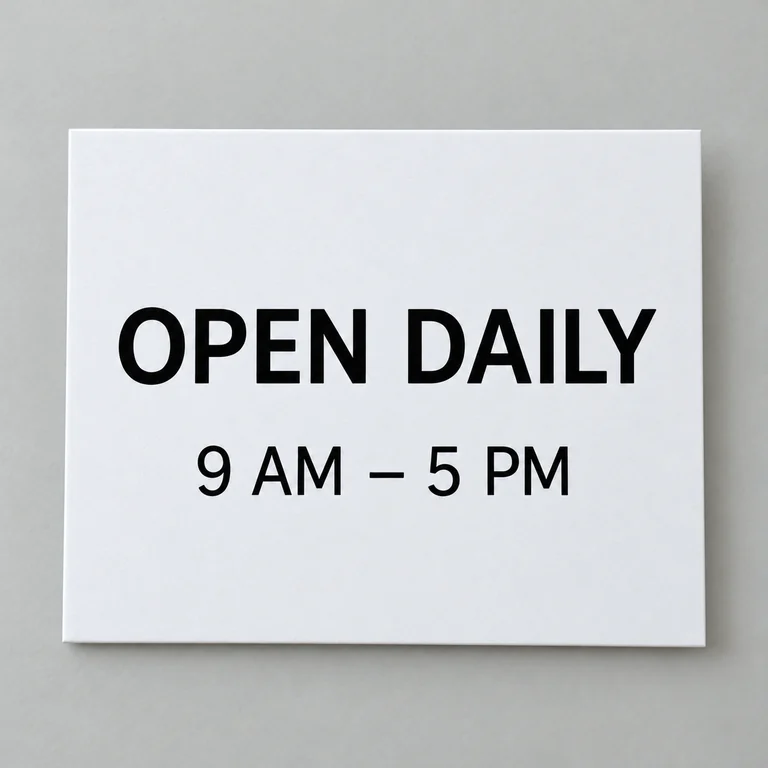
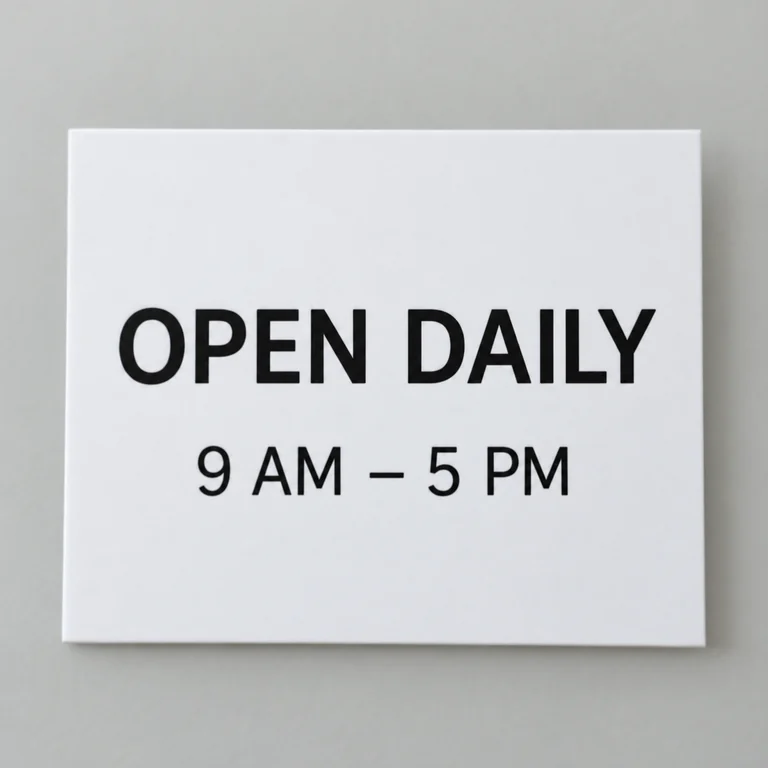
A slightly soft photo of an opening-hours sign. Sharpening firms up the letter edges without rewriting anything, so the words and times stay the same.
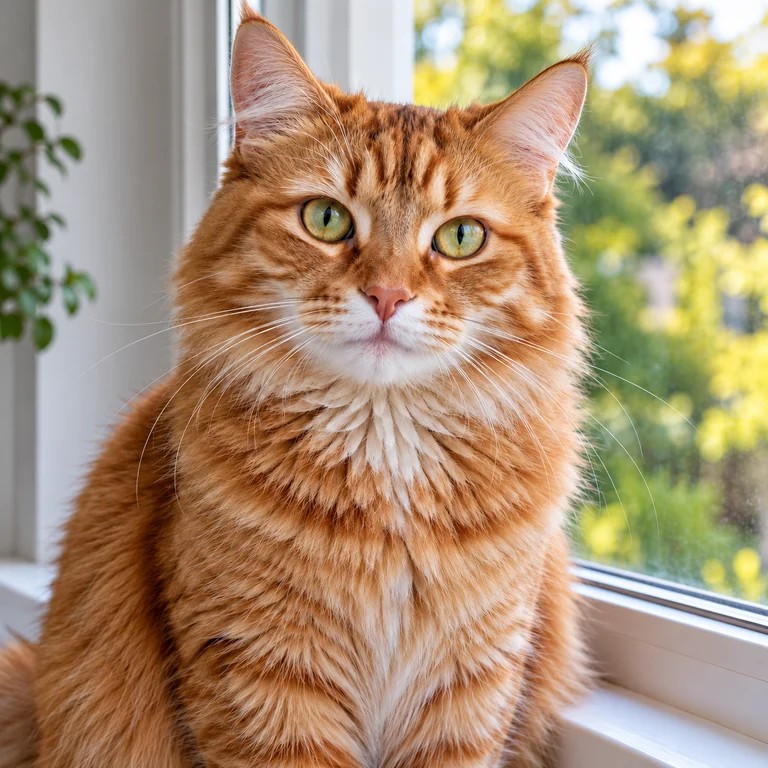
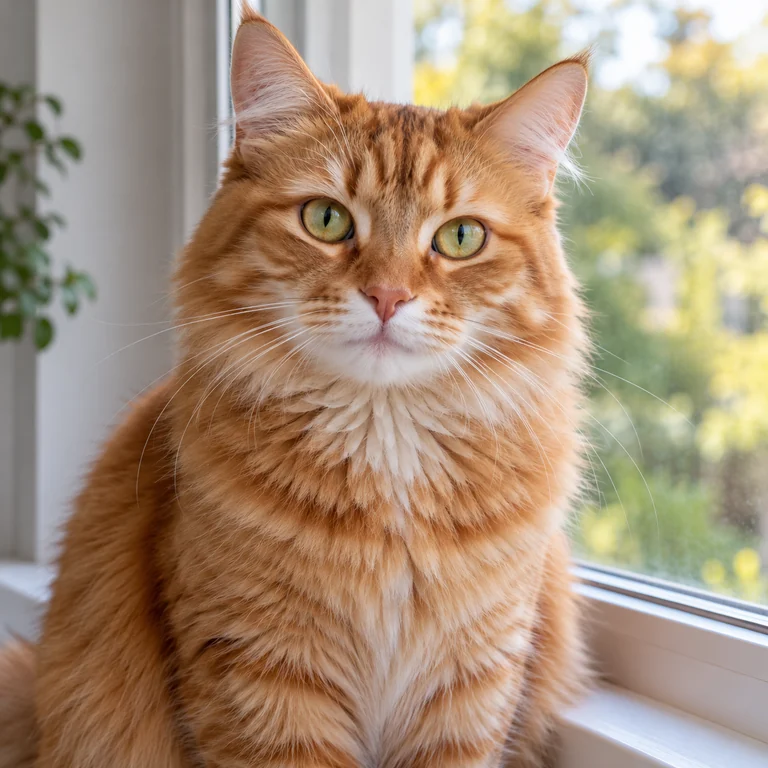
Whiskers and fur strands separate more clearly, while the eyes and the blurred garden behind the window stay natural.
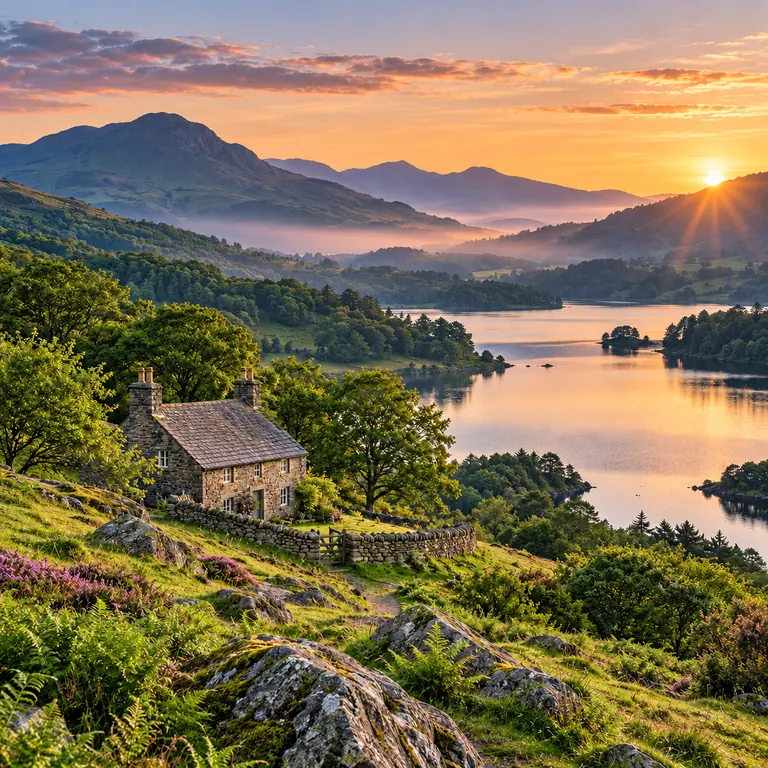
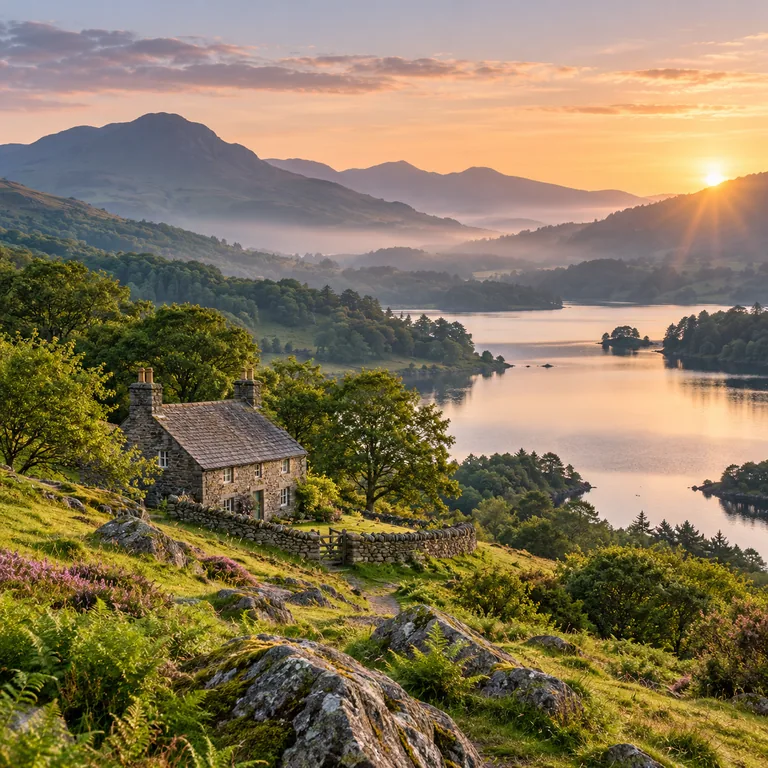
Stone walls, the cottage roof and distant trees gain definition. Mist and the sunrise sky stay smooth instead of turning into grain.
Use the camera original as a JPG, PNG or WebP up to 10 MB. A screenshot of a photo has already lost detail, so start from the source when you can.
Sharpen crisps soft edges and keeps the framing. Sharpen + Upscale 2× or 4× also enlarges the photo, which helps with small images.
In Sharpen mode, start with Light or Medium. Strong suits very soft edges on simple shapes but can add halos around bright outlines.
Check letters, edges and hair at actual size, not as a thumbnail. Download when the detail still matches the original.
For product photos, a light touch is usually enough: the photo sharpener defines rims, handles and packaging edges so the item reads clearly in a listing. Start with Light and step up only if edges still look soft; too much strength draws bright outlines against plain backgrounds.
Soft screenshots, signs and menus are easier to read when letter edges are firmer. The AI is told to leave unreadable words alone rather than invent them, so compare every character and treat a clear image of text as a reading aid, not a verified copy.
Medium strength separates pet fur, hair and grass while keeping smooth areas such as skin and sky calm. If fur turns crunchy or the eyes gain a bright rim, step down to Light.
Sharpen + Upscale 2× or 4× gives a sharper scaling of small photos than plain resizing, adding pixels as it defines edges. The Strength setting is hidden in these modes. Added texture is the AI’s best estimate, so compare it with the original.
If you shot a burst, pick the frame with the least blur before you sharpen the picture. The tool works best when the detail is already there.
Halos appear first where a dark object meets a light background. If you see a glowing outline, lower the strength.
Strong sharpening exaggerates pores and compression blocks. For portraits, Light usually gives a clearer effect without making skin look rough.
Motion blur or a missed focus point needs Unblur Image. Sharpening a heavily blurred photo only outlines the blur.
For a small photo, choose Sharpen + Upscale 2× or 4× rather than enlarging a soft copy somewhere else first. That way you sharpen images and add pixels in the same step.
Upload images you own or are allowed to edit, and keep the original file next to the sharpened copy in case you want to redo it.
Lift color, light and clarity together when a photo needs more than edge sharpening.
Read the guideWrite your own edit instruction, such as removing a reflection after sharpening.
Read the guideCreate a new image from a text prompt when the original is too small or soft to use.
Read the guideUse the image sharpener when a photo is mostly in focus but edges look soft. Use Unblur Image for motion blur, camera shake or a missed focus point, where detail is smeared rather than soft. Zoom in to decide: soft edges call for sharpening, streaks or double outlines call for unblur.
Yes, the AI image sharpener is free to try. Each run uses account credits, and the Generate button shows the cost before you start.
Only upload photos you own or have permission to edit, such as your own product shots or pet photos. Do not use sharpened copies of someone else’s images in ways the owner has not agreed to.
Start with Light strength and compare at 100% zoom. Move to Medium only if edges still look soft. Over-sharpening shows up as halos and gritty texture, so stop as soon as the detail reads clearly.
They set how hard Sharpen mode pushes edge contrast. Light suits faces and smooth subjects, Medium suits most products, fur and landscapes, and Strong suits very soft edges on simple shapes. Strength only appears in Sharpen mode.
Use it when a photo is small as well as soft, for example a thumbnail you want to print or crop. It enlarges and sharpens in one pass, like a clarity upscaler. Try 2× first; 4× makes a much larger file with more estimated texture.
It can make lightly soft letters firmer, and it is instructed not to invent words it cannot read. It cannot restore text that is unreadable in the source, so check every number and name. For logo clarity, export the original vector logo at the size you need instead.
Go back to the original photo instead of a screenshot of the zoomed view, crop it, and run Sharpen + Upscale 2×. Digital zoom throws detail away, so the result is an estimate; compare it with the source before you rely on it.
Upload a JPG, PNG or WebP up to 10 MB, ideally the largest, least compressed version you have. The AI picture clearer runs in your browser on desktop or phone, so you do not need separate apps to make pictures clear.
No. This is not an AI skin clearer or beauty filter: it keeps the face, expression and skin texture as they are. If a face looks too harsh, reduce clarity by switching to Light, or keep the original for that portrait.
Upload a slightly soft image, pick a mode and strength, and compare the sharper version at full size. The AI image sharpener is free to try.