Suits and Blazers
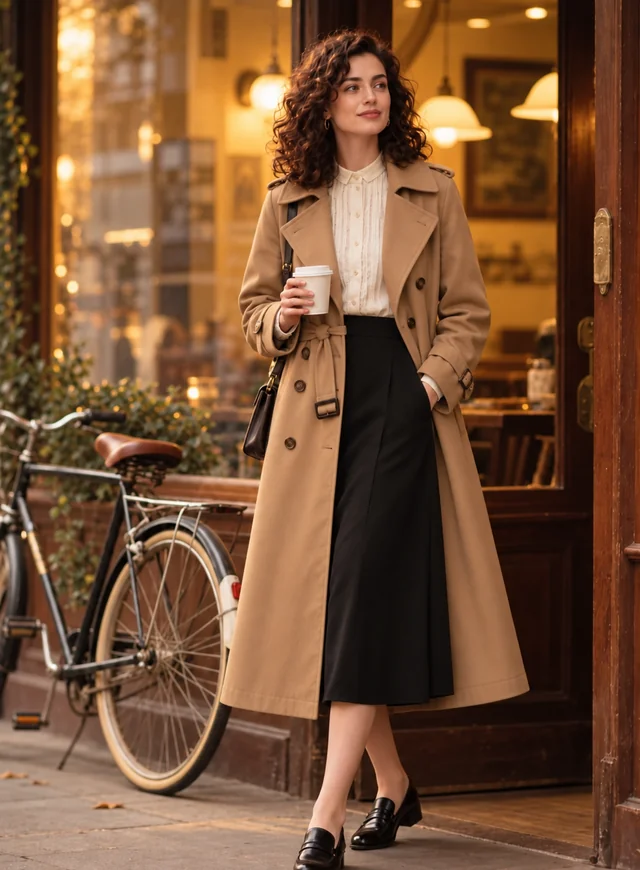
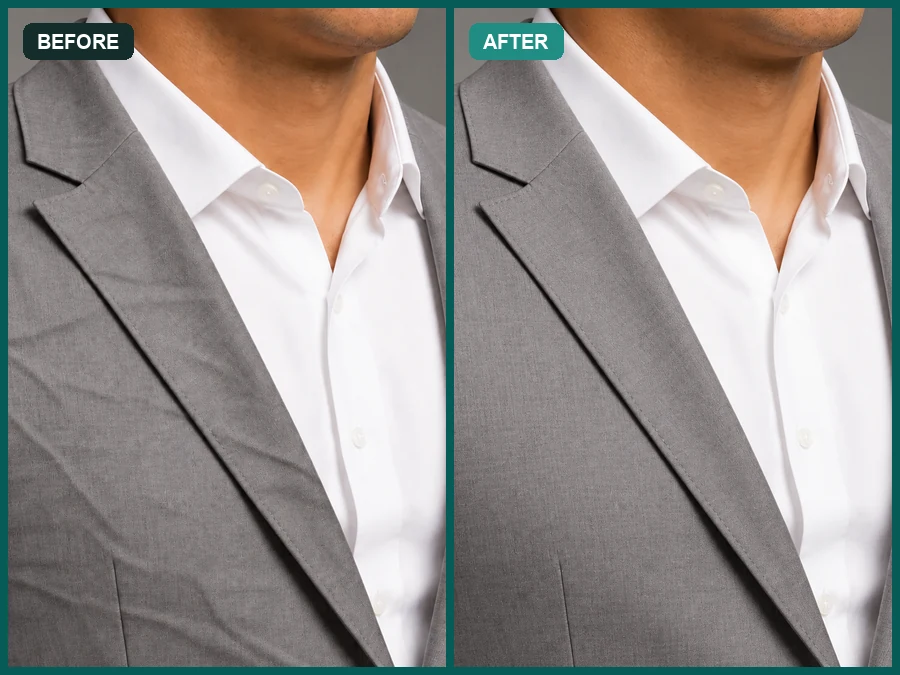
Rumpled lapels and sleeves pressed flat for headshots and weddings.
Upload a product shot, flat lay, or portrait and let the AI remove clothes wrinkles, packing folds, and crush marks, or soften fine lines on faces, while seams, prints, and fabric texture stay intact.
Quick fixes
Fine-tune
Your photo stays in this browser during this UI preview.
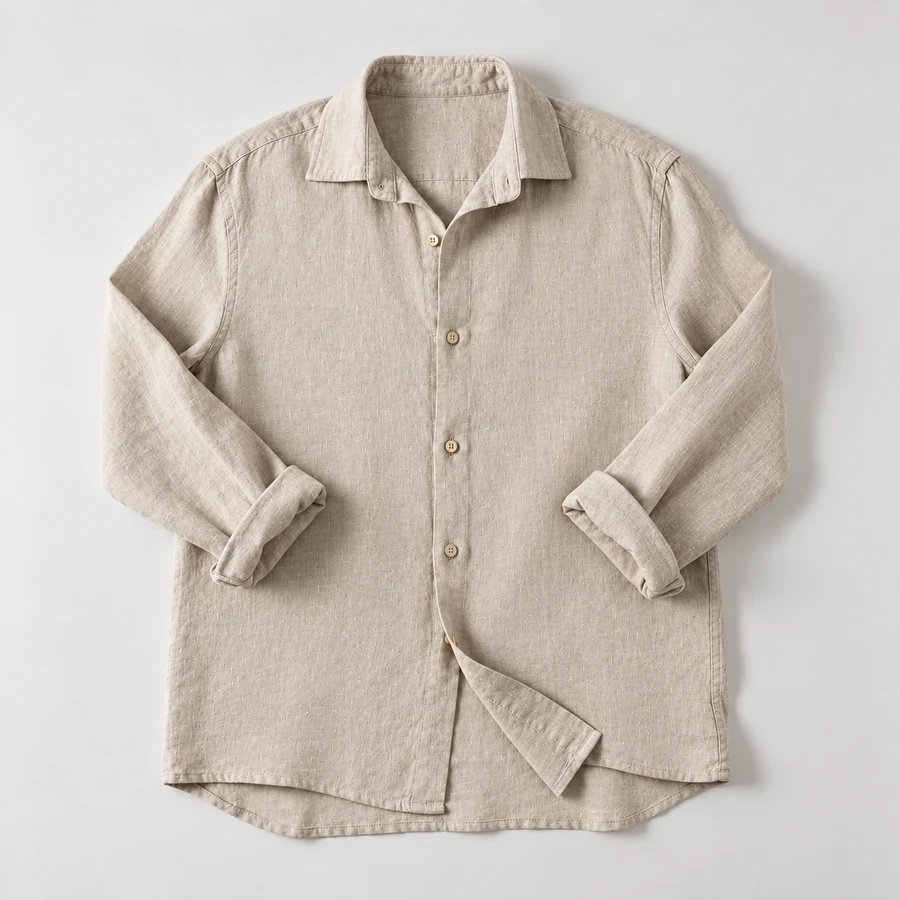
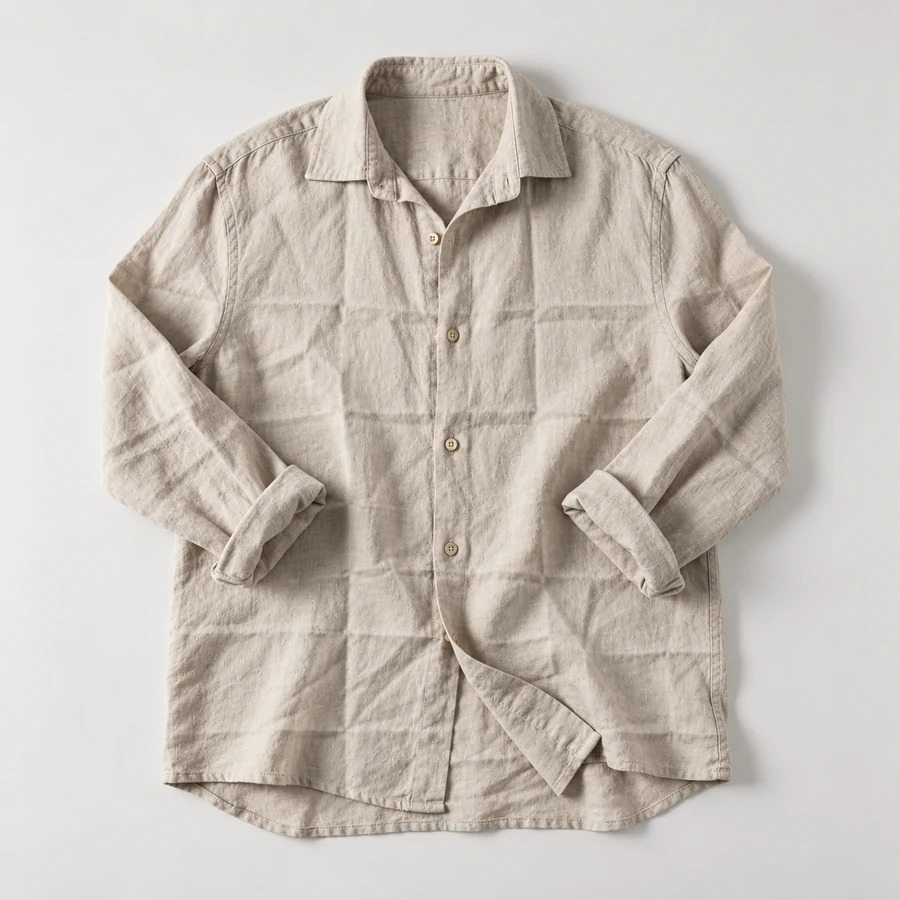
Reference example. It is not a result generated from your upload.
A photo wrinkle remover smooths creases that spoil an otherwise good picture: packing folds on a shirt fresh out of the bag, a crumpled suit jacket at a wedding, a linen dress that wrinkled on the way to the shoot. Instead of steaming every piece and reshooting, you fix the photo you already have.
This AI tool separates real construction from crush marks. Seams, darts, pleats, pockets, and the cut of the garment stay where they are, while the fabric texture, weave, and print are rebuilt across the smoothed area. A Face mode also softens fine lines in portraits without changing who the person is.
Shirts, suits, knits, and flat lays: each split image shows the creased photo on the left and the result on the right.
Rumpled lapels and sleeves pressed flat for headshots and weddings.
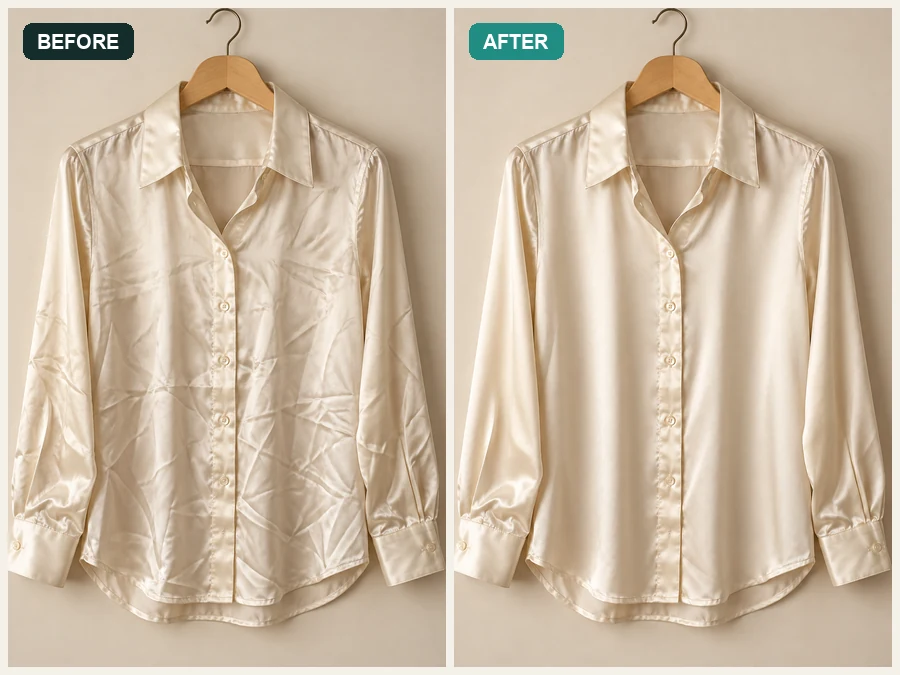
Silk and cotton keep their sheen and drape without the crush marks.
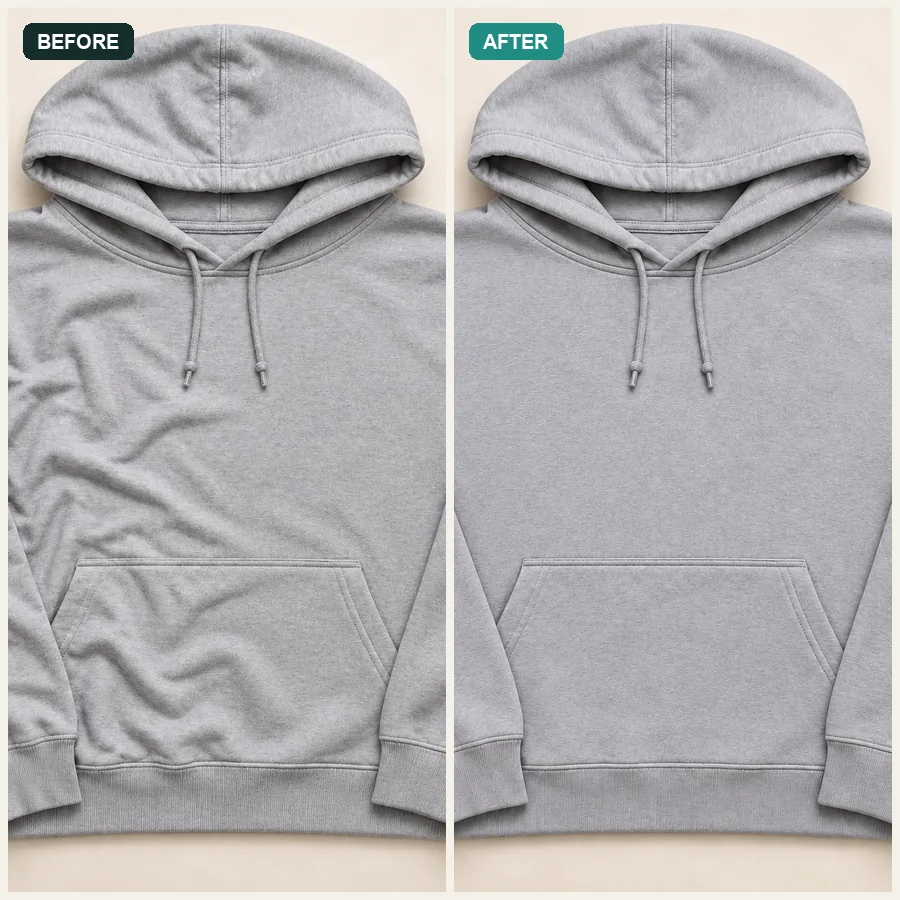
Knit grain and ribbing stay visible as the folds disappear.
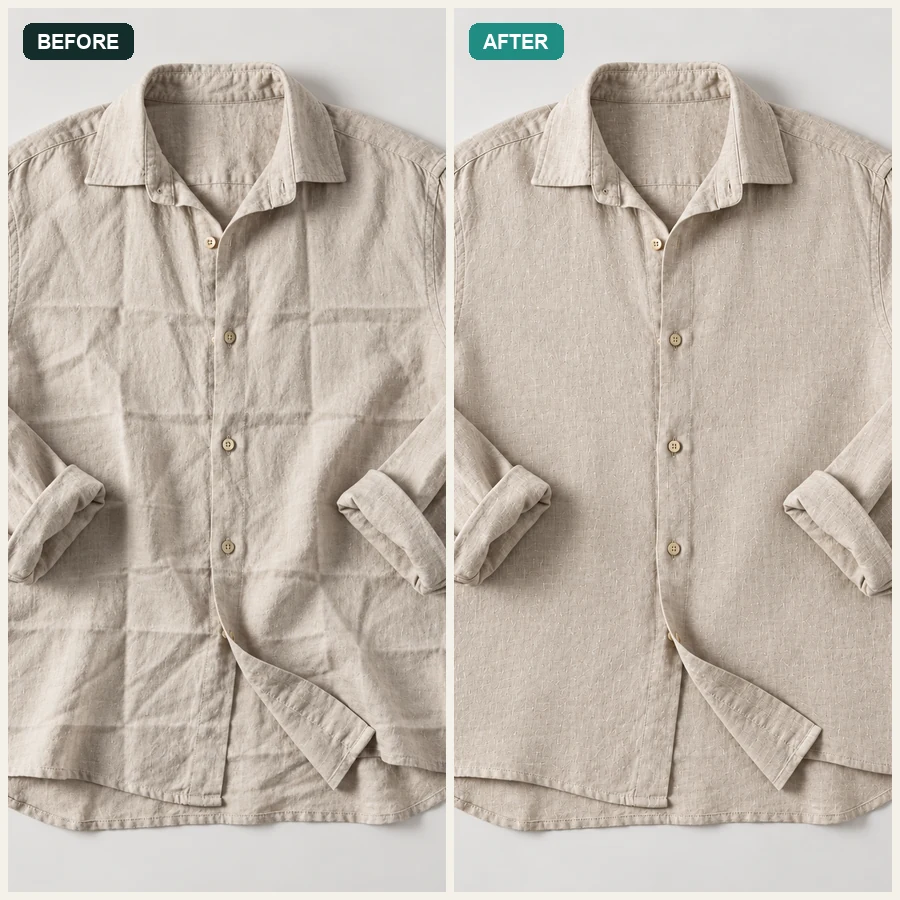
Grid folds from packaging vanish while the slub texture of linen remains.
No clone brush, no masking, and no wrinkle remover app to install.
Add a JPG, PNG, or WebP up to 15 MB: a garment on a model, on a hanger, laid flat, or a portrait.
Pick Clothing, Face, or Auto, then Subtle, Balanced, or Strong. Add an optional note such as “keep the pleats” or “only the left sleeve.”
Run the retouch, check the before and after side by side, and download the smoothed image for your listing or album.
Most quick fixes blur creases into a flat patch. Here the AI remove clothes wrinkles step rebuilds the weave across the smoothed area, so linen still looks like linen and a poplin shirt keeps its fine grain, buttons, and seams.
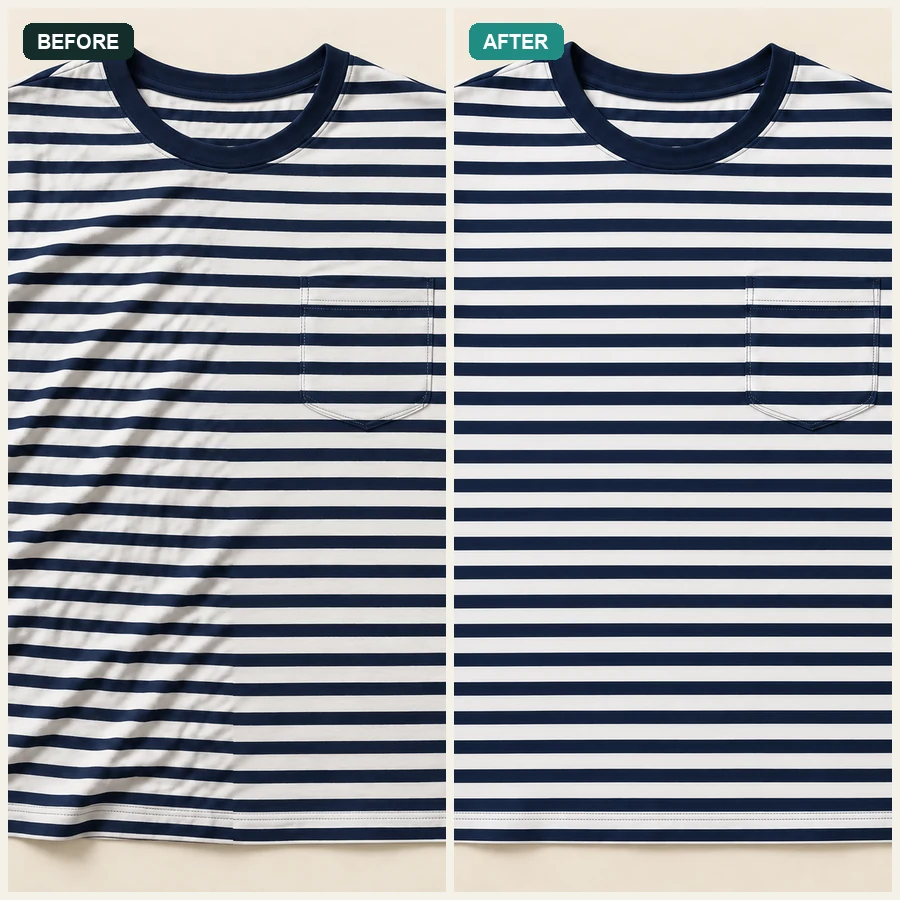
Stripes, checks, and logos run straight through where the fold used to be, with no break or offset. That is the detail shoppers zoom in on, and the one manual retouching most often gets wrong.
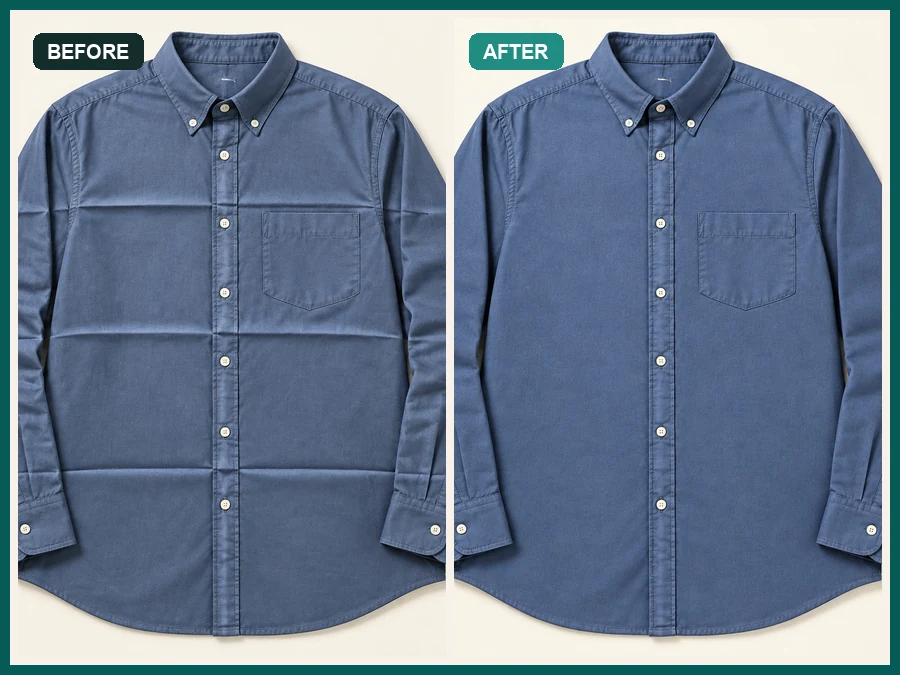
Pieces that come out of a poly bag carry a grid of folds. Choose Packing Folds and the picture wrinkle remover presses them out after the shoot, saving you from steaming and re-photographing every item.
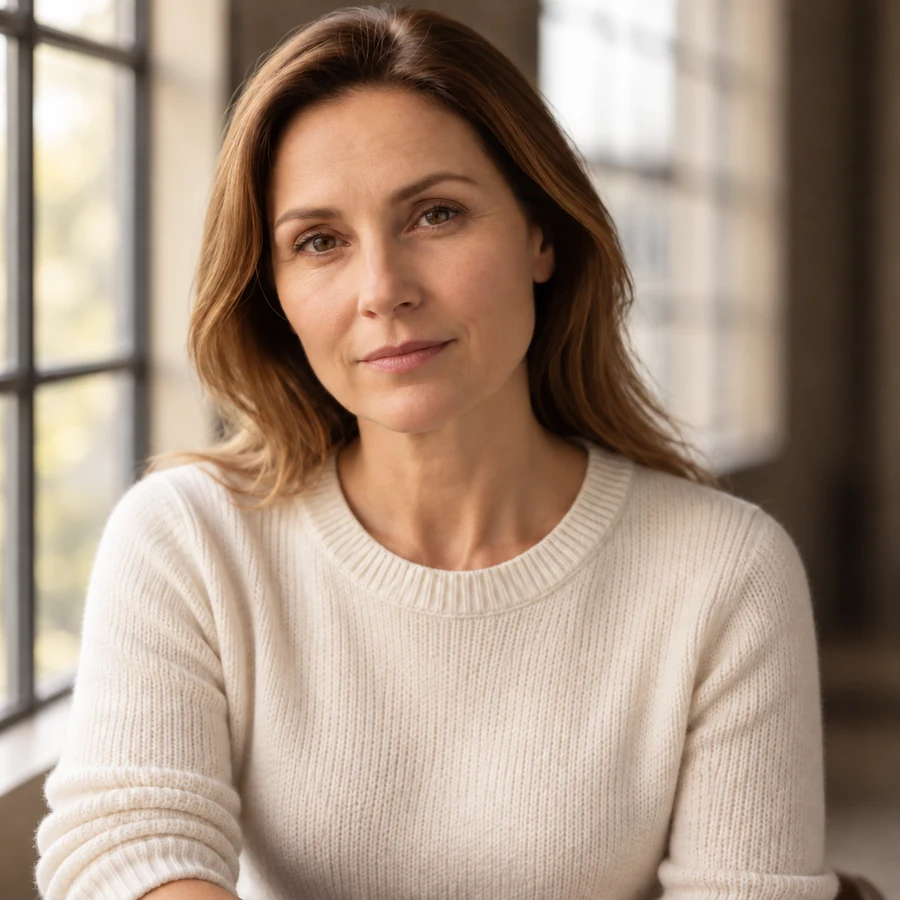
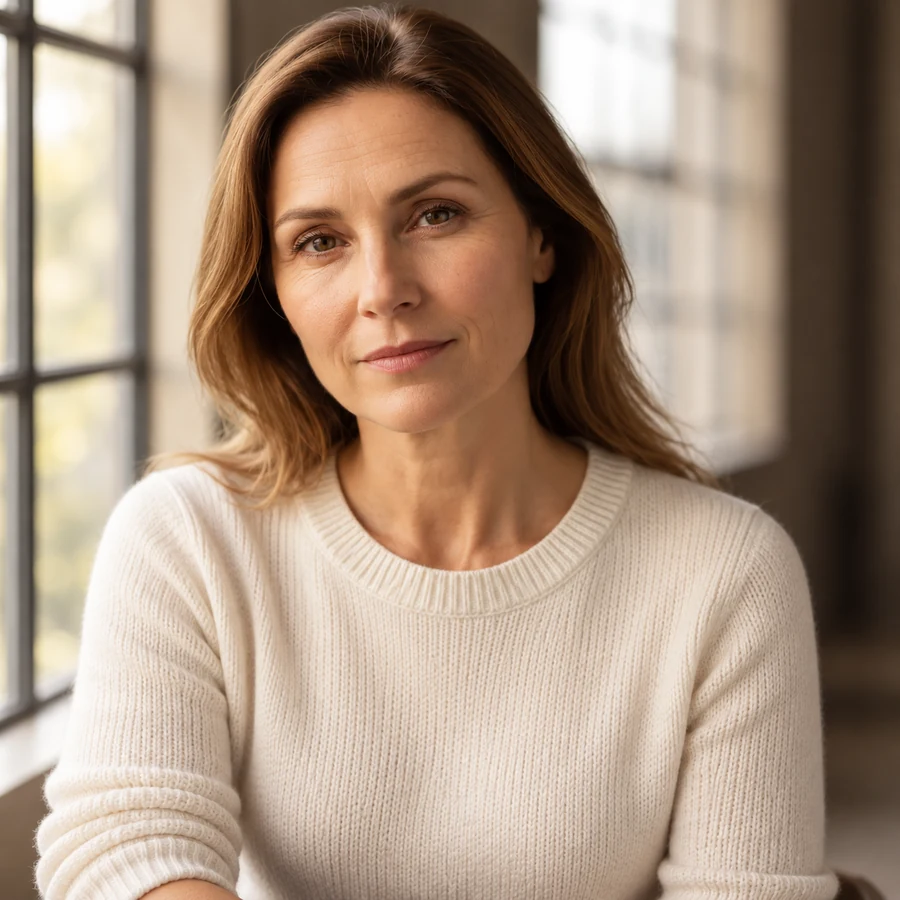
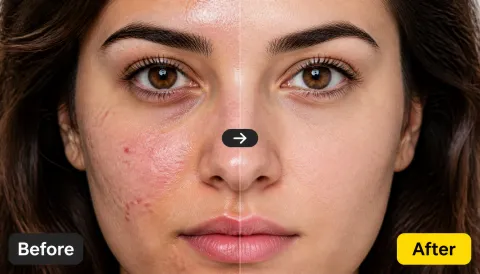
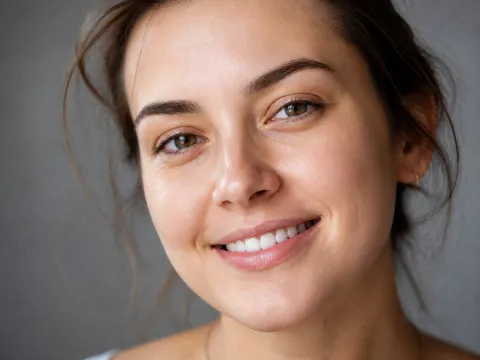
Face mode reduces the contrast of fine lines while keeping pores, freckles, and expression, so a headshot looks rested rather than airbrushed. It does not reshape features or change age; Subtle is usually all you need.
One smooth edit, ready for every channel.
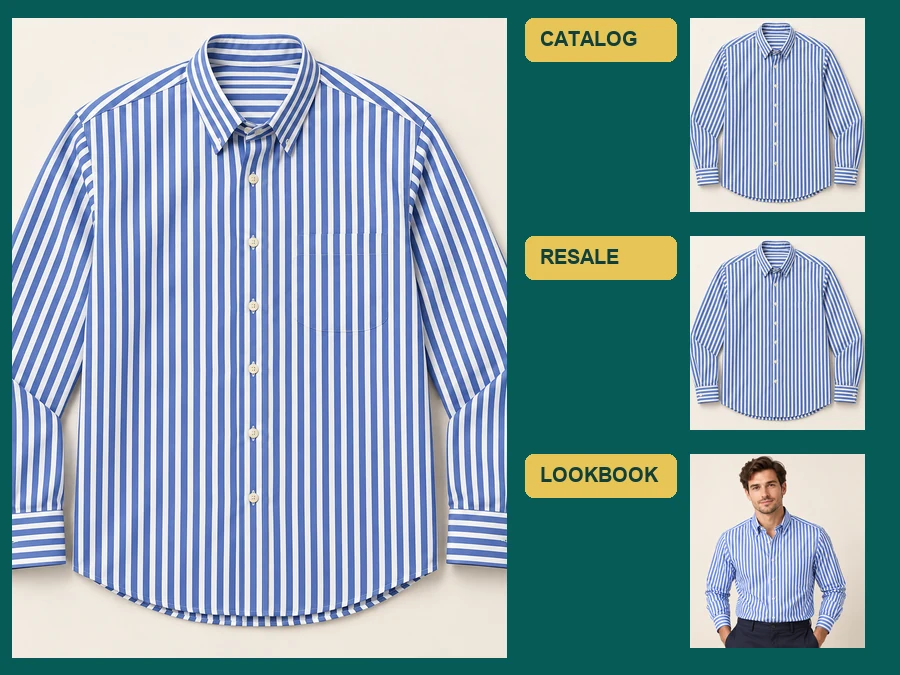
Crush marks read as “already worn.” Smooth every shirt and dress before the listing goes live.
Secondhand sellers can send buyers a freshly pressed look without ironing every piece.
Deliver camera-ready frames instead of cloning out fabric folds panel by panel.
A creased collar or jacket no longer ruins the portrait you want to print and frame.
Smoother is not always better; the goal is a garment that looks real.
Pleats, gathers, and draping are part of the design. Mention them in the note so they stay.
Use Strong only for heavy packing folds; Subtle suits suits, silk, and faces.
Soft, even light keeps fabric texture visible, which gives the AI more to rebuild.
Remove creases, not defects. Stains, pilling, and damage should stay visible to buyers.
From listing photos to wedding albums.
Illustrative examples adapted from reference material, not verified reviews of EzImgMaker.
I shoot forty new pieces every Monday and half come out of the bag creased. Smoothing them in batches saves my whole afternoon.
Pleated skirts were the test. Other tools ironed them into a flat sheet; with “keep the pleats” in the note, the pleats stayed put.
Striped shirts used to need hand-patching in post. Now the stripes line up straight through where the fold was.
My brother’s graduation jacket was a mess of creases. After the fix nobody could tell the photo had been edited.
Common questions about smoothing clothes and fine lines in photos.
Upload the photo, choose Clothing, Face, or Auto, pick a smoothing strength, and click Remove Wrinkles. Add a short note if you want to protect something such as pleats or a specific texture, then compare and download.
It is designed not to. The AI targets creases and crush marks and keeps the garment’s color, print, seams, and silhouette. Stripes and checks are continued straight through the smoothed area.
Usually, yes: seams, darts, pleats, and gathers are treated as construction. For tricky designs such as plissé or ruching, add a note like “keep the pleats” and use Subtle or Balanced strength.
No. It runs in your phone or desktop browser, so no app for removing wrinkles needs to be installed. Upload straight from your camera roll.
Yes. Face mode softens fine lines and creases while keeping skin texture and expression. It does not reshape features or make anyone look like a different age; for that kind of edit, use an age filter instead.
Yes. Black suits, denim, satin, stripes, and florals all work. Very dark fabric shows less texture, so even lighting in the original photo helps the result look natural.
Yes. Describe it in the retouch note, for example “only the left sleeve” or “just the collar,” and the rest of the garment will be left as it is.
JPG, PNG, and WebP images up to 15 MB. Larger, well-lit photos give the AI more fabric detail to rebuild.
Removing creases from packing and handling is standard product retouching. Do not hide real defects such as stains, holes, or pilling, and only upload photos you own or have permission to edit.
Upload a creased product shot or portrait and remove wrinkles while keeping fabric, prints, and faces natural.