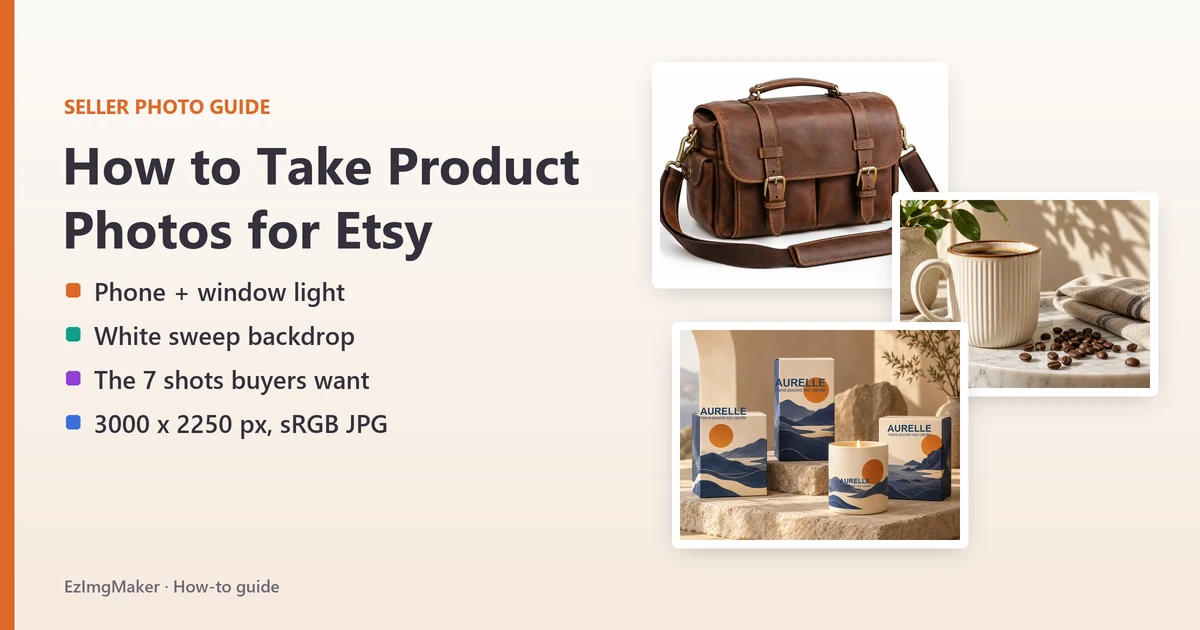
Short answer: here is how to take product photos for Etsy with nothing more than a phone: set up next to a window with soft side light, put the product on a white paper sweep, bounce light back with a white board, mount the phone on a tripod and shoot horizontal photos with space around the product. Take seven kinds of shots (hero, angles, detail, scale, in use, packaging and variations), then clean them up and export them at about 3000 x 2250 pixels as sRGB JPGs. Etsy recommends at least 2000 pixels wide and tall.
The rest of this guide walks through the gear, the setup, each step, Etsy’s photo size rules and the editing tricks that make handmade products look their best.
What You Need (Under $20 Beyond Your Phone)
You do not need a studio or a fancy camera. Good Etsy product photos come from soft light and a tidy setup:
| Item | Why you need it | Cheap option |
|---|---|---|
| A phone with a decent camera | Any phone from the last few years has plenty of resolution | The phone you already own |
| A big window | Soft, free, natural light | Any window that does not get direct sun |
| White poster board or paper roll | A seamless white backdrop (a “sweep”) | Poster board from a craft store |
| White foam board | Bounces light into the shadows | Foam board, or a white towel over a box |
| Tripod or phone stand | Sharp photos and the same angle every time | A small tabletop tripod with a phone clip |
| Tape and clips | Hold the sweep and the reflector in place | Painter’s tape, binder clips |
| Lint roller, microfiber cloth | Remove dust, fluff and fingerprints | A lint roller and a glasses cloth |
| Baking paper or a sheer curtain | Softens light if the window is too bright | Parchment paper taped over the window |
How to Take Product Photos for Etsy: Step by Step
1. Prepare the product
Photos show every speck of dust. Roll lint off fabric, wipe fingerprints off glass, metal and ceramics, steam or iron textiles, and remove price stickers. Fill bags and pouches with tissue so they hold their shape, and style jewelry on a clean surface or a simple bust.
2. Find soft window light
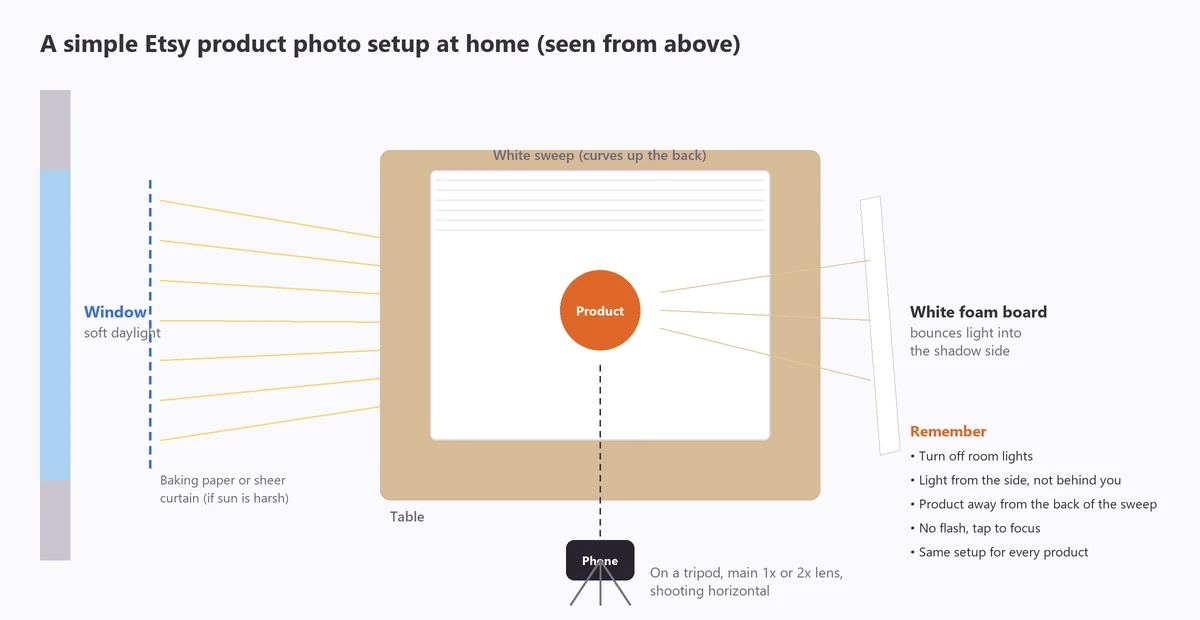
Set a table next to a large window, ideally one that does not get direct sun at that time of day. Light should come from the side of the product, not from behind your phone. If the sun shines straight in, tape baking paper or a sheer white curtain over the glass to soften it. Turn off the room lights: mixing warm bulbs with cool daylight gives you color casts that are hard to fix.
3. Build a white sweep
Tape one end of a white poster board to the wall (or a box) and let it curve down onto the table, so there is no hard line between the “wall” and the “floor.” Place the product in the middle of the curve, not right against the back. The smooth curve gives you the clean, endless white background buyers expect in a first photo.
4. Bounce light into the shadows
Stand a white foam board on the side opposite the window, angled toward the product. It reflects soft light into the dark side, so details stay visible without a flash. For shiny items such as glass or jewelry, try a black card on one side instead: it adds clean dark edges and makes the shape stand out.
5. Set up your phone
- Use a tripod and keep the same height and angle for every product in a collection, so your shop looks consistent.
- Use the main 1x lens (or 2x for small items). The ultra-wide lens bends straight lines and makes products look distorted up close.
- Turn on grid lines to keep the product level and centered.
- Tap to focus on the product, then slide the exposure down a little if the white background is blowing out the highlights.
- Turn off the flash. It creates hard shadows and hot spots.
- Shoot horizontal (landscape) and step back a bit more than feels natural. Etsy crops thumbnails into different shapes, and extra space keeps the product from being cut off.
- Use the timer or a remote so tapping the shutter does not shake the phone.
6. Take the seven shots buyers want
Etsy now allows up to 20 photos per listing plus a short video, so use the space to answer questions before buyers ask:
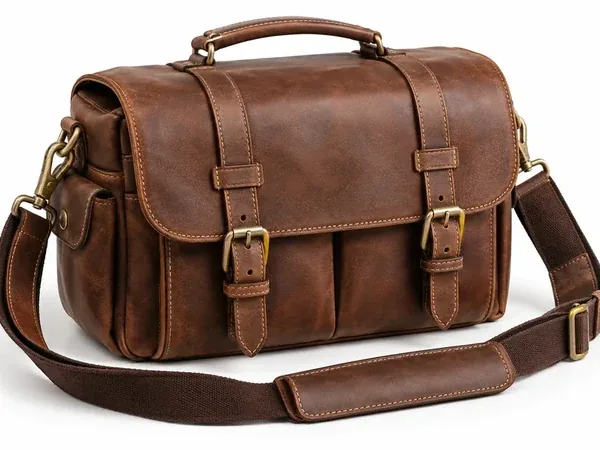
1. The hero shot
The whole product, front and center, on white or light neutral. This is your thumbnail.
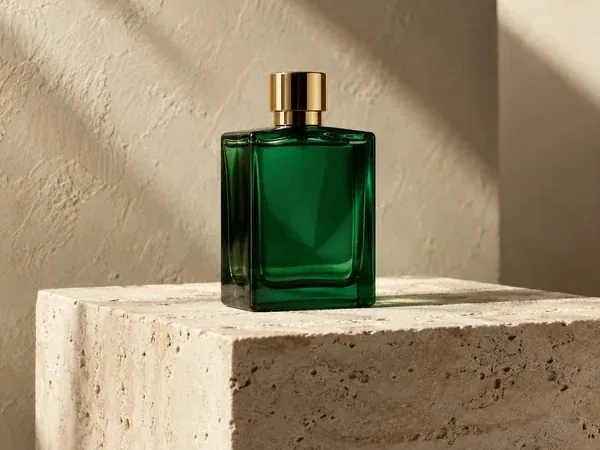
2. A styled studio angle
A second angle with a simple prop or surface that matches your brand.

3. A lifestyle scene
Show the product where it belongs, or in use, so buyers can picture owning it.
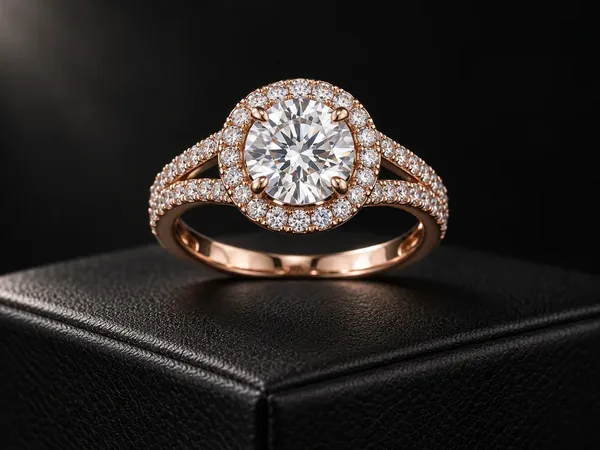
4. Close-up detail
Texture, stitching, stones, glaze: the details that prove quality.
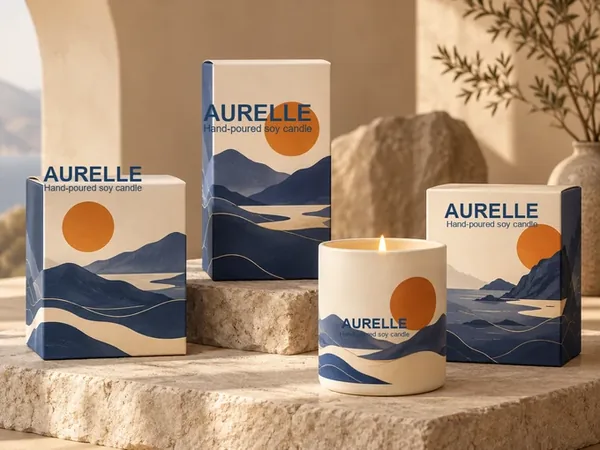
5. Packaging and gift-ready
How it arrives. Buyers shopping for gifts look for this one.

6. Variations side by side
Every color, size, scent or flavor in one photo, so the options are clear.
The seventh is a scale shot: the product in a hand, on a model, or next to a familiar object such as a mug or a coin, plus written dimensions in the description. Scale photos prevent the most common complaint on Etsy: “smaller than I expected.”
7. Edit for a clean, honest look
Editing should make the photo match what buyers will receive, not change the product. Work through this short list:
- Crop and straighten to a landscape 4:3 frame with space around the product. The crop tool has a Custom size option for exact pixels.
- Fix brightness and white balance so whites look white and colors match the real item.
- Clean the background. Upload the photo to the background remover and pick a white background for a seamless first photo.
- Remove dust, scratches and reflections with AI photo retouch, and soften harsh cast shadows with the shadow remover.
- Keep every edit honest: the same color, shape and details as the real product.
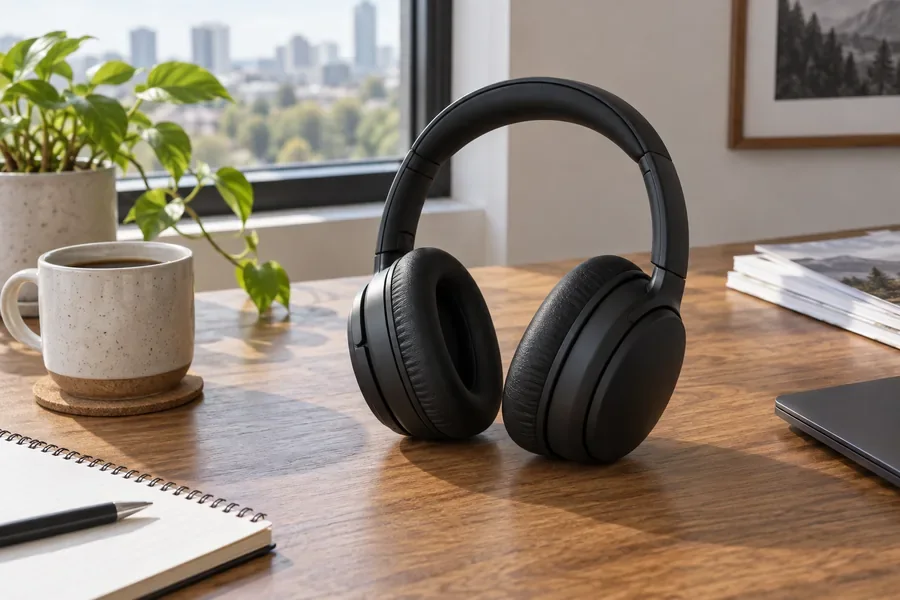
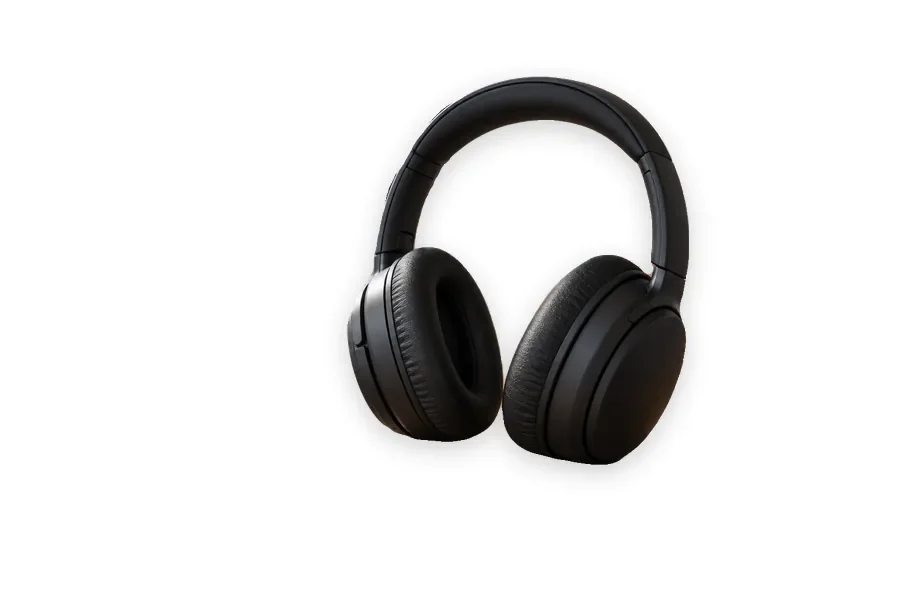
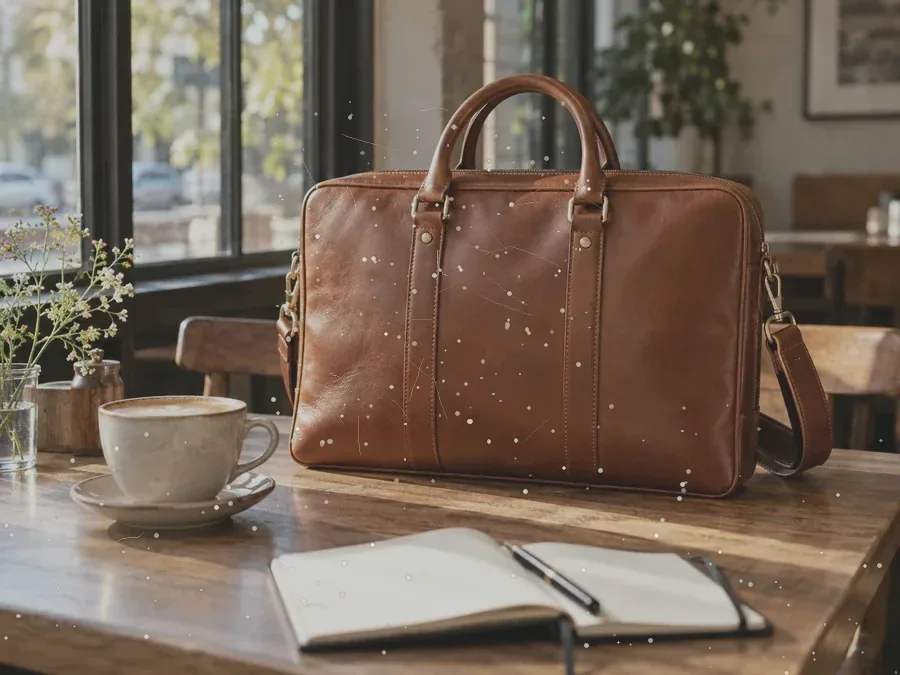
A quick retouch makes a real difference on handmade goods, where dust, lint and stray marks show up more than you notice in person:
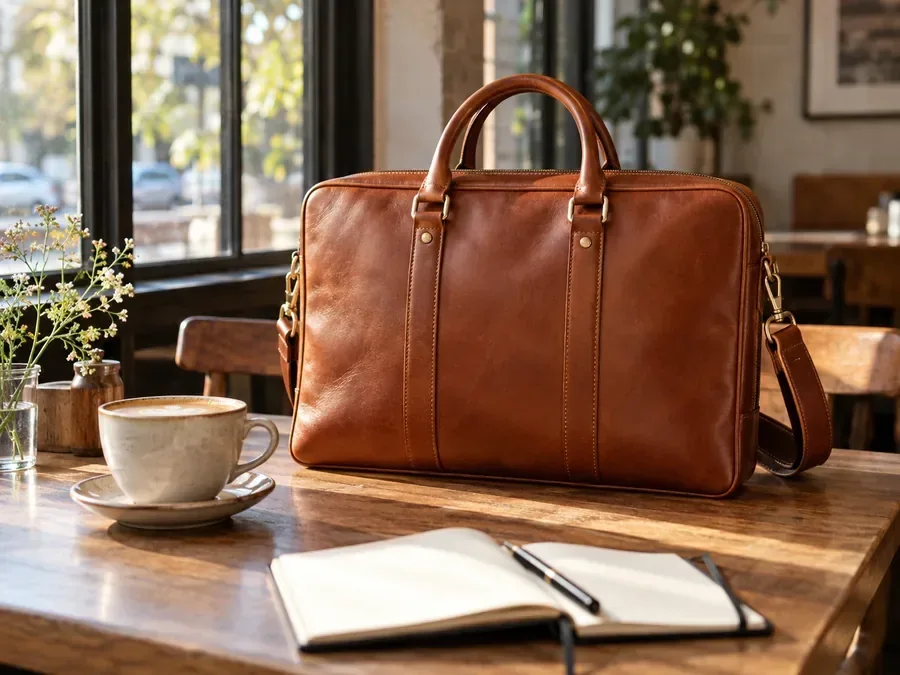
8. Export at the right Etsy product photo size
Export as JPG, sRGB, about 3000 x 2250 pixels (at least 2000 pixels on the short side) and keep files under about 1 MB so they upload reliably. If a file is too heavy, shrink it with the image size reducer without changing its dimensions much. Give files descriptive names (for example blue-ceramic-mug-front.jpg), and add a short text description (alt text) to each photo in the listing editor.
Etsy Product Photo Size and Requirements
Here are the numbers from Etsy’s help center (checked October 2026), in one place. They answer the usual questions about the size for Etsy photos, the Etsy product picture size and what size Etsy listing photos should be:
| Etsy image | Requirement or recommendation |
|---|---|
| Listing photos | At least 2000 pixels wide and tall recommended |
| First listing photo | At least 635 pixels on each side, or it may show lower in search |
| First photo shape | Horizontal (landscape) or square; it sets the shape of the photos after it |
| Safe export | 3000 x 2250 px (4:3 landscape) or 2700 x 2025 px |
| File types | JPG, GIF, PNG, SVG, HEIC (no animated GIFs) |
| Transparency | Not supported: transparent areas appear black |
| File size | Over 1 MB may fail to upload on slow connections |
| Color profile | sRGB (Etsy converts to sRGB; CMYK is for print) |
| Photos per listing | Up to 20, plus one video |
| Shop logo | 500 x 500 px |
| Profile photo | 400 x 400 px |
| Big shop banner | 1600 x 400 px recommended (minimum 1200 x 300) |
| Mini shop banner | 1600 x 213 px recommended (minimum 1200 x 160) |
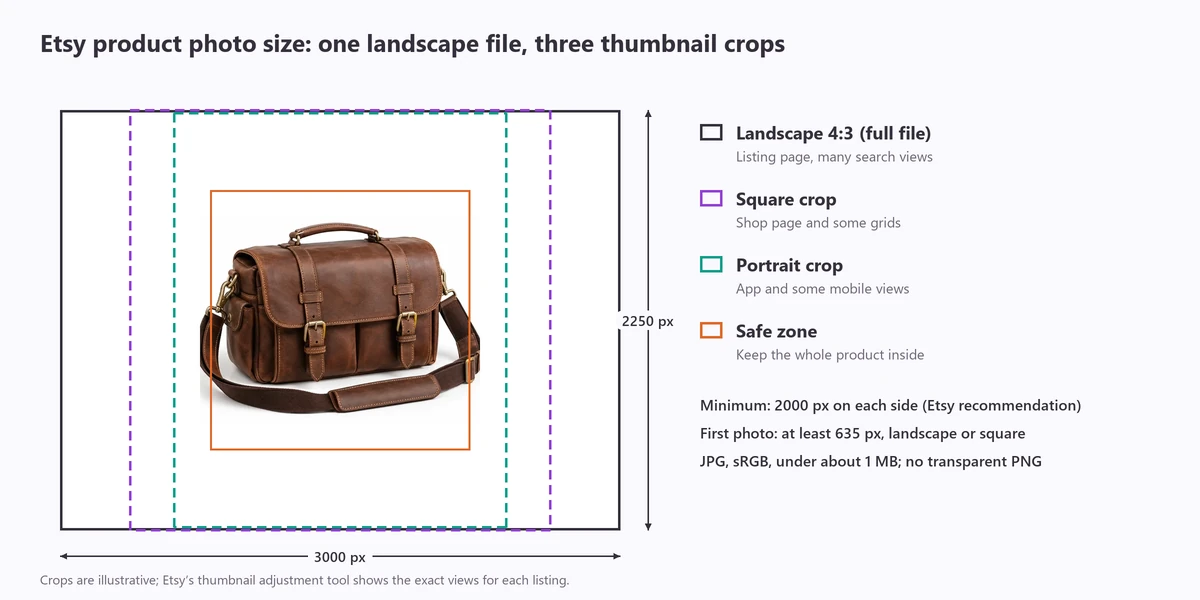
Why landscape? Etsy shows the same photo in square, portrait and landscape thumbnails in different places (search, shop page, listing page, app). Etsy’s own advice is to shoot further back than you think you need, keep the most important part of the item in the center, and use the thumbnail adjustment tool in the listing editor to check each view.
Etsy Product Photography Tips by Product Type
- Jewelry: use a 2x lens and a tripod, a black card to outline metal, and a hand or bust for scale. Clean every surface; rings and chains collect fingerprints.
- Clothing and accessories: show it worn (a model or a dress form), flat lays for details, and a close-up of the fabric and tag.
- Candles, soap and beauty: add a lifestyle shot with soft props (towels, flowers, wood), a lit or in-use photo, and the label clearly readable.
- Ceramics and glass: watch reflections; move the reflector, turn off overhead lights and shoot slightly from above.
- Prints and digital downloads: show the print framed on a wall, with a size comparison. Packaging-style mockups made with the AI packaging design generator help when you sell boxed or labeled products.
- Food and treats: shoot from 45 degrees or straight above in daylight, with simple props and the packaging in frame.
Common Etsy Product Photo Mistakes
- Dark, yellow photos from room lights at night. Shoot by a window in daytime.
- Cluttered backgrounds that compete with the product. Use a sweep or a plain surface.
- Products cropped at the edges in thumbnails. Shoot horizontal with space around the item.
- Transparent PNGs, which Etsy shows with a black background. Export on white.
- No scale shot, which leads to “smaller than expected” reviews.
- Inconsistent angles and backgrounds across a shop. Use a tripod and the same setup each time.
- Over-editing that changes the color or look of the real product.
Can AI Help With Etsy Product Photos?
Yes, for the jobs that eat your time. Use the background remover to turn a home snapshot into a white hero image, AI photo retouch to remove dust and reflections, and an AI scene tool to place your real product on a styled surface for a lifestyle slot. Our review of Pebblely and its alternatives compares AI product photo tools in detail. Keep your first photo and close-ups faithful to the real product; AI scenes work best as extra lifestyle images, not as a replacement for showing the actual item.
Frequently Asked Questions
What size should Etsy listing photos be?
Etsy recommends listing photos that are at least 2000 pixels wide and tall, and says the first photo must be at least 635 pixels on each side to avoid showing up lower in search. A landscape 4:3 file such as 3000 x 2250 pixels is a safe choice: it meets the minimum, keeps detail when buyers zoom, and crops well into Etsy’s square, portrait and landscape thumbnails.
Can I take Etsy product photos with my phone?
Yes. Any recent phone camera has far more resolution than Etsy needs. What makes the difference is light and setup: shoot next to a window with soft daylight, use a white backdrop and a white board to fill shadows, put the phone on a tripod, use the main 1x or 2x lens rather than the ultra-wide, and tap to focus on the product.
What background is best for Etsy product photos?
A clean white or light neutral background is best for the first photo, because it reads clearly as a small thumbnail. Add lifestyle photos with a styled background for the other slots. Do not upload transparent PNGs: Etsy says transparent areas appear black, so export cut-outs on a white background.
How many photos can an Etsy listing have?
Etsy raised the limit from 10 to 20 photos per listing in 2025, plus one short video. Use as many as you need to answer buyers’ questions: a hero shot, other angles, close-ups, scale, the product in use, packaging and each color or variation.
Should Etsy photos be square or landscape?
Etsy’s help center says the first photo should be horizontal (landscape) or square, and recommends uploading horizontal images rather than tight square crops, because thumbnails are cropped to square, portrait and landscape views across the site. Leave space around the product so it is never cut off.
What file type should I use for Etsy photos?
Etsy accepts JPG, GIF, PNG, SVG and HEIC files. Animated GIFs and transparent PNGs are not supported. JPG in the sRGB color profile is the safest choice; Etsy notes that images larger than 1 MB may not finish uploading on slow connections.
What is the best lighting for Etsy product photos?
Soft, indirect daylight from a large window, coming from the side, with a white board on the opposite side to bounce light into the shadows. Turn off room lights so you do not mix warm bulbs with cool daylight. Avoid direct midday sun, which creates harsh shadows and glare.
Do I need a white background for every Etsy photo?
No. A white background works best for the first photo and for clean detail shots, but lifestyle photos that show the product in use or in a styled scene help buyers picture owning it. A mix of both usually converts best.
Can I use AI to edit my Etsy product photos?
Yes, for cleanup and backgrounds: removing a messy background, fixing lighting, erasing dust or scratches, or placing your real product in a styled scene. Keep the product itself accurate, including its color, shape, size and details, so the photos match what buyers receive.
More Guides and Tools
- Background remover: white, colored or transparent backgrounds in one click.
- AI photo retouch: dust, scratches, reflections and color fixes.
- AI packaging design generator: box, bag and label mockups for your products.
- Pebblely alternatives: AI product photo tools compared.
- Canva background remover review: what Canva’s one-click cutout can and cannot do.
- Best free photo editors for Mac: free apps for editing listing photos on a Mac.
- Crop image: crop listing photos to exact pixel sizes.