Upload Your Image
Choose a JPG, PNG, or WebP up to 20 MB. It opens locally, is never sent to a server, and the tool shows its current DPI, or that none is set.
Change the DPI of a JPG or PNG to 300, 600, or any value. See exactly how large it will print, then download the same pixels with the new DPI saved in the file.
Common DPI values
Fine-tune
Runs in your browser. Your photo is never uploaded.
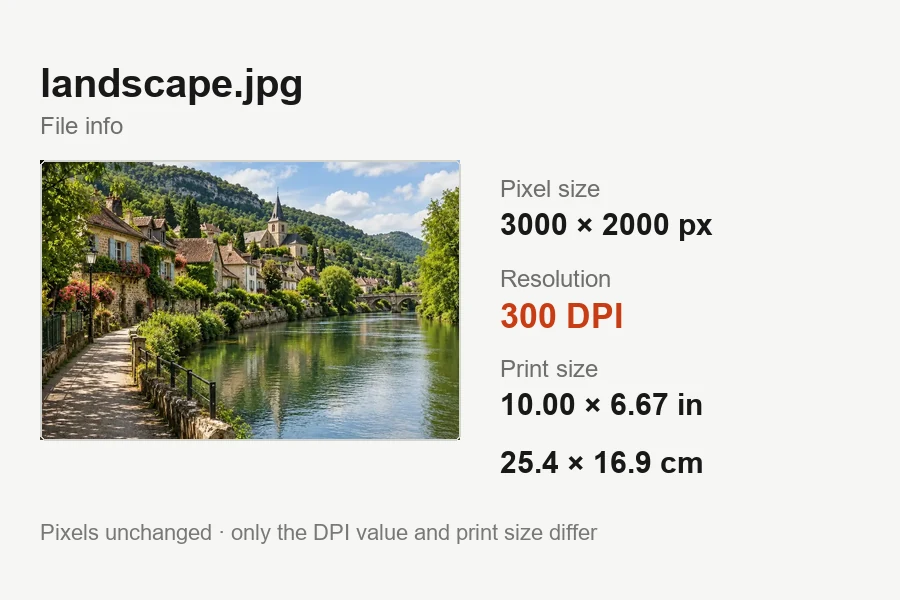
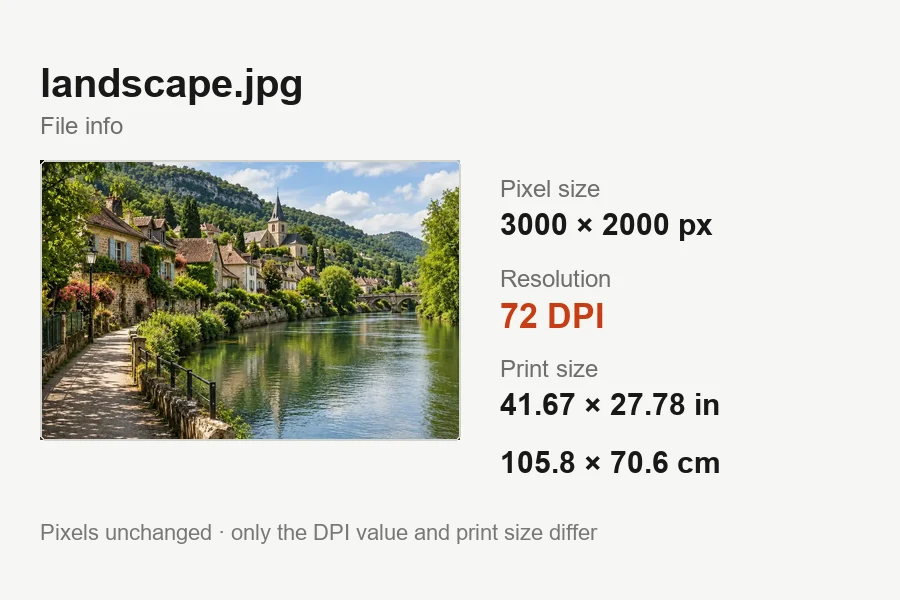
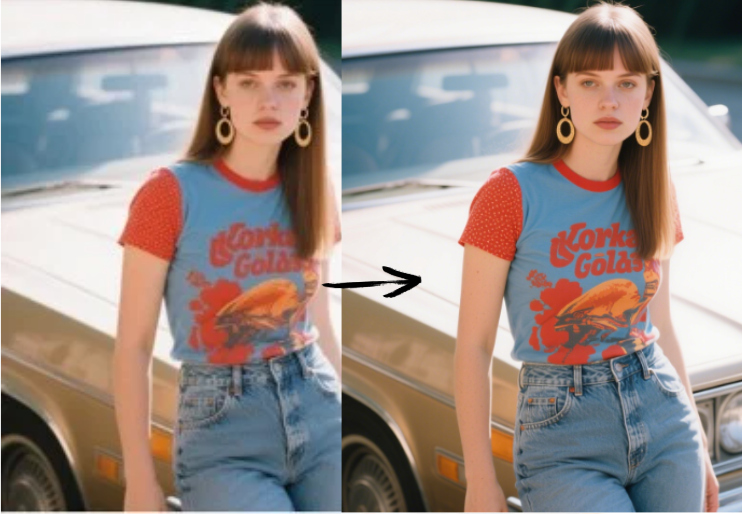
Reference example. It is not a result generated from your upload.
DPI (dots per inch) is a number stored inside a JPG or PNG that tells printers and layout apps how many pixels to place in each inch of paper. Screens ignore it, which is why a 72 DPI and a 300 DPI copy look identical on your monitor. Print shops, publishers, and upload forms, however, often reject files that are not marked 300 DPI.
This DPI increaser changes that number without changing the pixels. It shows the DPI your file has now, lets you pick a new value and check the live print size, then rewrites only the resolution metadata: a JPG stays the same JPG and a PNG the same PNG, with no re-compression. It runs in your browser, so your image is never uploaded. If the print size at 300 DPI is too small, the image needs more pixels: use an AI upscaler first, then set the DPI here.
How to increase DPI of an image for print, right in your browser and without Photoshop.
Choose a JPG, PNG, or WebP up to 20 MB. It opens locally, is never sent to a server, and the tool shows its current DPI, or that none is set.
Click 300 DPI (print) or another preset, or drag the slider to any value from 50 to 1200. The print size in inches and centimeters updates as you change it.
Keep the format you uploaded and the download has the original pixels and quality with only the DPI changed, ready for a print shop, publisher, or form.
The most common requirement is "images must be 300 DPI". Choose the 300 preset and download: the JPG gets 300 in its JFIF density and EXIF resolution tags, the PNG a pHYs chunk of 300 DPI, which is what print software reads. Pixel dimensions stay exactly the same.
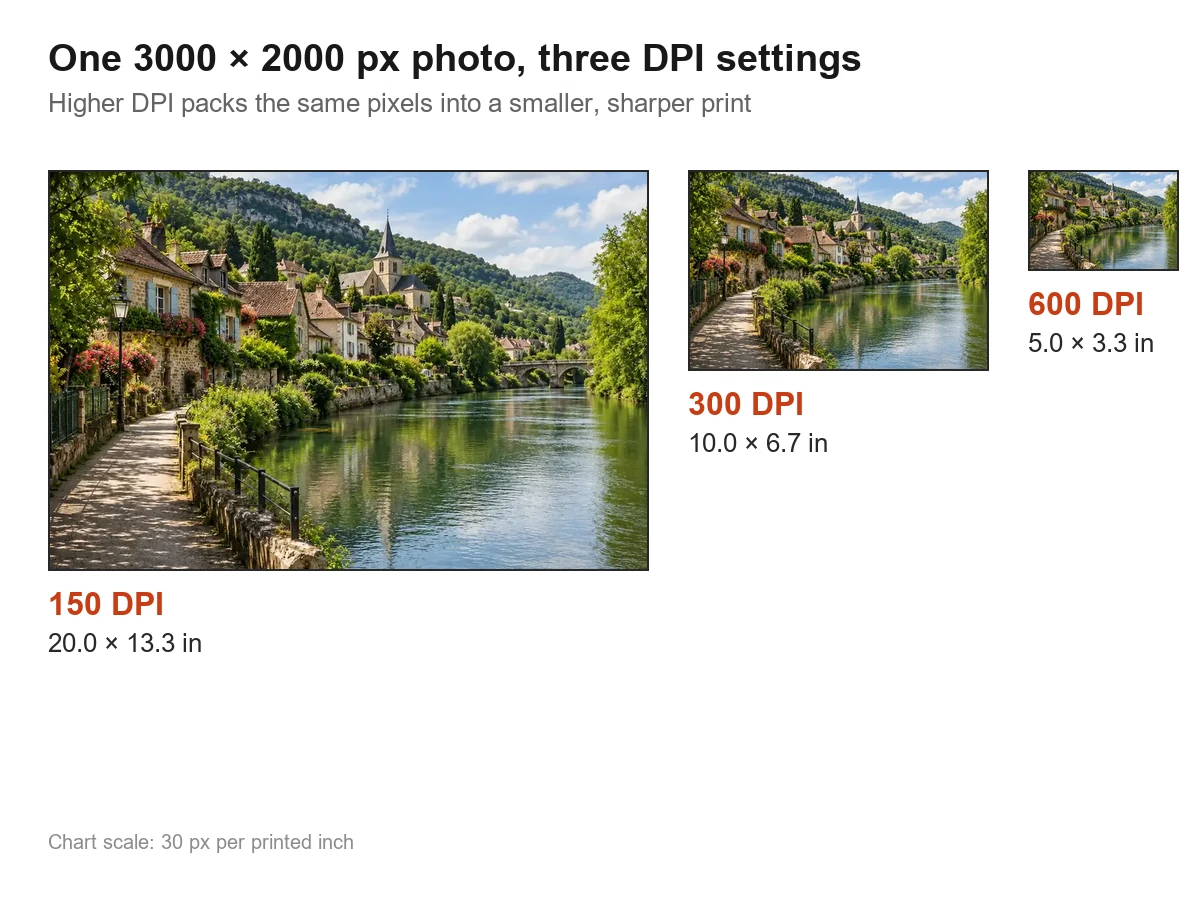
DPI and print size are two sides of the same number: pixels ÷ DPI = inches. The tool shows the resulting print size live, so you know whether a 3000 × 2000 px photo becomes a 10 × 6.7 inch print at 300 DPI or a 20 × 13.3 inch poster at 150 DPI.
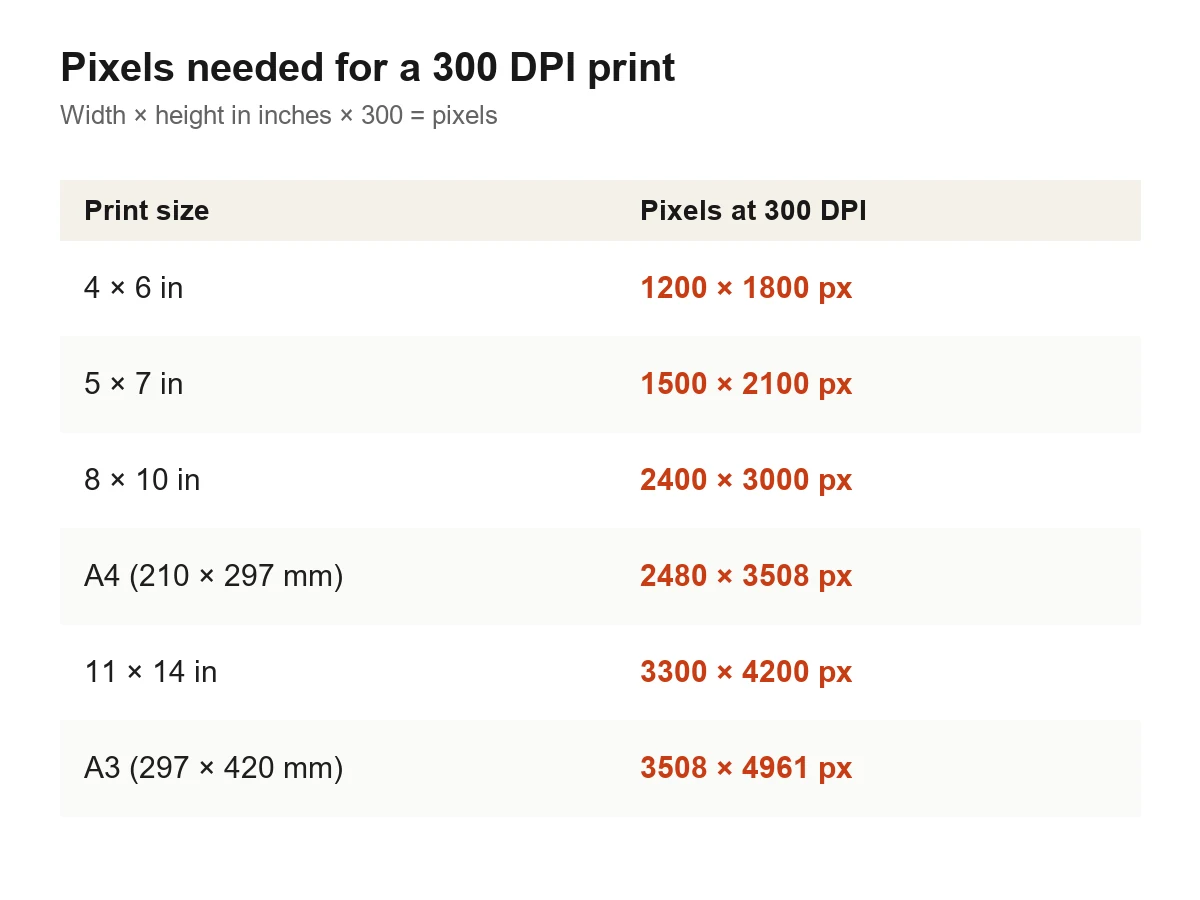
If the print size at 300 DPI comes out too small, the file simply does not have enough pixels. Use an AI image upscaler to enlarge it 2x or 4x first, then come back and set 300 DPI. This chart lists the pixels a 300 DPI print needs.
Everything happens on your device, with no upload and no watermark. When the format stays the same, only the DPI bytes are rewritten: no re-compression, the original pixels and quality, and EXIF details such as camera and date kept. WebP has no standard DPI field, so WebP files are saved once as a high-quality JPG or a lossless PNG.
Situations where the DPI number in the file matters.
Many printers ask for 300 DPI files and flag anything marked 72 DPI, even when the pixels are sufficient.
Cover and interior images are often checked for 300 DPI before a manuscript is accepted.
Some online forms require a specific DPI for photos, signatures, or scans.
Set 150 to 300 DPI and check the print size to see how large you can go.
How do you increase the DPI of an image and still get a sharp print? Get the DPI and the print size right the first time.
Pixel dimensions decide quality. Divide by 300 to get the sharp print size in inches.
300 DPI for photos held in the hand, 150 DPI for posters seen from a few feet, 600 DPI for line art and fine scans.
Need a bigger print at 300 DPI? Upscale with AI first so the extra size comes with real detail.
Save the new file under a different name so the untouched original stays available.
How people use a DPI increaser.
Illustrative examples adapted from reference material, not verified reviews of EzImgMaker.
My print shop kept rejecting photos because they said 72 DPI. The pixels were fine; setting 300 DPI here fixed it.
The live print size is the best part. I could see that my cover image only prints at 5 inches wide at 300 DPI, so I upscaled it first.
I set 600 DPI on line-art scans for a client and checked the inches before sending. No upload, no account.
A visa form wanted a 300 DPI photo. I changed it on my phone in the browser and the upload went through.
Common questions about DPI, print size, and image quality.
Upload the image (the tool shows its current DPI, or that none is set), click 300 DPI (print) or drag the DPI slider, check the print size shown under the controls, and download as JPG or PNG. The new DPI is written into the file.
Download in the same format you uploaded. A JPG saved as JPG, or a PNG as PNG, only has its DPI metadata rewritten: the compressed image data is copied bit for bit, so the pixels and quality stay exactly the same. Only a format change, or a WebP upload, creates a new file, saved as lossless PNG or high-quality JPG.
Set 300 DPI and look at the print size. If it is large enough for your print, you are done. If not, upscale the image to more pixels first, then set 300 DPI again.
No. DPI only tells the printer how densely to place the pixels. A higher DPI makes the print smaller and therefore crisper; it does not add detail. Only more pixels (upscaling) add detail at a larger size.
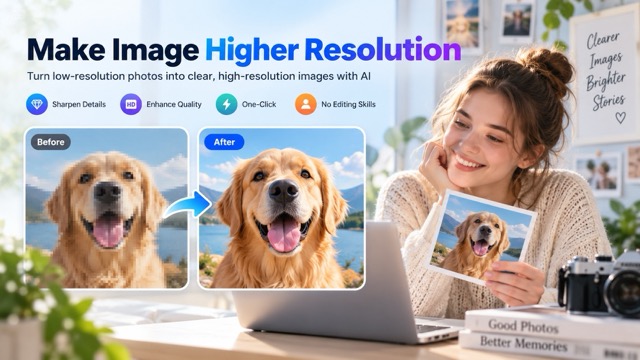
That needs an image DPI upscaler: first enlarge the image with the AI Image Upscaler or Make Image Higher Resolution in the related tools, then set 300 DPI here. Upscaling adds pixels; this tool labels them for print.
Open this page in your phone browser, upload the photo from the camera roll, pick 300 DPI, and download. No app is needed. Phone photos usually say 72 DPI but have plenty of pixels for prints.
Use this tool: it does what Photoshop's Image Size dialog does with Resample turned off, changing the resolution value while keeping every pixel.
300 DPI is the standard for photos, books, and flyers. 150 DPI is enough for large posters viewed from a distance. 600 DPI suits line art and detailed scans. 72 to 96 DPI is only a convention for screens.
JPG and PNG have standard places to store DPI. WebP does not, so WebP uploads are saved as JPG or PNG with the DPI you choose. For JPG and PNG uploads, picking the same format keeps the download lossless.
It is free, needs no sign-up, and runs in your browser, so the image never leaves your device. Please only use images you have the right to edit.
Upload a JPG or PNG, set 300 DPI or any value, and download it with the new DPI saved in the file.